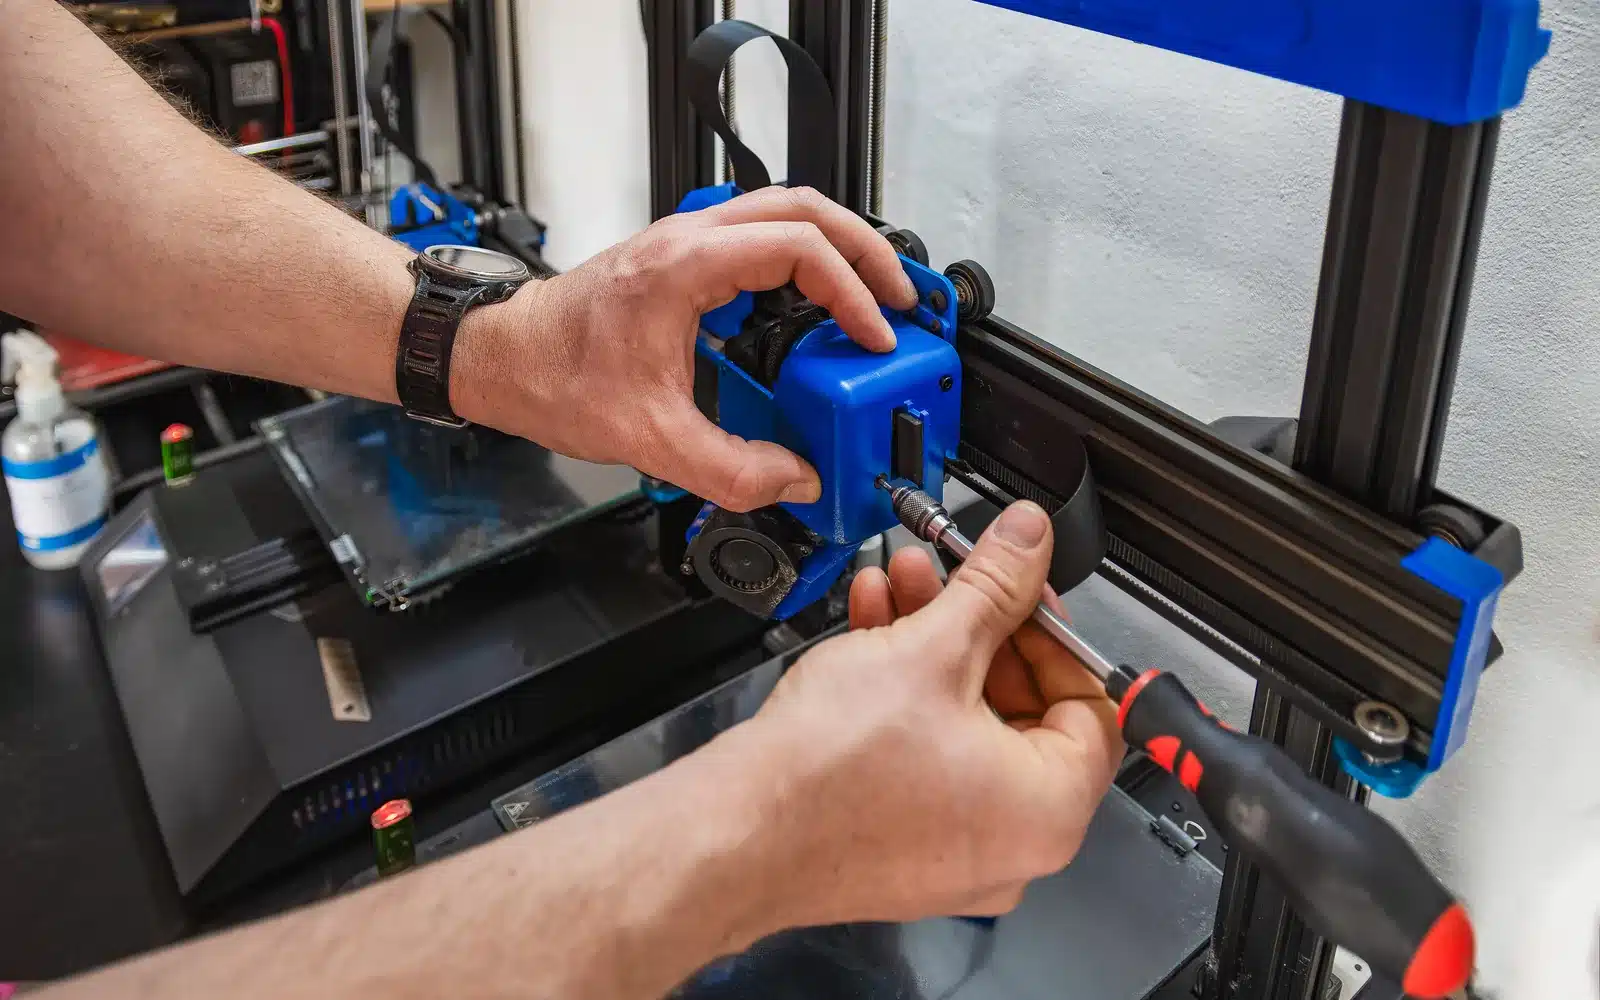
Hotend safety
The nozzle and heater can cause burns. Use heat-resistant tools specified by the printer maker, keep hands clear and never work on heater wiring while powered.
Confirm that flow is restricted
First rule out a tangled spool, cold nozzle, wrong material profile and extruder tension. Heat to the material’s normal loading temperature and command a slow purge. Repeated clicking with little or no flow supports a restriction diagnosis. If clicking continues once a restriction is ruled out, work through our extruder clicking guide to trace the sound to its cause.
1. Unload and inspect the filament tip
Use the printer’s unload routine. A widened plug, deep gear damage or a soft swollen section can identify heat creep or a feed-path problem. Cut away damaged filament before reloading.
2. Try a controlled purge
Load known clean filament at the documented temperature. Do not force the extruder lever or push hard enough to bend components. If normal pressure restores a steady strand, print a small test before further disassembly.
3. Use a cleaning needle only if supported
Some hotends allow a correctly sized needle to enter the hot nozzle from below. Wear eye protection, stabilize your hand and avoid side-loading the tip. A needle can open a path without removing all contamination.
4. Use the printer’s cold-pull method
A cold pull softens cleaning filament, allows it to fill the melt zone, then removes it at a lower temperature. Exact materials and temperatures depend on the hotend, so follow its documentation. Repeat only while the pulled tip shows contamination and the procedure remains smooth. For the full step-by-step technique, safe temperatures and common mistakes, see our dedicated cold pull guide.
When to stop
Stop if the heater reading is unstable, the nozzle cannot be held with the approved method, threads are damaged, plastic is leaking above the heater block or the manual requires hot-tightening you are not equipped to perform. Replacing a nozzle incorrectly can damage the heatbreak or create a dangerous leak.
Post-cleaning checklist
- Steady purge at normal pressure.
- No plastic leaking above the nozzle.
- Temperature reading remains stable.
- Extruder no longer clicks during a slow test.
- A small print confirms normal flow.