Beginner
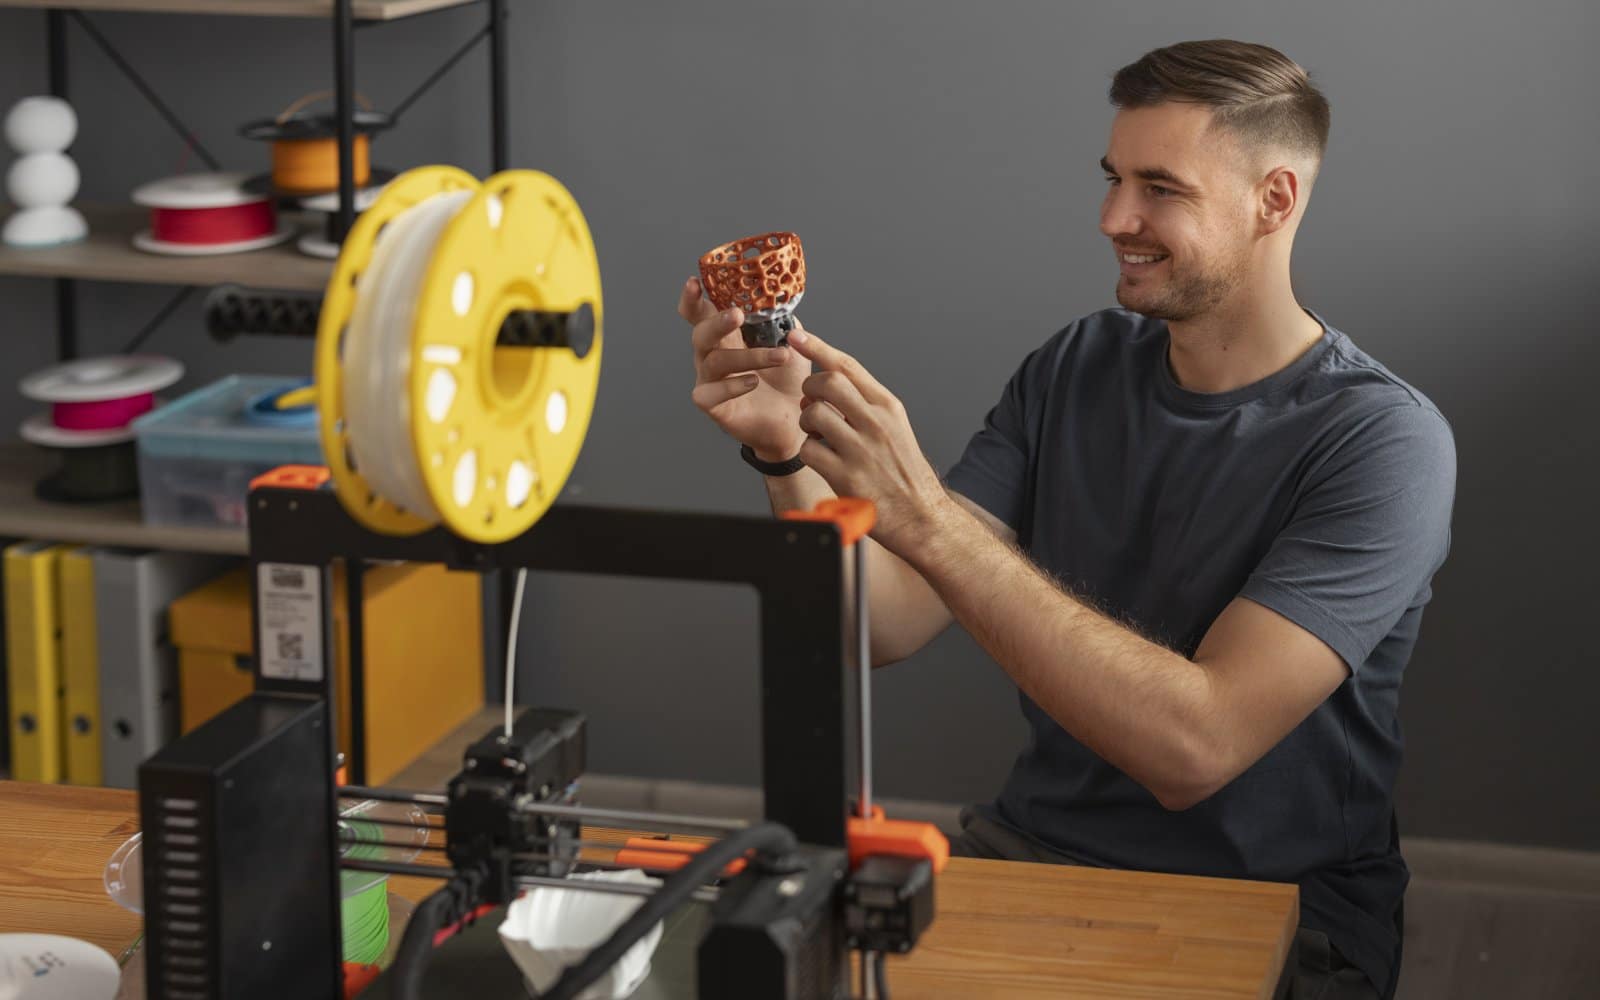
Loading and unloading filament on a Bambu Lab P1S
Load and unload filament on a Bambu Lab P1S from the rear spool or AMS, with clean tips, correct mapping and a complete purge.
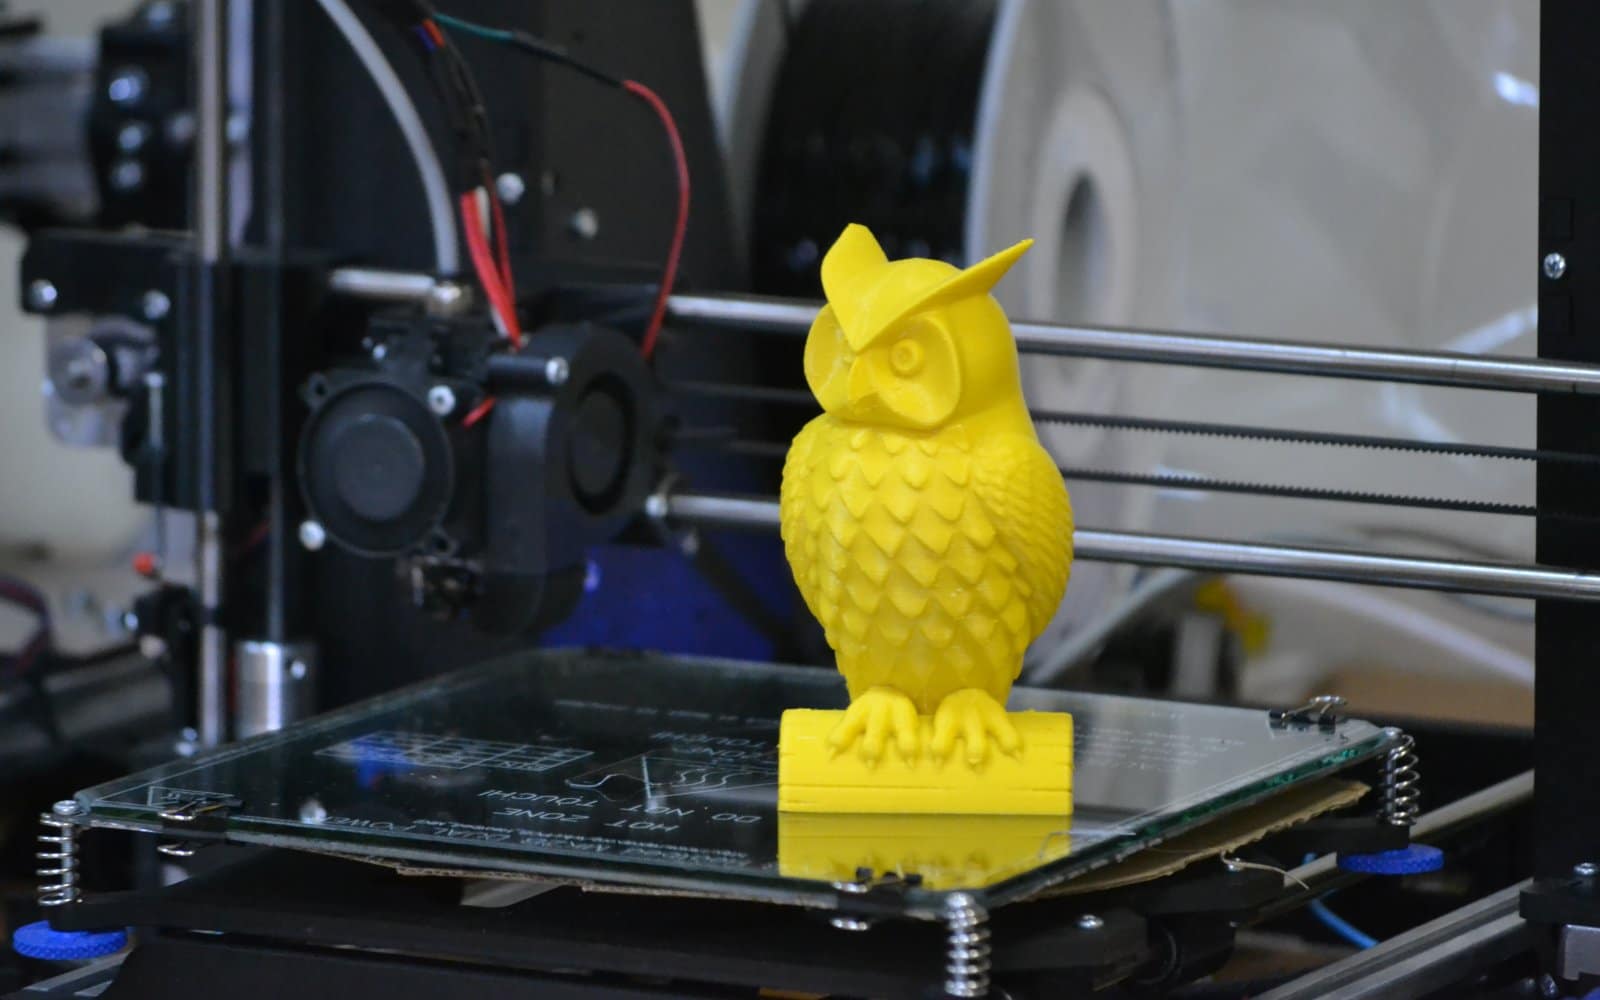
Bambu Lab P1S first print: settings worth checking
Complete a Bambu Lab P1S first print with PLA, verify the plate and filament choices, and judge the first layer before starting a long…
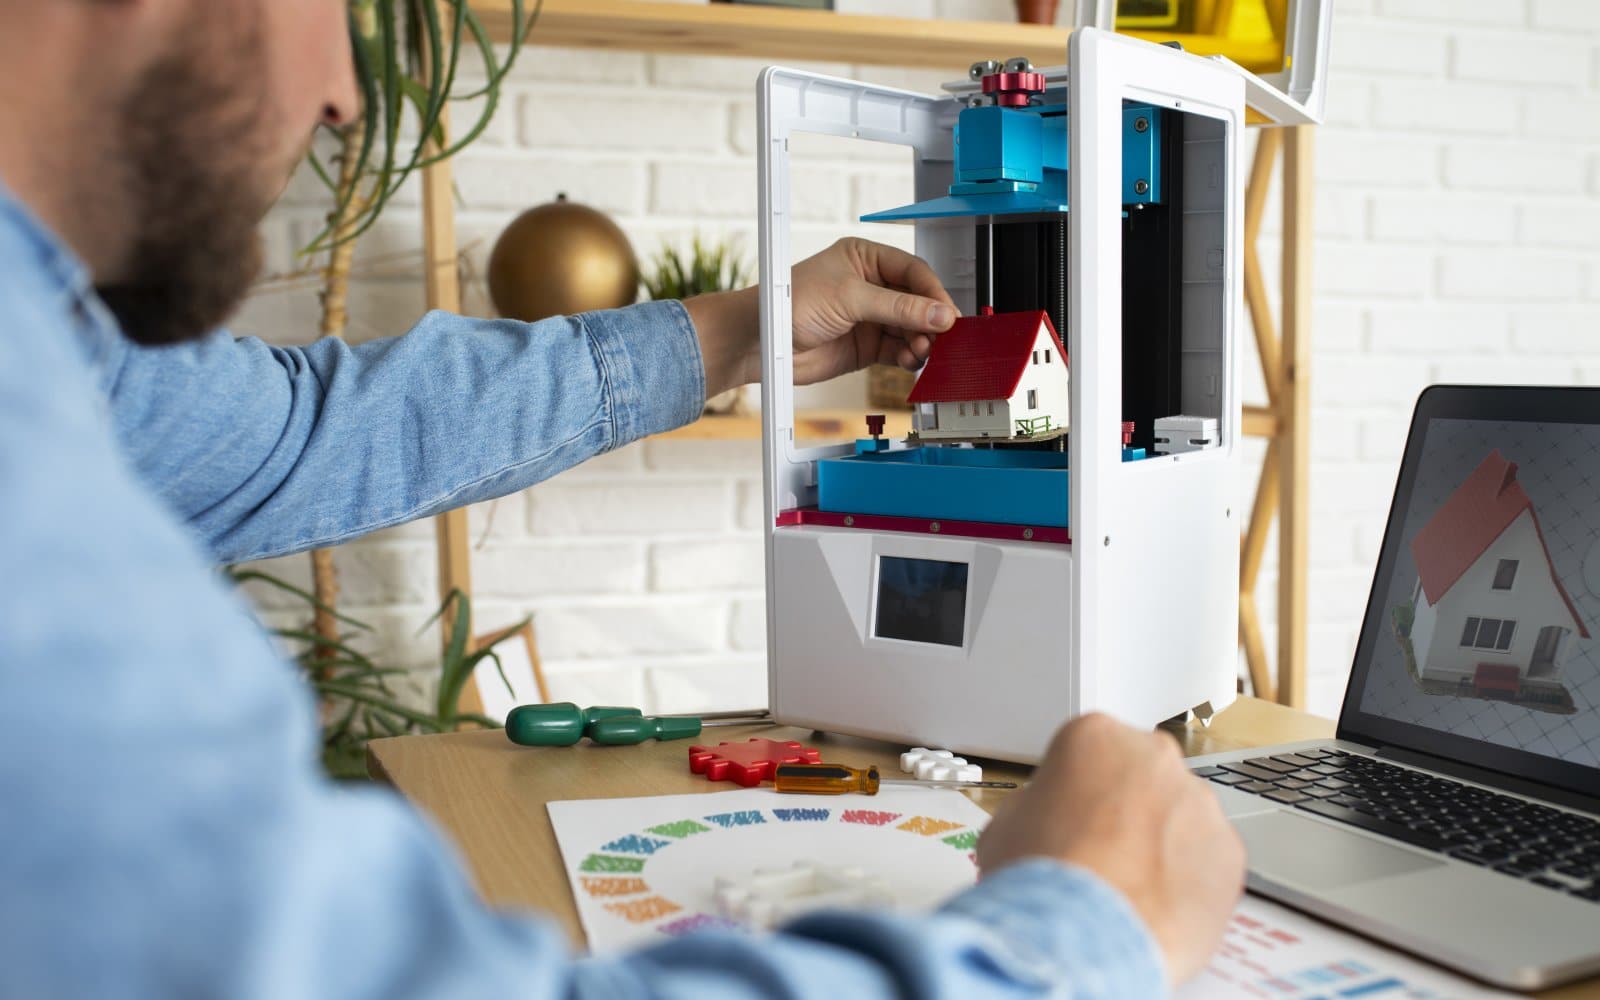
Bambu Lab P1S setup: unpacking without missing a restraint
Set up a Bambu Lab P1S, remove its internal shipping hardware, connect an AMS if fitted and complete the startup calibration safely.
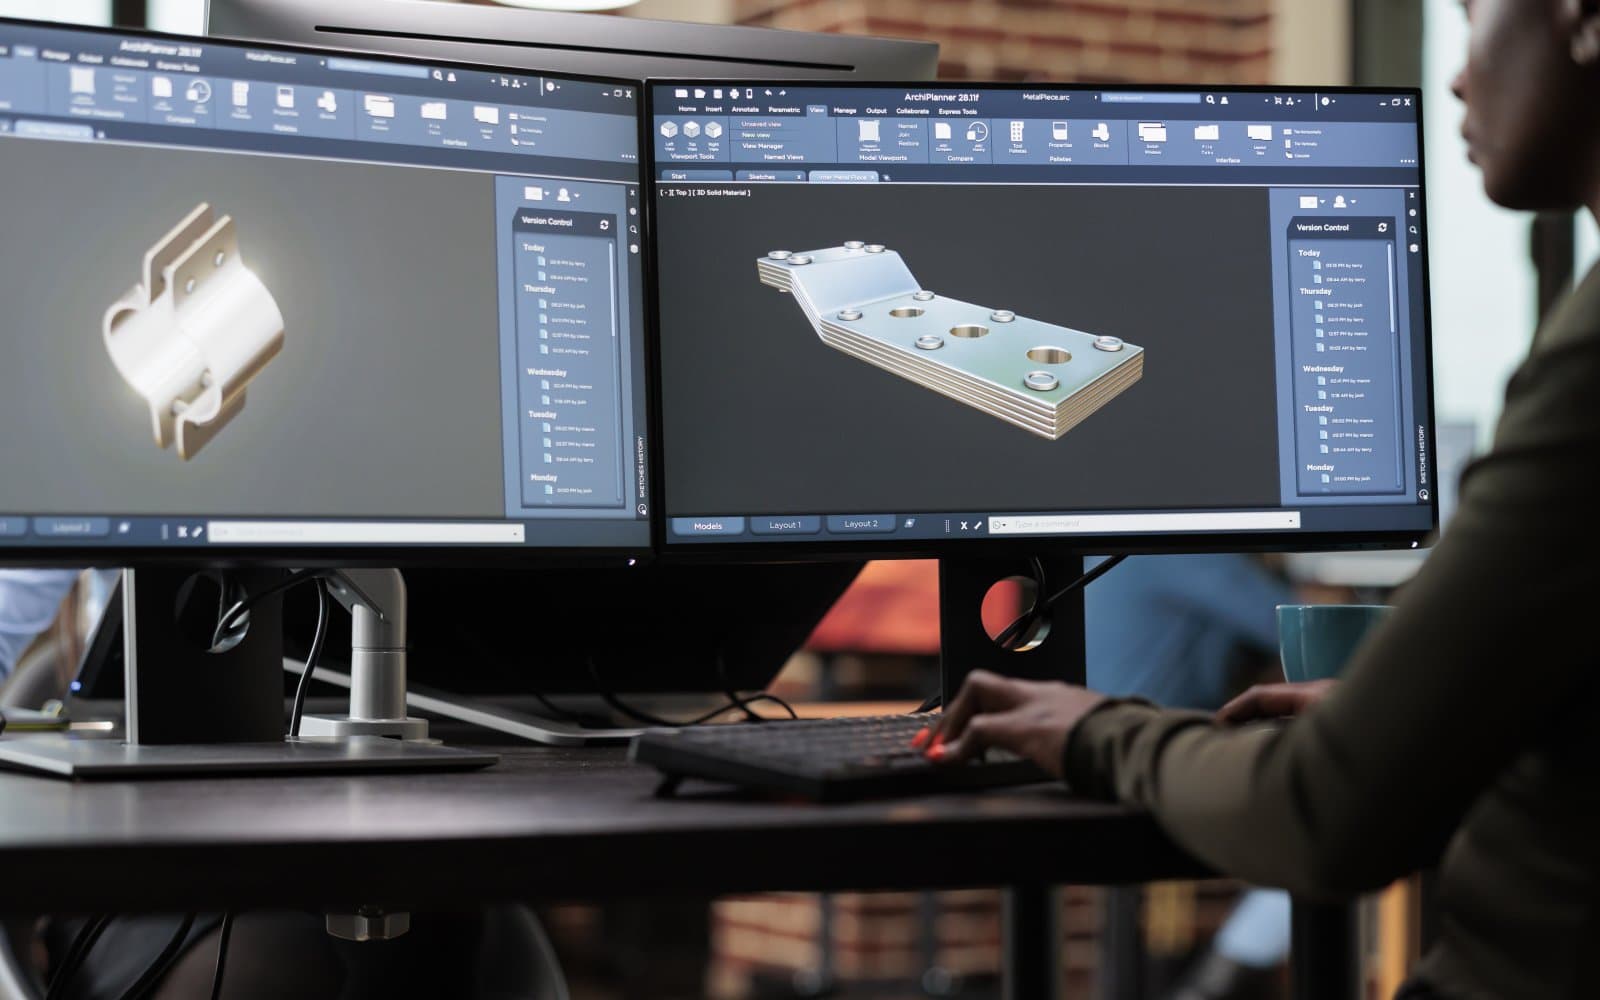
Bambu Studio setup for the Bambu Lab A1
Configure Bambu Studio for the A1, choose the exact nozzle and plate, map filament correctly and verify a sliced file before printing.
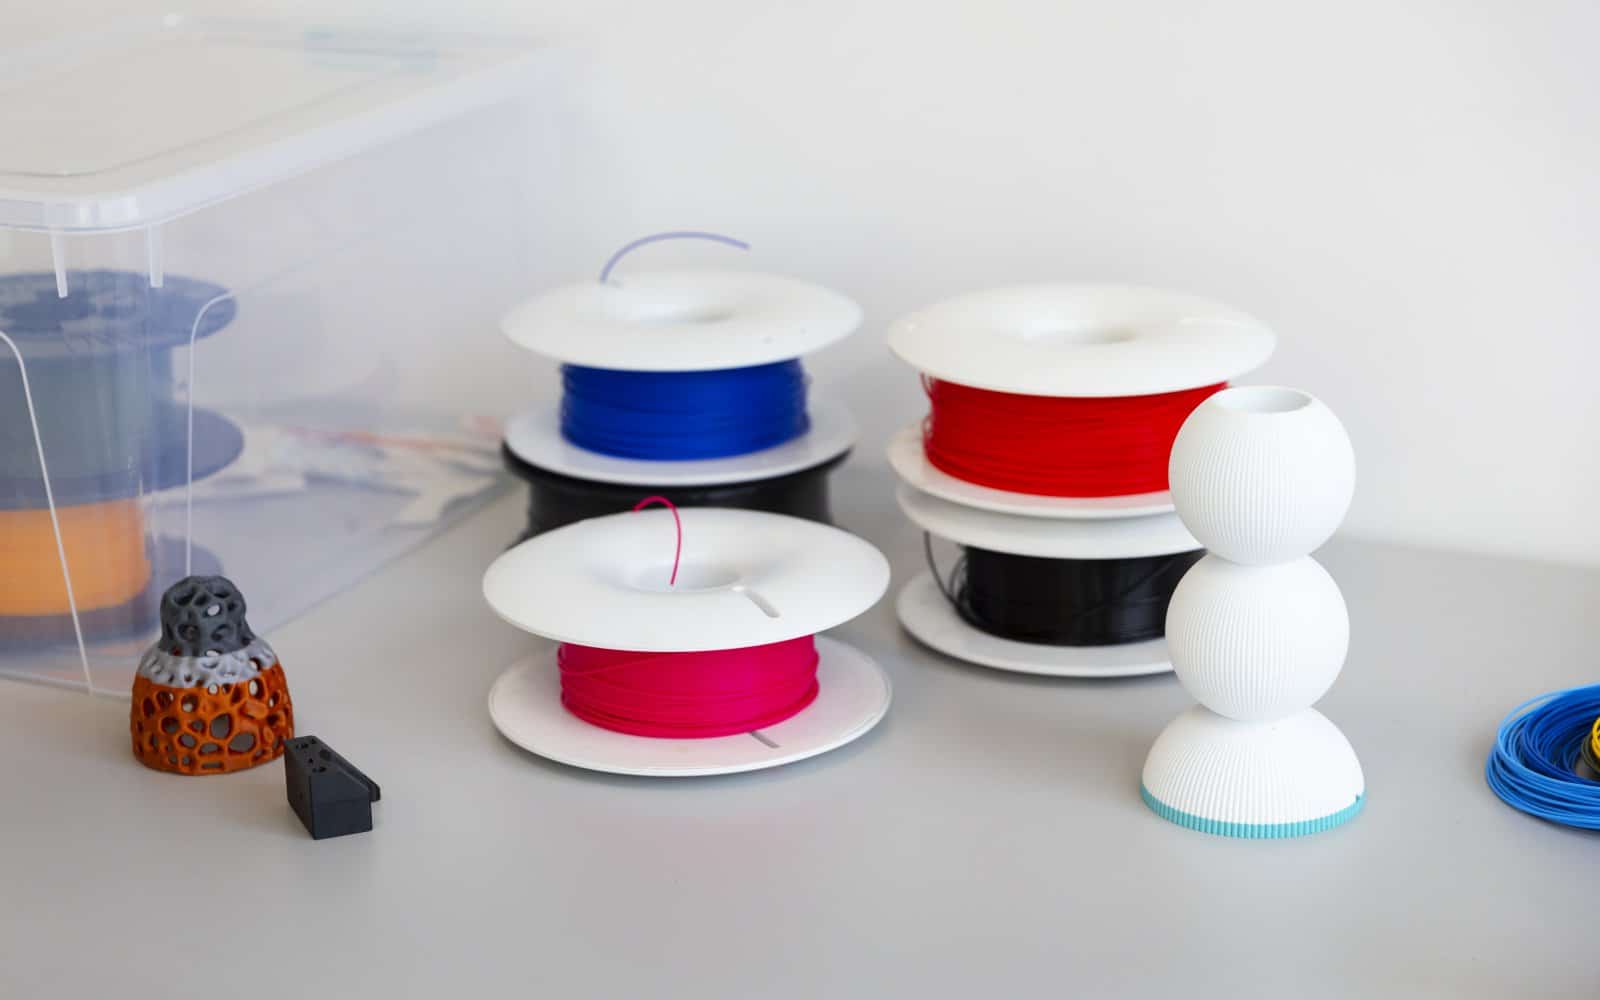
How to load and unload filament on the Bambu Lab A1
Load, unload and change filament on a Bambu Lab A1 or A1 Combo without forcing the extruder or leaving a tangled spool.
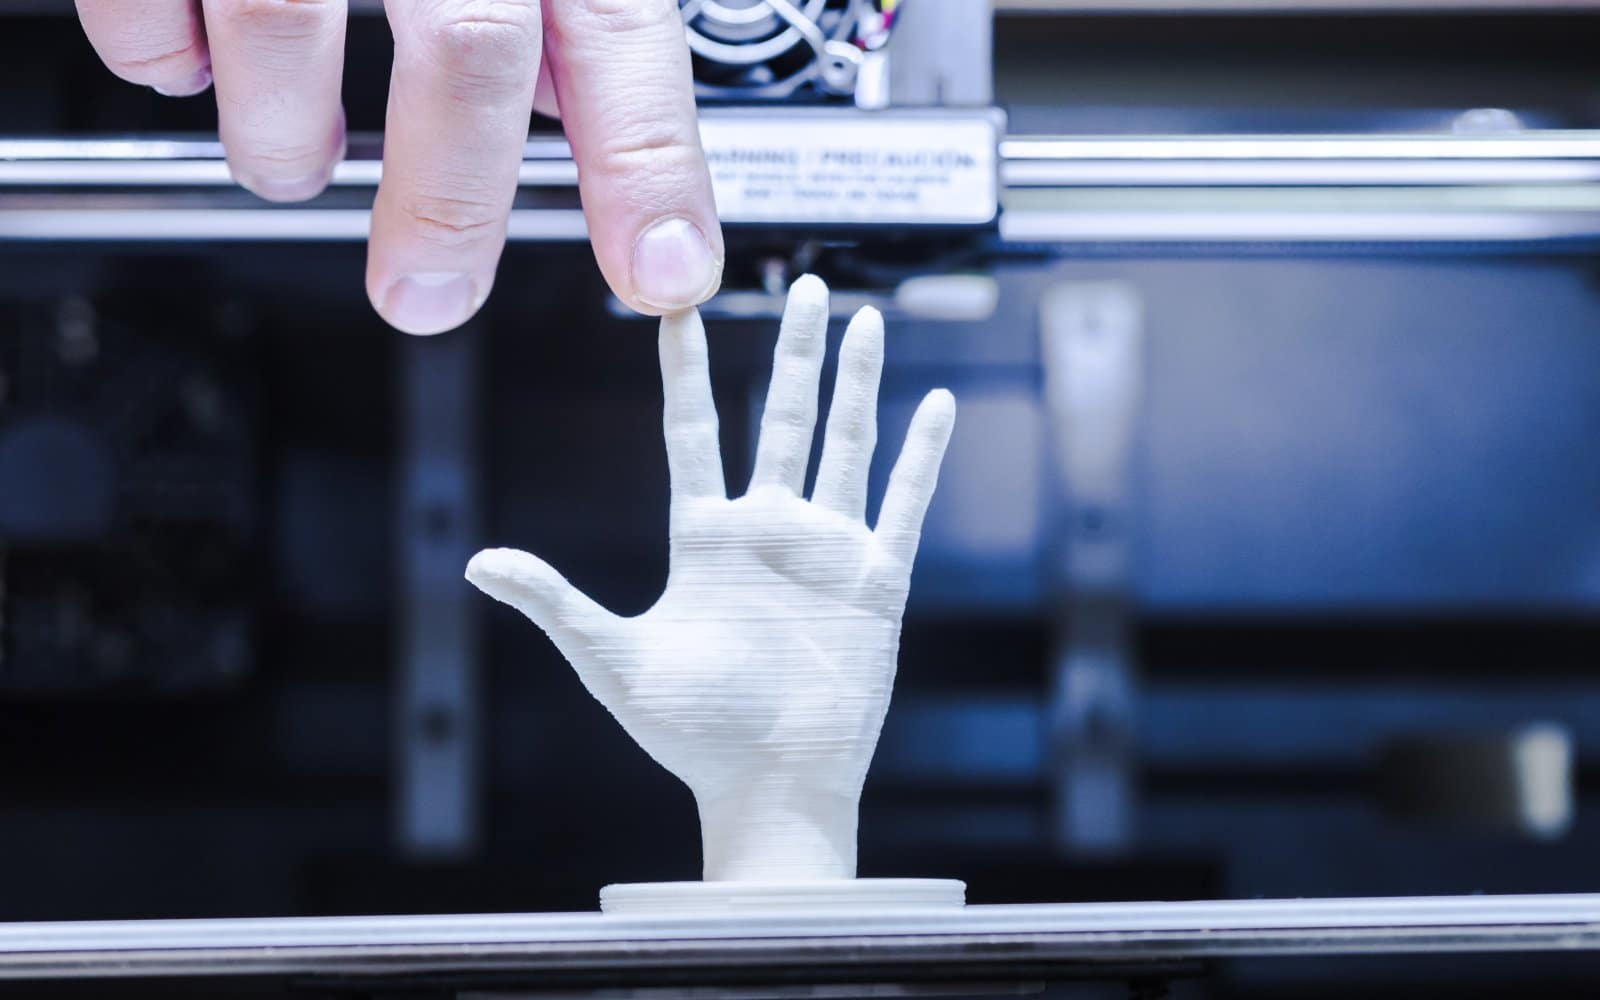
Bambu Lab A1 first print: a controlled first run
Run a Bambu Lab A1 first print with the correct plate, filament and calibration choices, then read the first layer before leaving it alone.
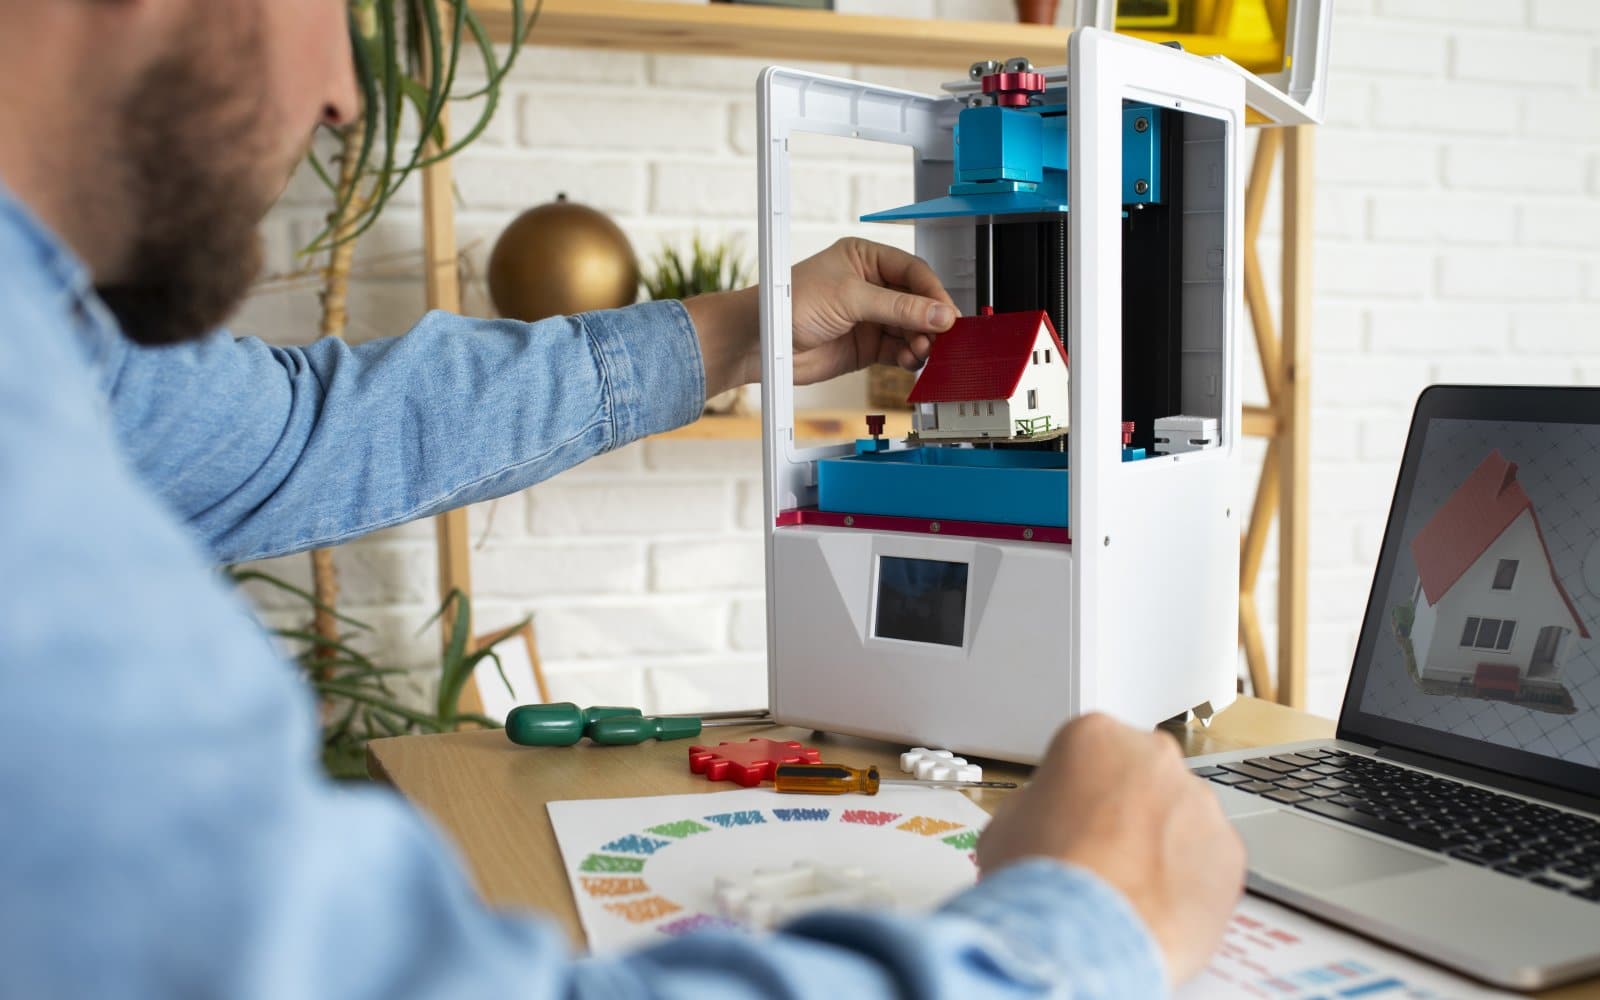
Bambu Lab A1 setup: from the box to a ready printer
Set up a Bambu Lab A1 safely, remove every transport restraint, install the spool holder or AMS lite, and complete the first calibration.
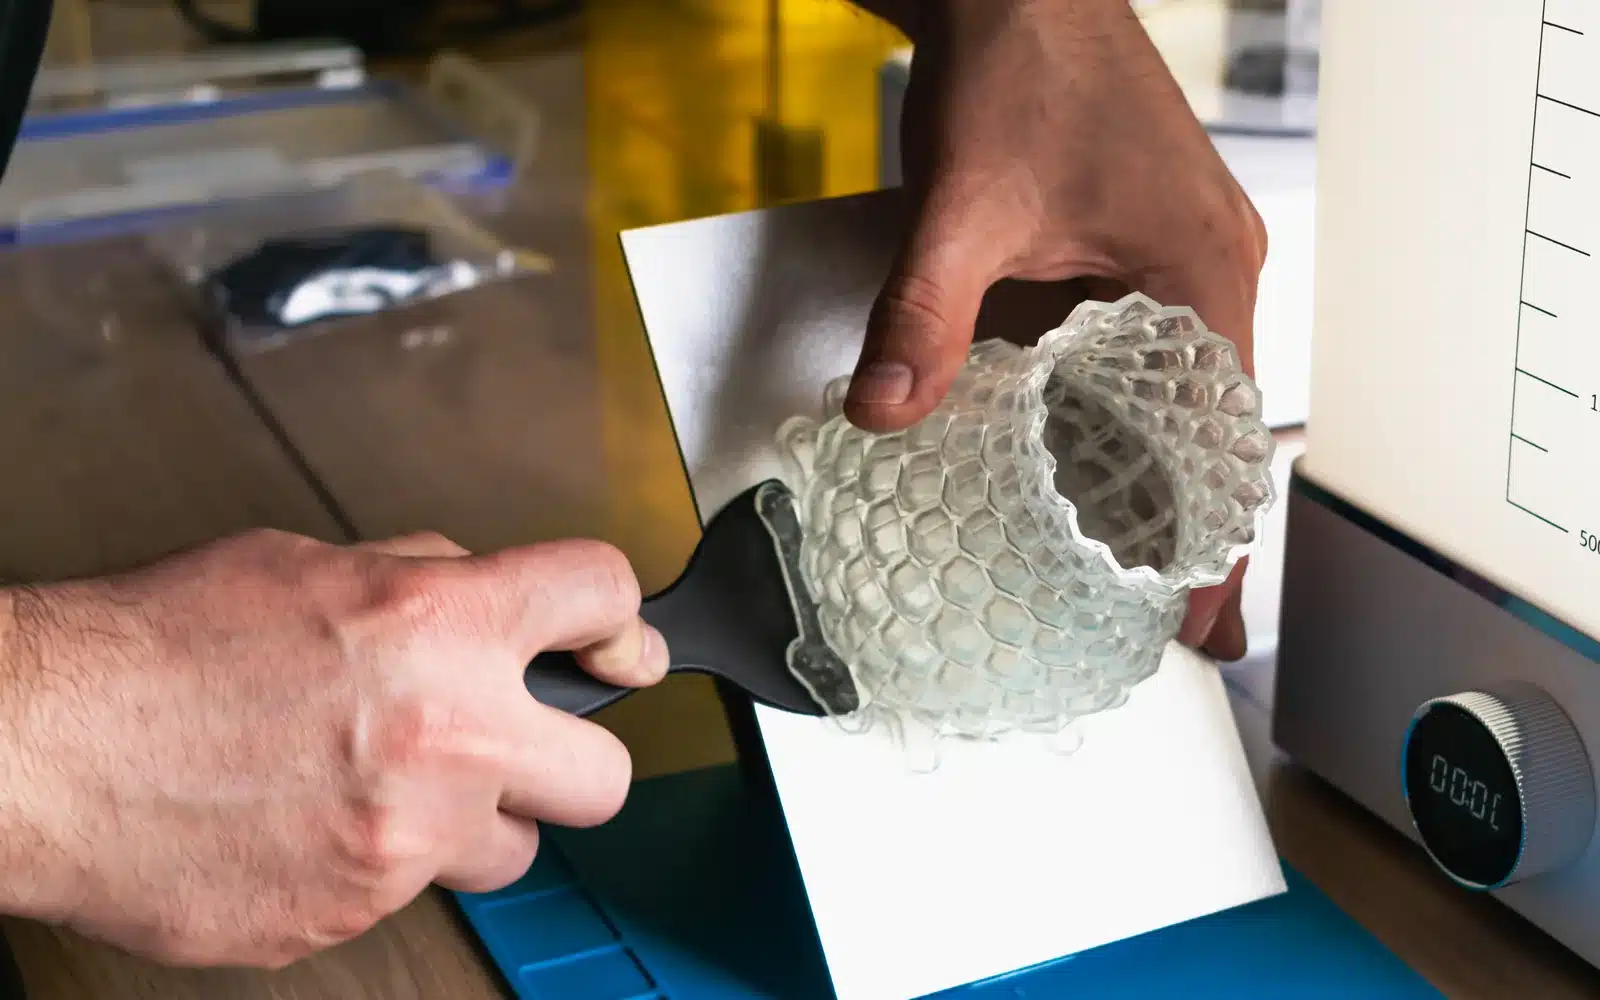
Do You Need a 3D Printer Enclosure?
Learn what an enclosure changes, which materials benefit, and why heat control and ventilation are separate problems.
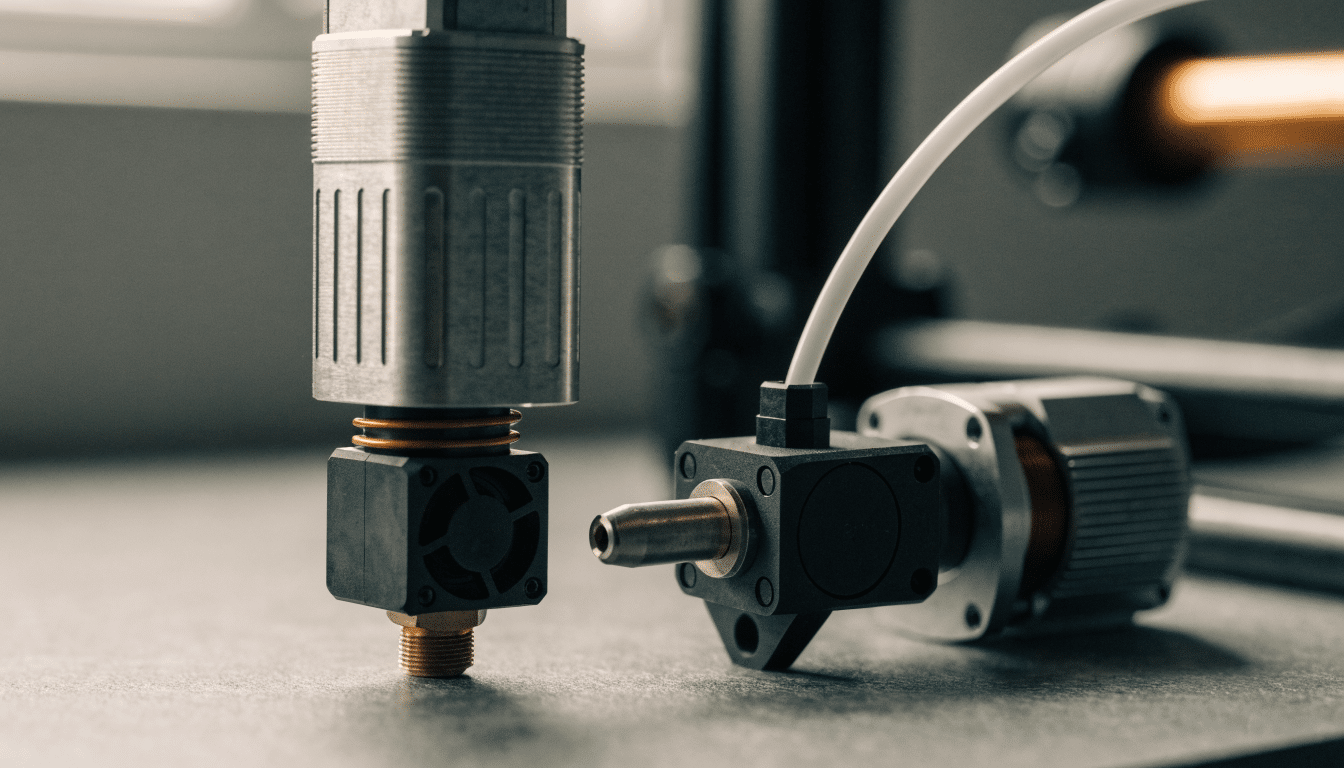
Direct Drive vs Bowden Extruder: What Changes in Real Prints?
Compare filament control, toolhead weight, retraction and flexible-material handling without treating either layout as universally better.
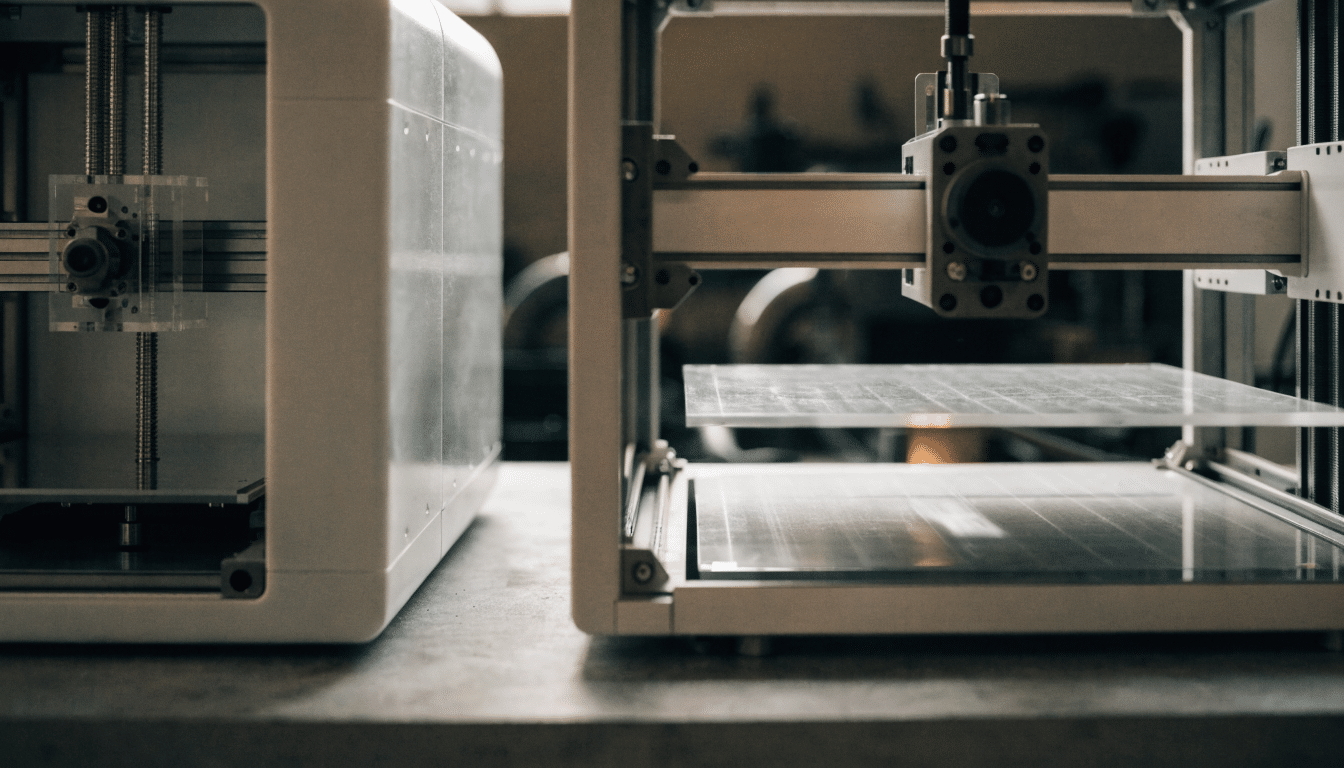
CoreXY vs Bed Slinger: Which 3D Printer Layout Fits You?
Compare motion, footprint, moving mass and maintenance before assuming that one printer layout guarantees better quality.


