Beginner
Bambu Lab H2S: Bed Leveling and Calibration
Level a Bambu Lab H2S’s bed with its heatbed force sensors and eddy current coil, and know when a nozzle swap, plate swap, or…
Bambu Lab H2S: First Print Walkthrough
A practical walkthrough of the Bambu Lab H2S’s first real print, from starting the job on a single-nozzle machine to what the chamber camera…
Bambu Lab H2S: Unboxing and Safe First Setup
Unbox a Bambu Lab H2S, clear its transport locks and shipping foam, and get through Wi-Fi pairing and Bambu Handy binding before this large-volume…
Bambu Lab H2D: Bambu Studio Setup
A practical walkthrough of installing Bambu Studio, connecting an H2D over cloud or LAN Only Mode, and setting up its dual-nozzle printer profile, filament…
Bambu Lab H2D: First Print Walkthrough
A practical walkthrough of the Bambu Lab H2D’s first real print, from picking a model that matches each hotend’s loaded filament to what the…
Bambu Lab P1P: Bambu Studio Setup
A practical walkthrough of installing Bambu Studio, connecting a P1P over cloud or LAN Only Mode, and setting the correct printer, nozzle, plate, and…
Bambu Lab P1P: Loading, Unloading and Changing Filament
How to load, unload and change filament on a Bambu Lab P1P, covering the direct rear spool path and the full AMS workflow if…
Bambu Lab P1P: Bed Leveling and Calibration
See how the P1P actually levels its bed and runs flow dynamics calibration without the X1 Carbon’s lidar, and know which manual steps and…
Bambu Lab P1P: First Print Walkthrough
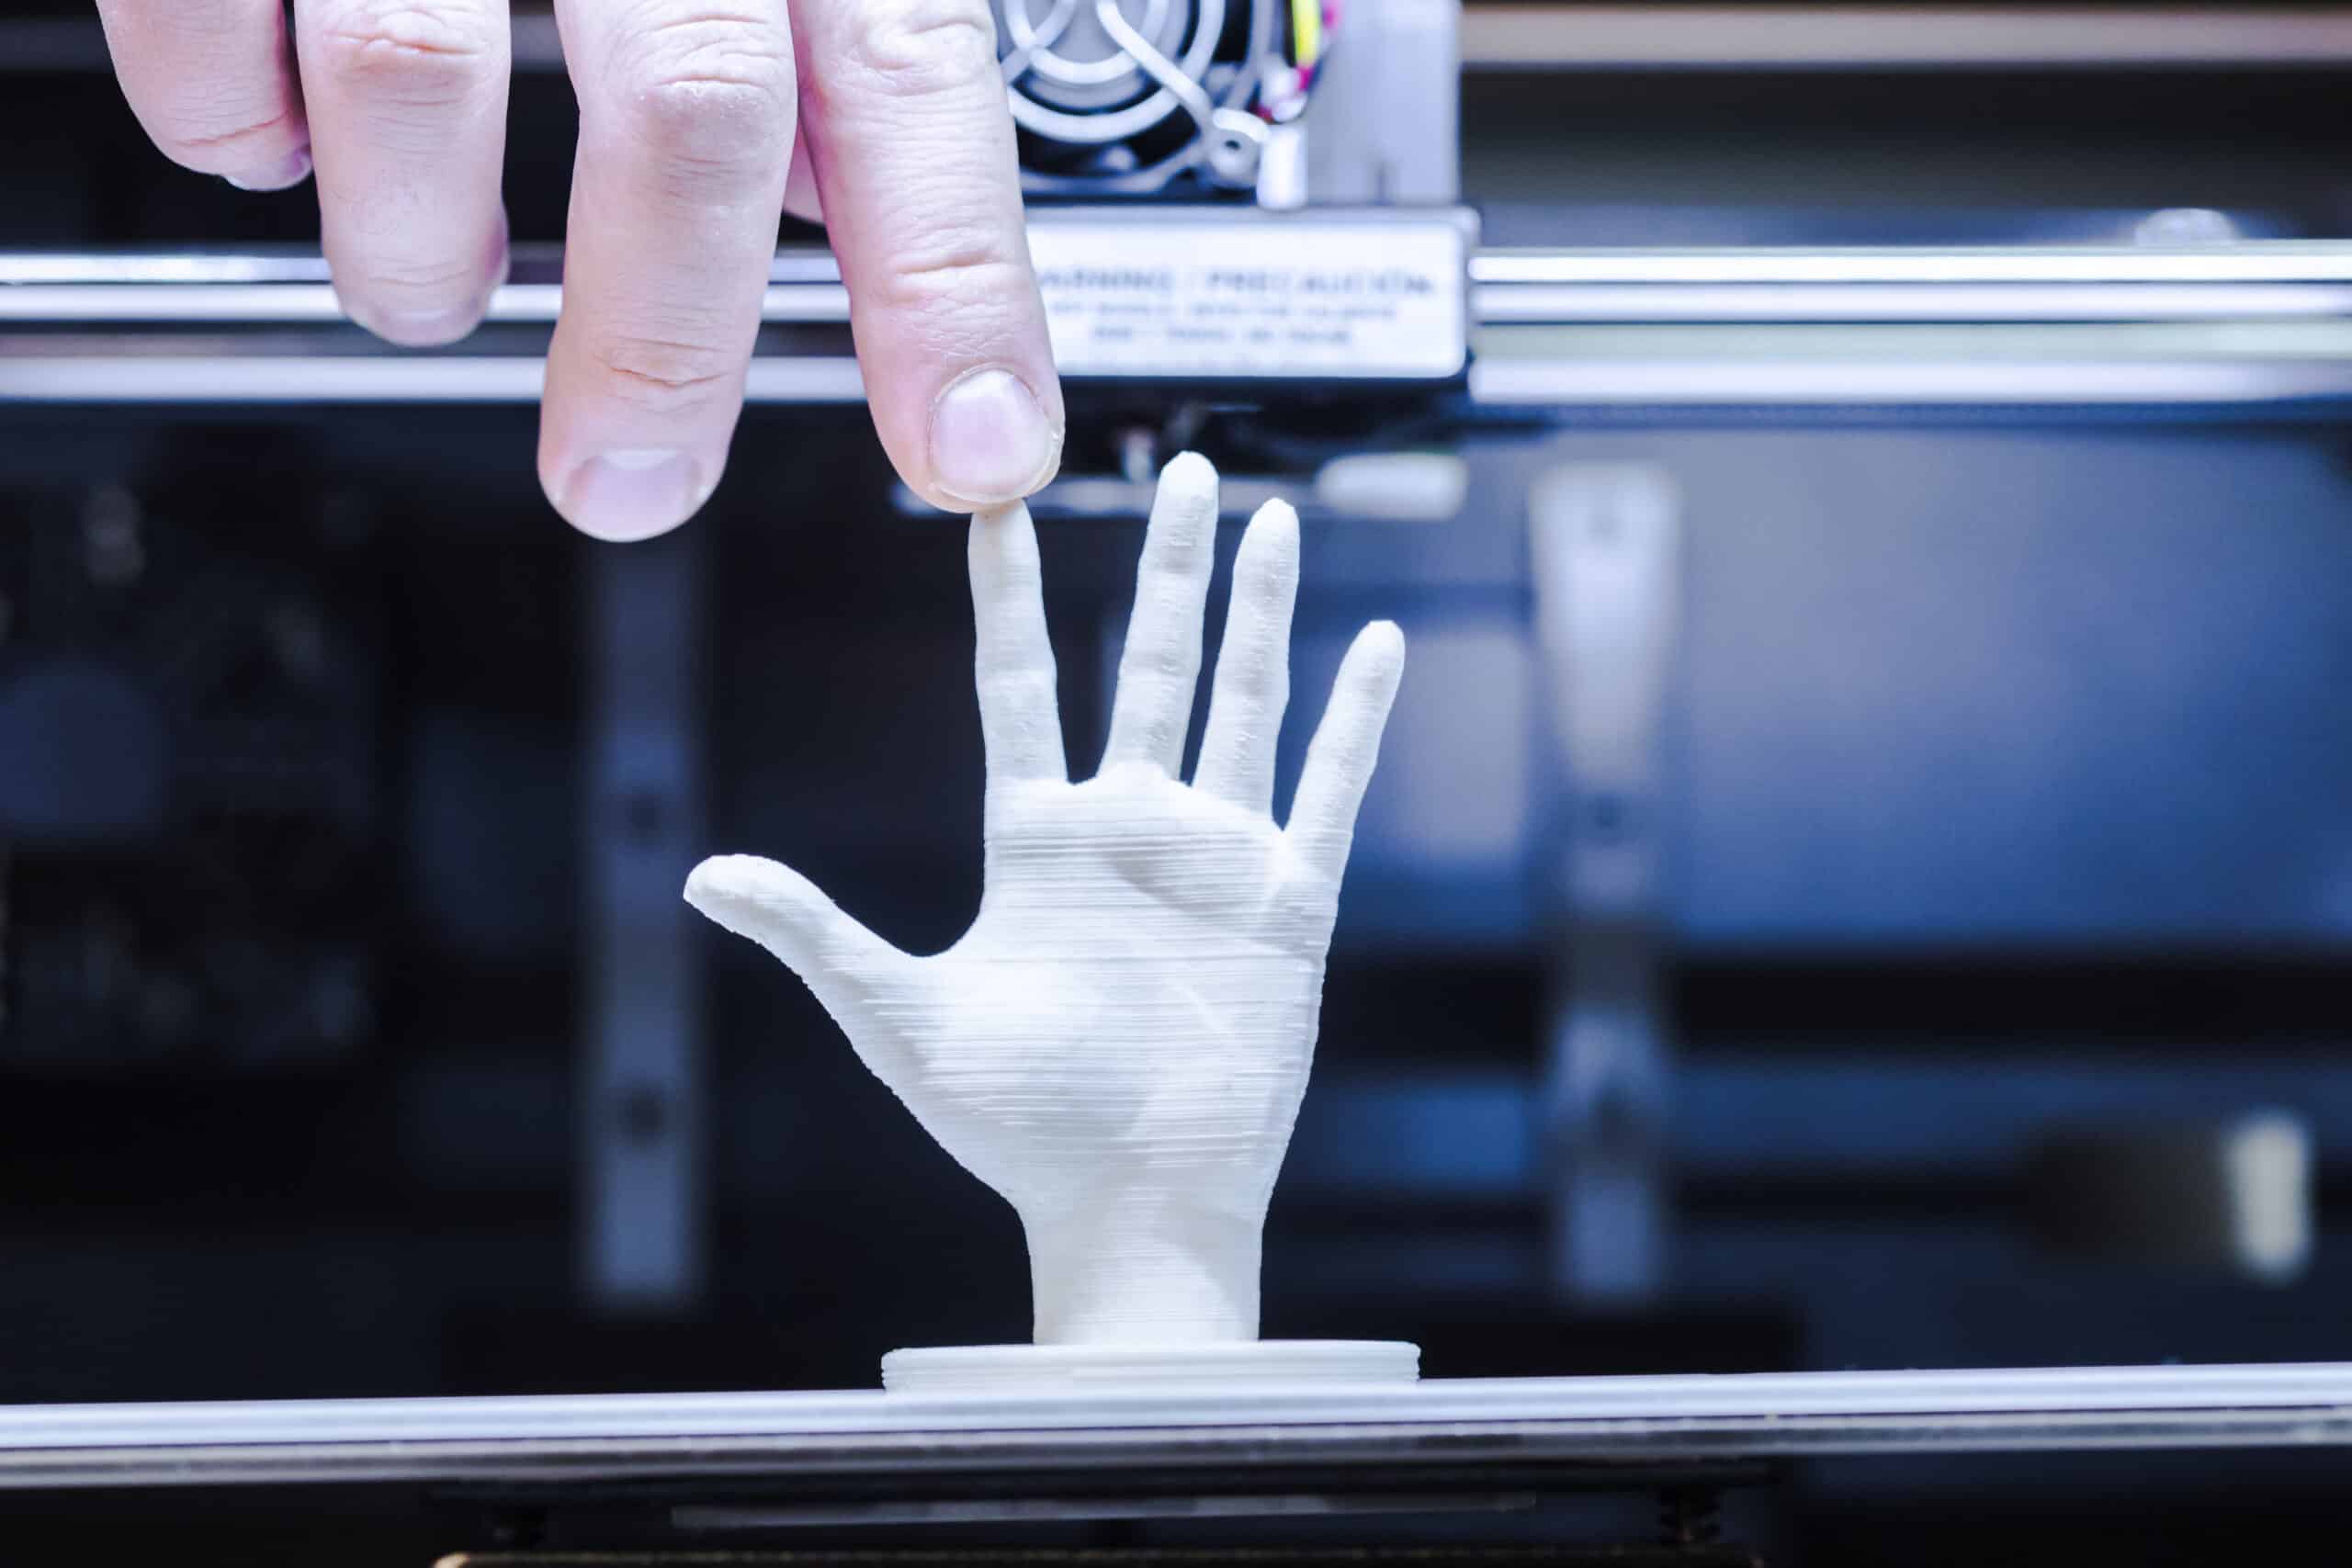
A practical walkthrough of the Bambu Lab P1P’s first real print, covering how to start it from the printer screen or Bambu Studio and…
Bambu Lab P1P: Unboxing and Safe First Setup
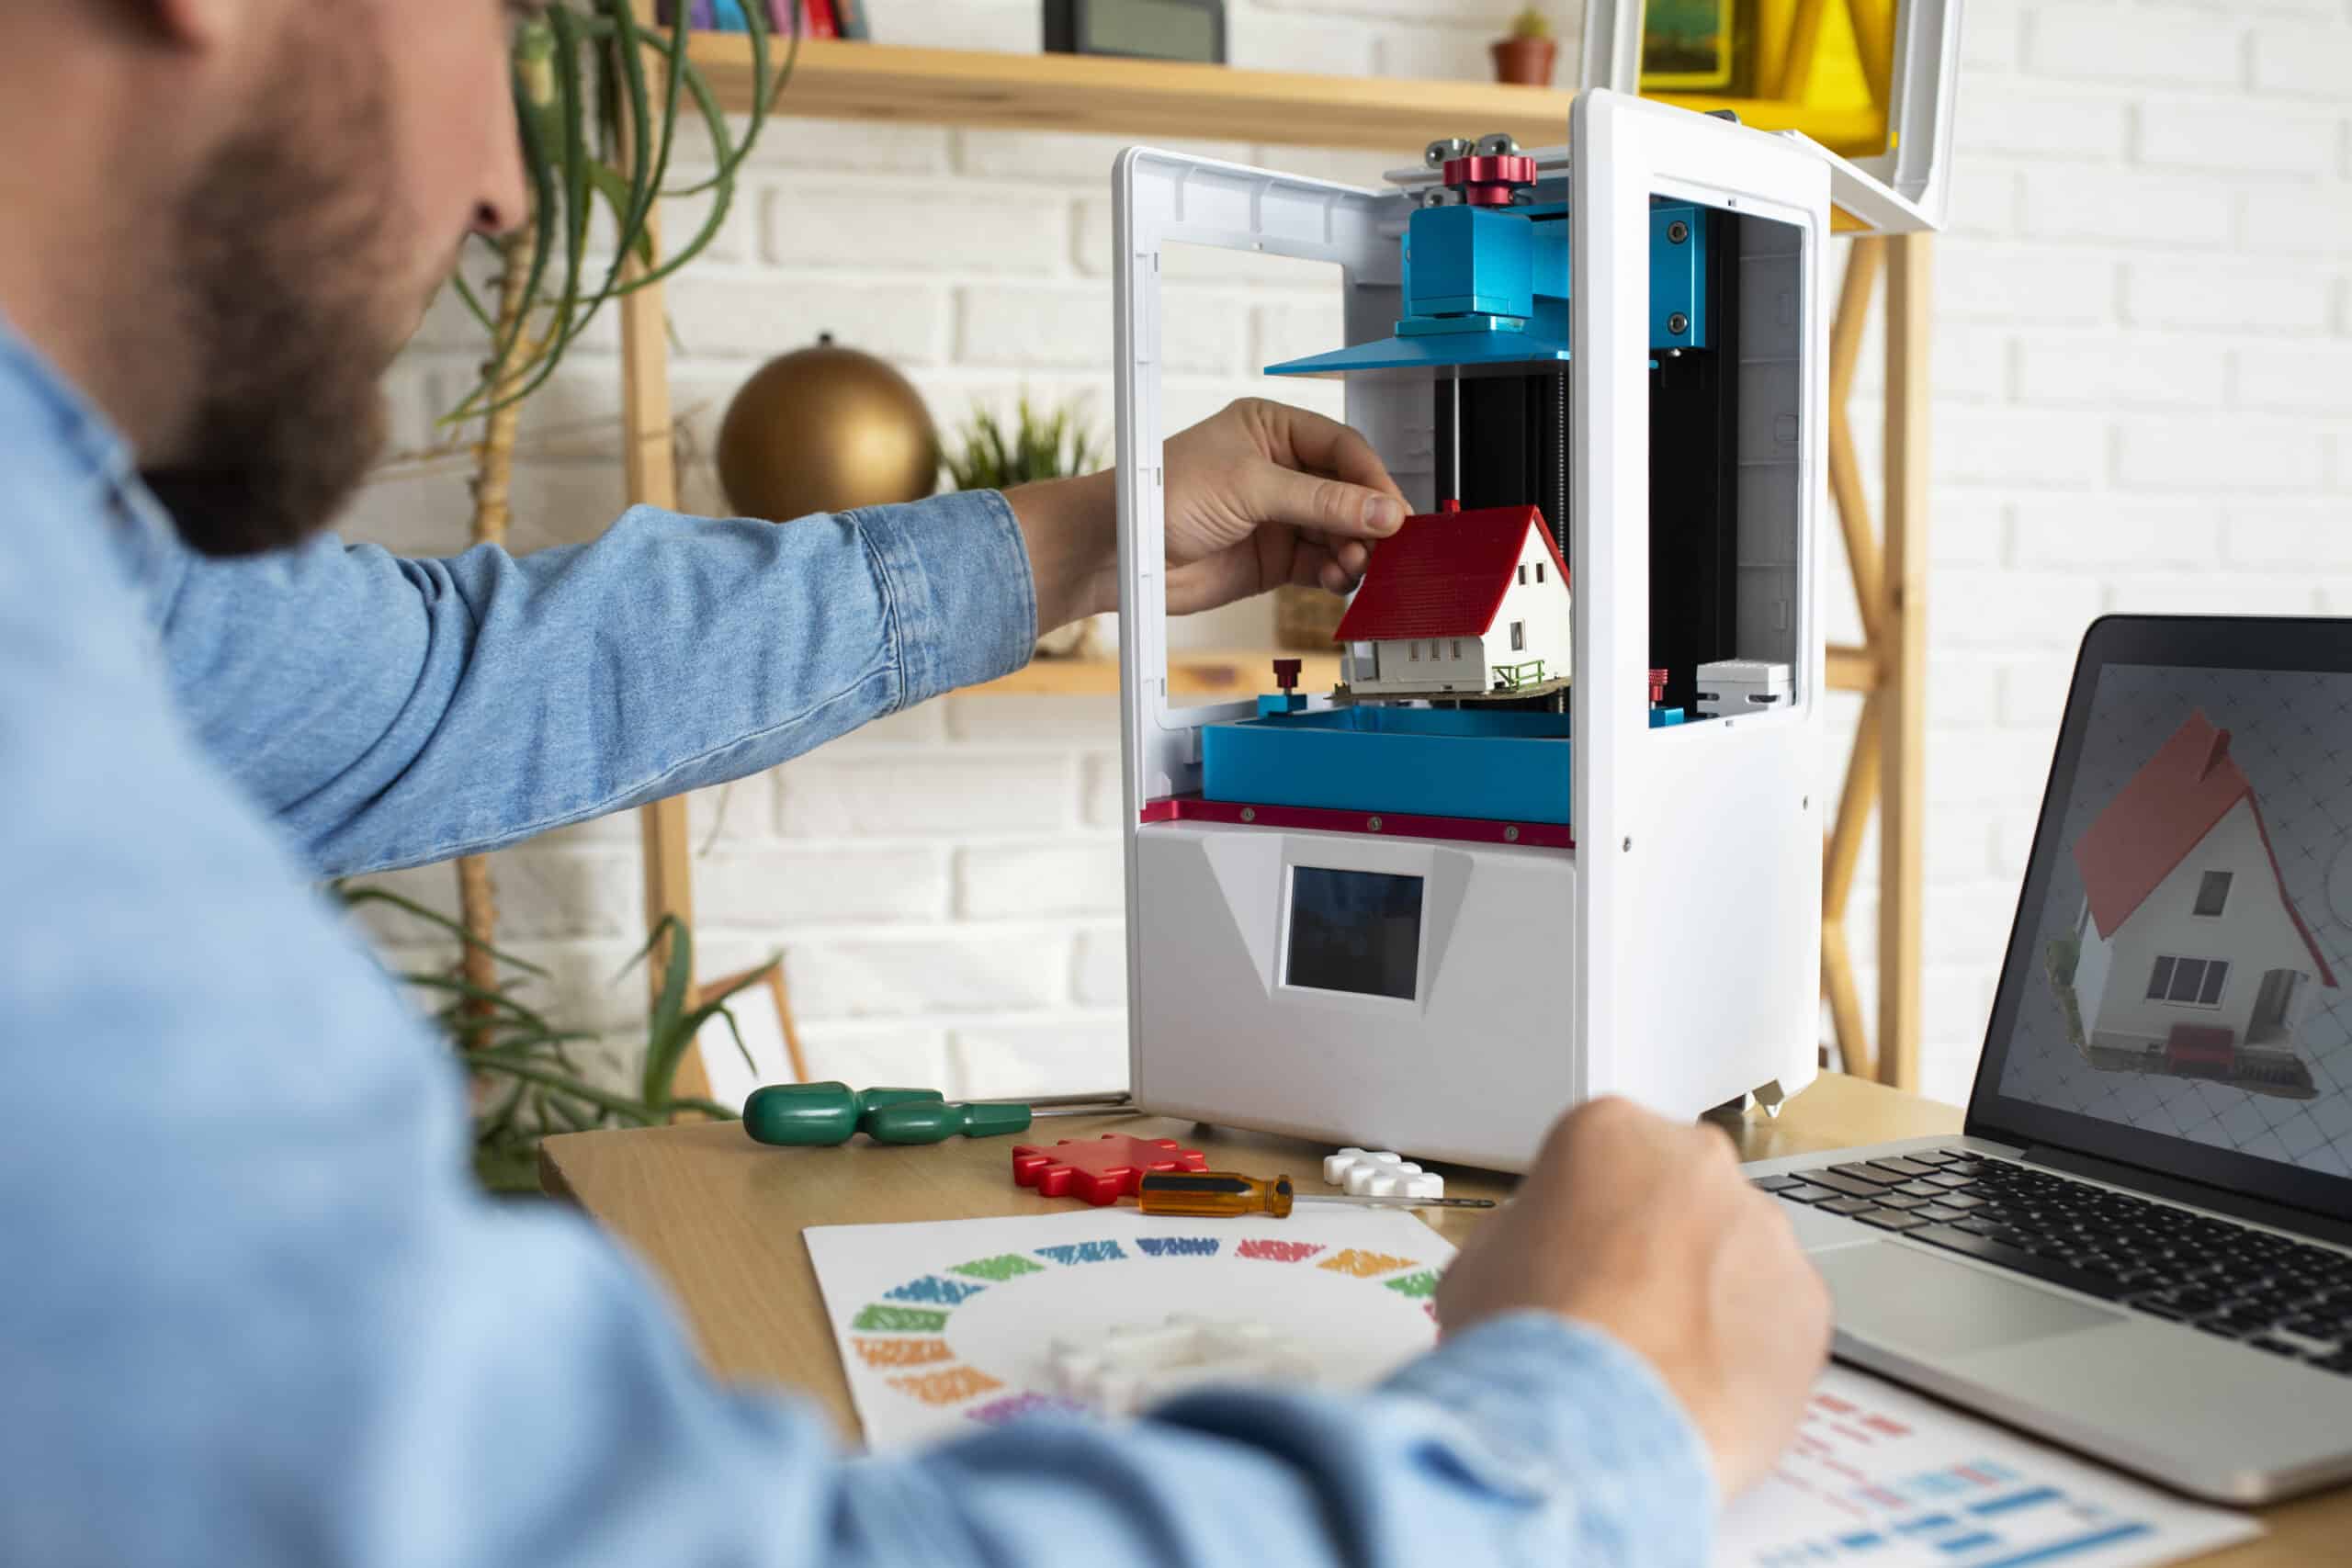
Unbox a Bambu Lab P1P safely: what’s actually in the box, removing the heatbed transport screws, first power-on, and an honest look at what…


