Beginner

Anycubic Photon Mono 4 error code index
Use the exact message shown on an Anycubic Photon Mono 4 to find the right official fix, and know which faults call for a…
Anycubic Kobra 3 error code index
Find and read Anycubic Kobra 3 error codes correctly, check the obvious causes first, and know when a fault needs manufacturer support.

Photon Workshop setup for the Anycubic Photon Mono 4
Install Anycubic Photon Workshop, add the Photon Mono 4 printer profile and set the basic exposure values before slicing a first resin file.

Filling, changing and storing resin on the Anycubic Photon Mono 4
Fill, change and store resin safely on the Anycubic Photon Mono 4, from pouring the vat to keeping leftover resin usable between prints.
Anycubic Slicer Next setup for the Kobra 3
Set up Anycubic Slicer Next for a Kobra 3 with the correct printer profile, nozzle diameter and build volume before the first real print.
Anycubic Photon Mono 4 first print: a controlled first run
Run a controlled first print on the Anycubic Photon Mono 4, from pouring standard resin to safely removing the finished part.
How to load and unload filament on the Anycubic Kobra 3
Load and unload filament on the Anycubic Kobra 3’s direct drive extruder, including spool sizing, ACE Pro multicolor setup and the on-screen preheat routine.
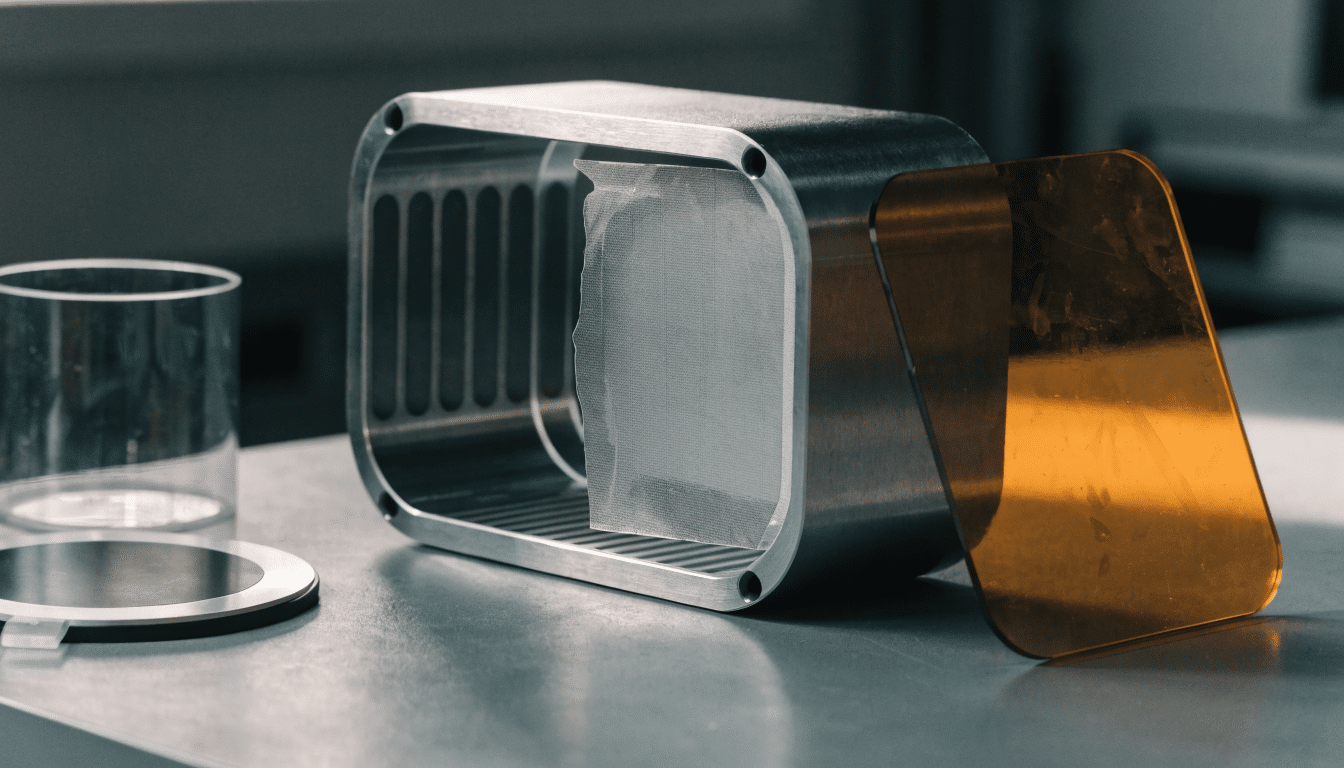
Anycubic Photon Mono 4 setup: from the box to a ready printer
Set up the Anycubic Photon Mono 4 safely, from unboxing and vat placement to your first resin-ready startup.
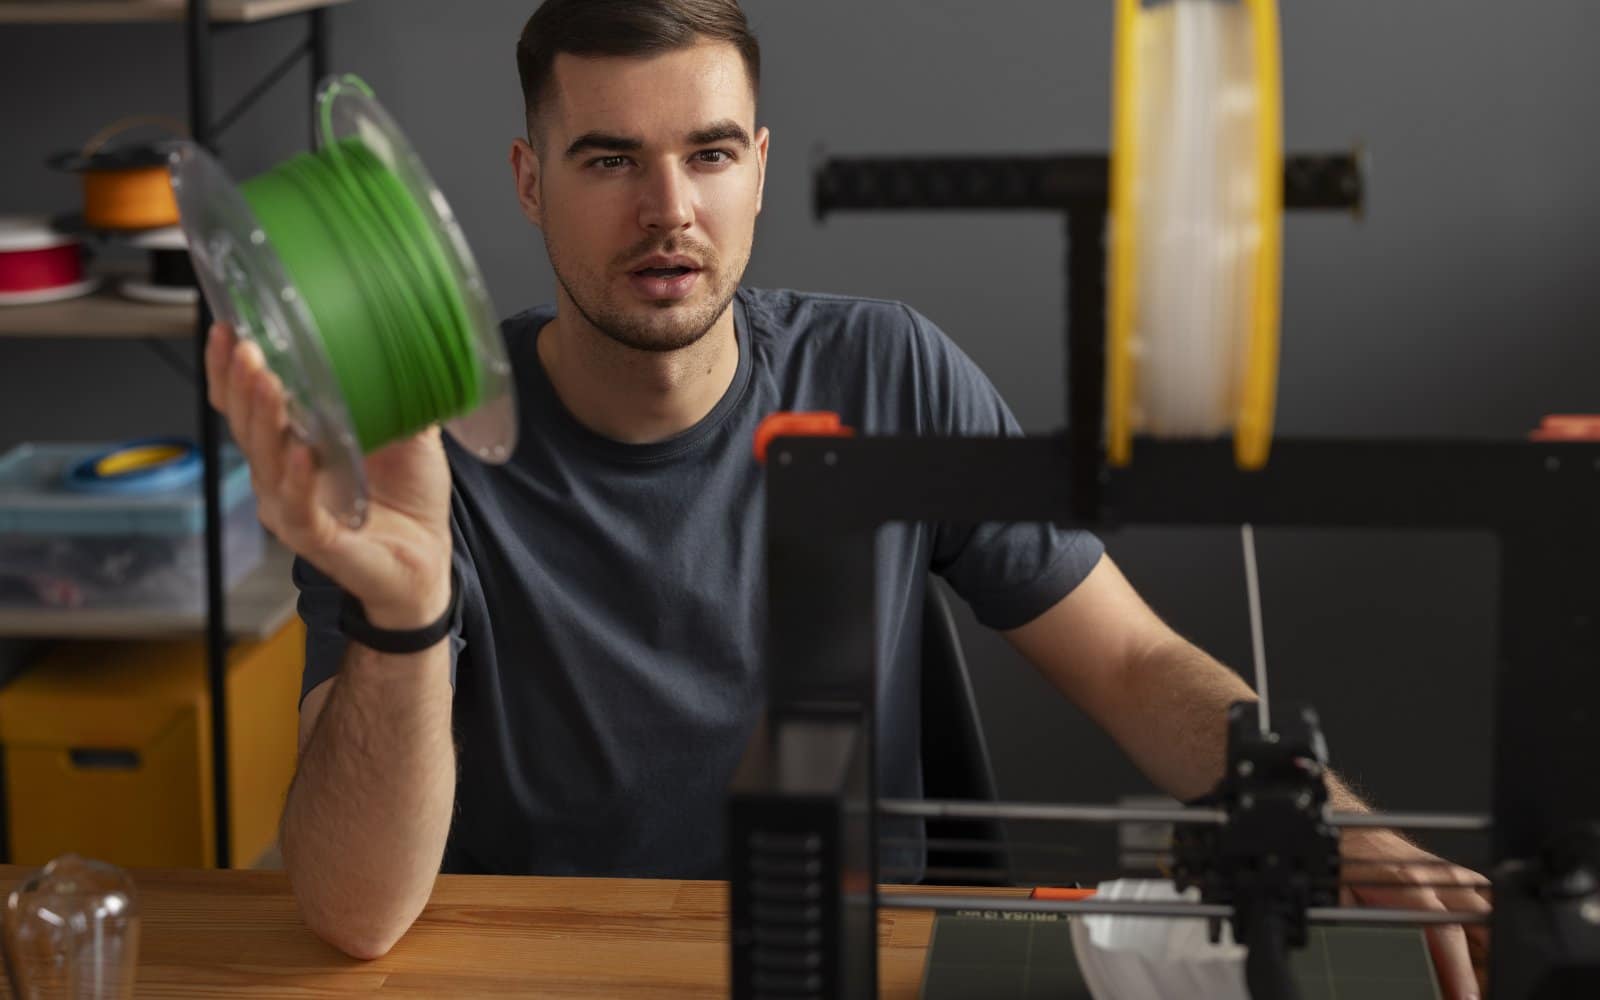
Anycubic Kobra 3 first print: a controlled first run
Run a controlled first print on the Anycubic Kobra 3: pick a safe test file, confirm LeviQ 3.0 leveling, and watch the first layer…
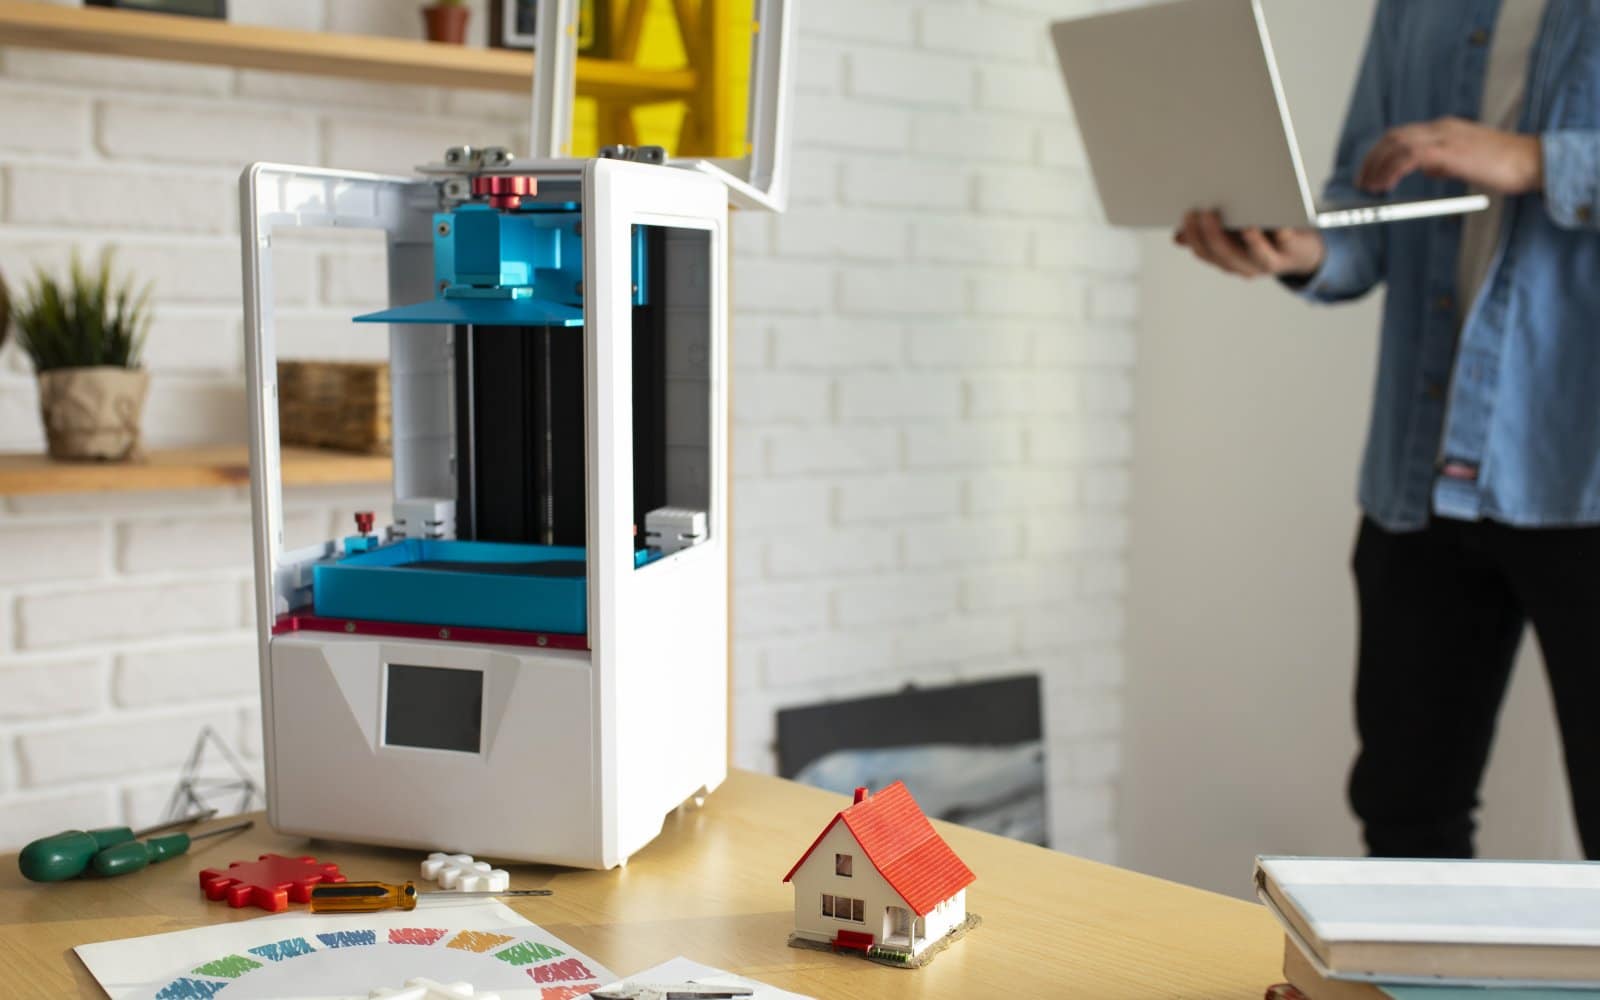
Anycubic Kobra 3 setup: from the box to a ready printer
Set up an Anycubic Kobra 3 step by step: clear every transport restraint, mount the spool holder, run LeviQ 3.0 leveling and check the…


