Beginner
Sovol SV08 first print walkthrough: slicing and sending your first job
Install Sovol’s OrcaSlicer build for the SV08, pick the right printer and filament presets, and send your first print over the WiFi connection set…

Sovol SV08 unboxing and first setup: from crate to first connection
Position the Sovol SV08’s CoreXY flying gantry with room to move, power it on, check the firmware version, and connect to WiFi so Mainsail…
QIDI Q2 error and alert code index
What QIDI has documented so far for Q2 error and alert conditions, what triggers each one, and how to clear it.
QIDI Q2 slicer and printer-profile setup for Klipper, OrcaSlicer and PrusaSlicer
Set up QIDI Studio on the QIDI Q2, from first launch through slicing and sending a print, and see why its Klipper firmware also…
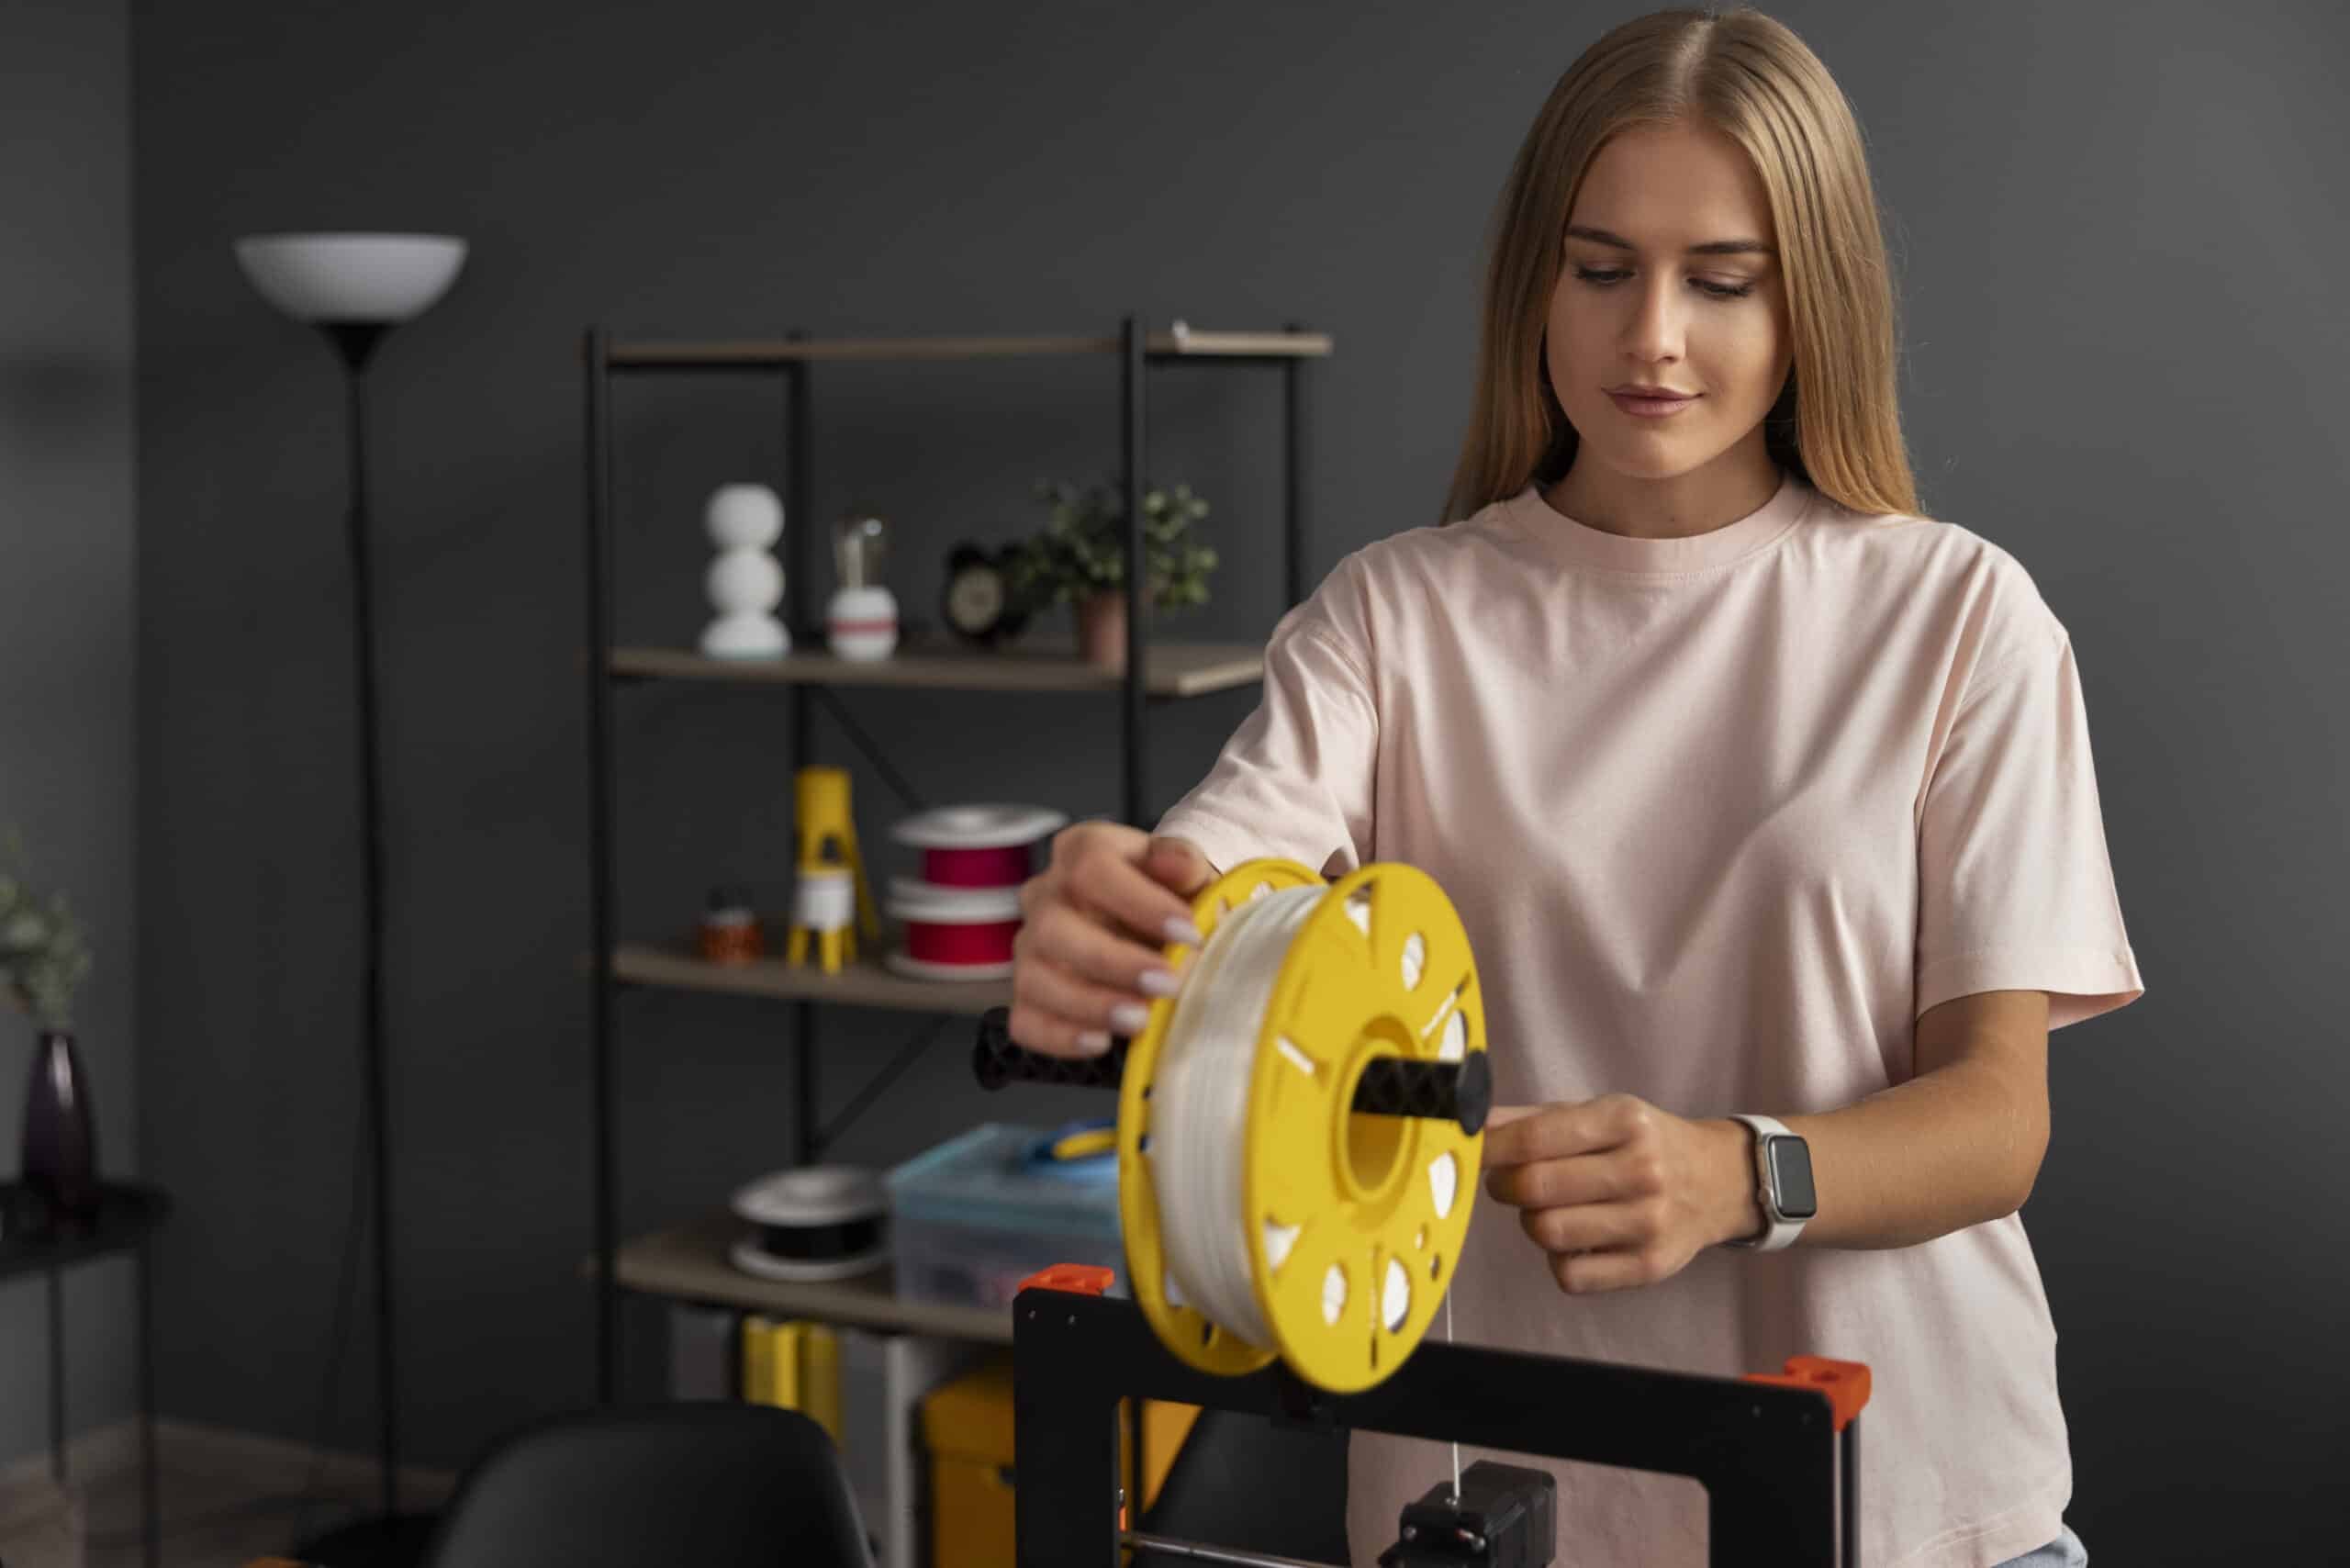
How to load, unload and change filament on the QIDI Q2
Load filament into the QIDI Q2 with the automatic or manual method, then unload it and swap in a new spool through the printer’s…
QIDI Q2 first print walkthrough: from QIDI Studio to a finished plate
Set up QIDI Studio for the Q2, load a model, match the printer, filament and process presets, and slice and send your first print.
QIDI Q2 unboxing and setup: from the box to a leveled bed
Unbox the QIDI Q2, clear its transport screws and foam, connect the touchscreen and filament tubes, and let the printer run its first automatic…

Flashforge AD5X error code index
A guide to common Flashforge AD5X error codes, split into general printer faults and IFS color-change errors, starting with the simplest fixes first.
Flashforge Adventurer 5M error code index
A quick-reference guide to common Flashforge Adventurer 5M error codes, starting with simple checks to try before assuming a hardware fault.
Orca-Flashforge slicer setup for multicolor AD5X printing
How to set up Orca-Flashforge for the AD5X, choose the correct printer profile, configure the four IFS filament slots, and pick safe speeds for…


