Slicer settings
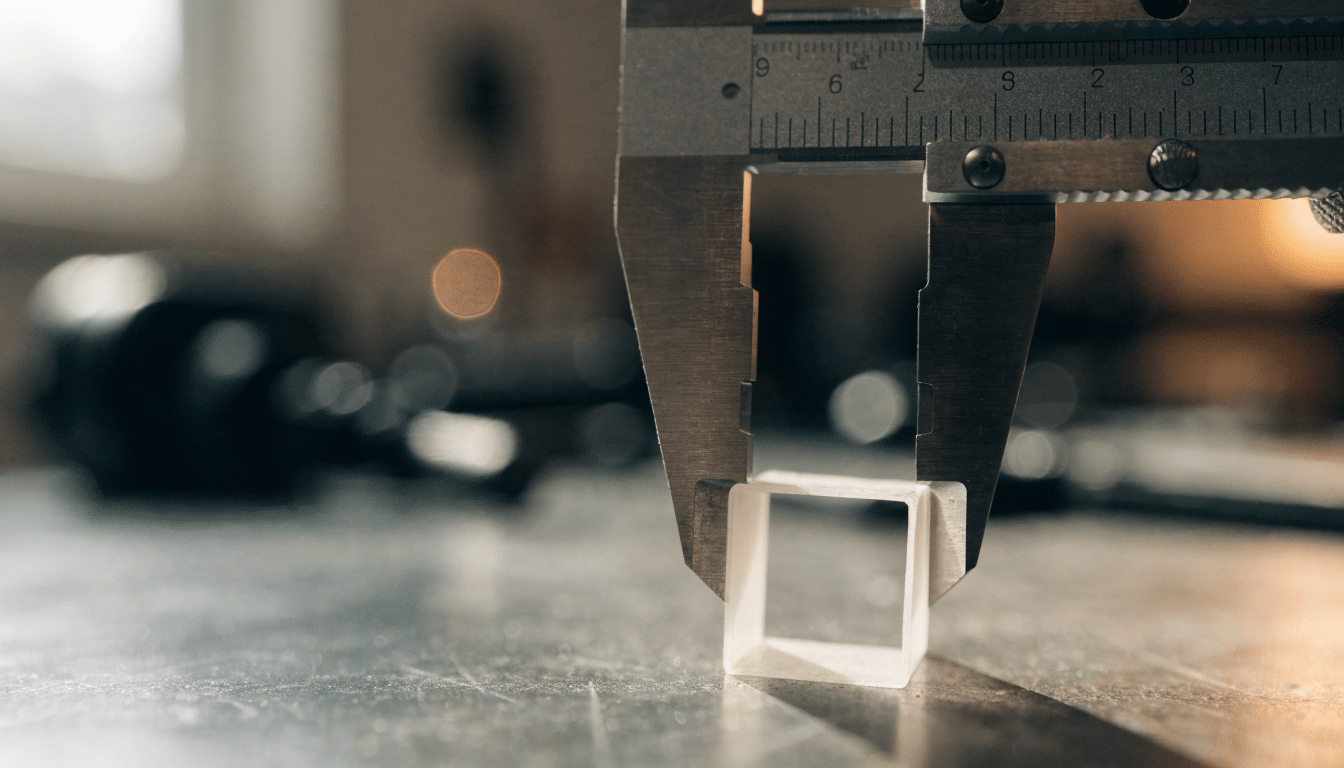
Extrusion Multiplier: Calibrating Your Printer’s Flow Rate
The extrusion multiplier fine-tunes how much filament your printer pushes out relative to what the slicer asked for. Here is how to test it…
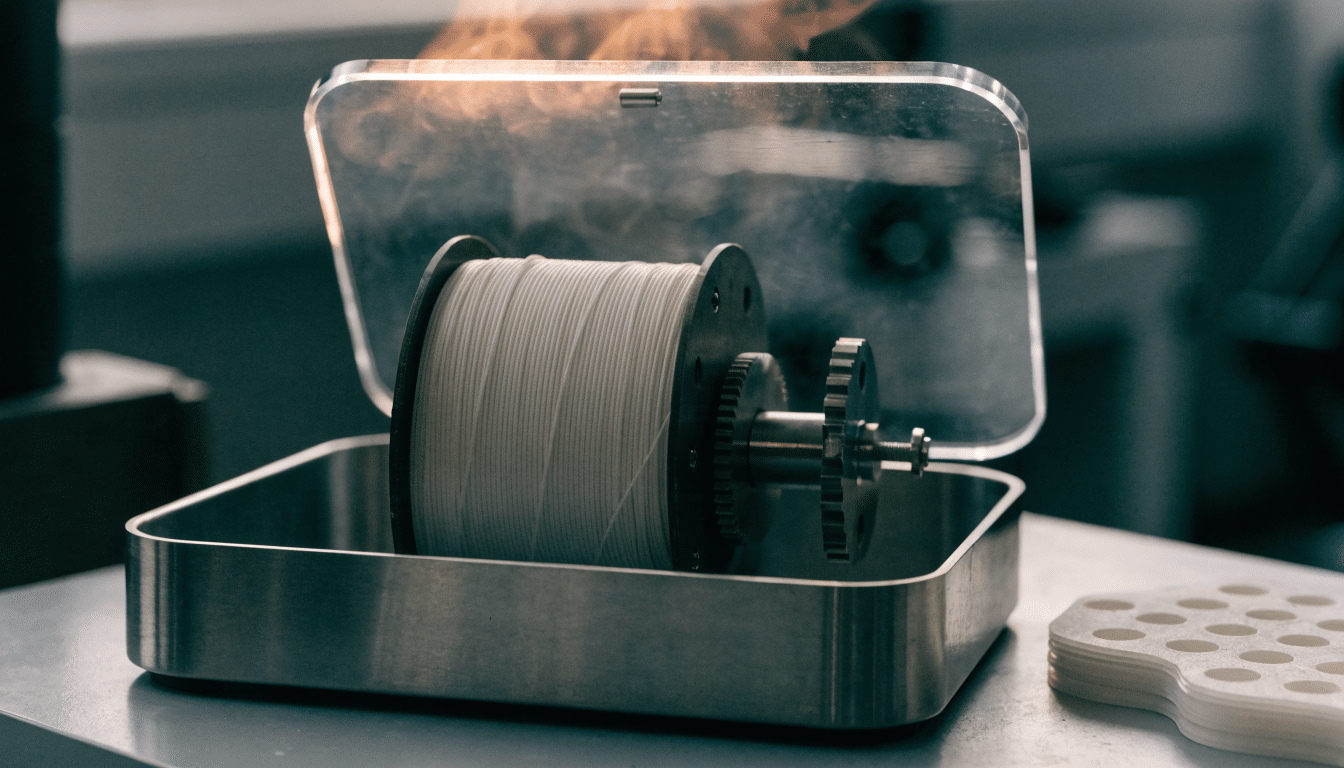
Nylon Print Settings: Nozzle Temp, Drying and Bed Adhesion
Nylon print settings for nozzle temp, drying, bed adhesion and enclosure use, covering how much PA6, PA12 and blended nylons like Taulman Bridge disagree…
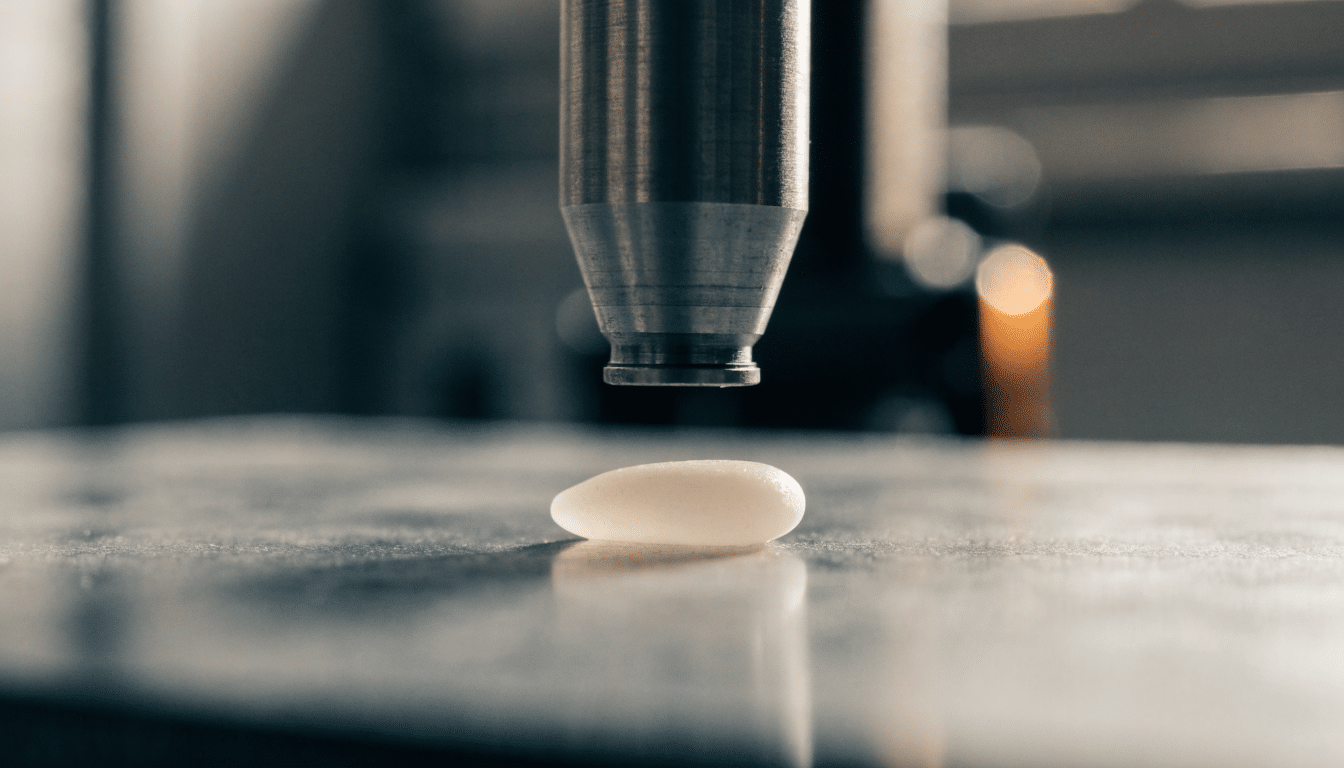
Line Width in 3D Printing: Why It’s Not the Same as Nozzle Diameter
Line width is the width of the extruded bead, and slicers default it slightly above nozzle diameter on purpose. Here’s why, what the major…
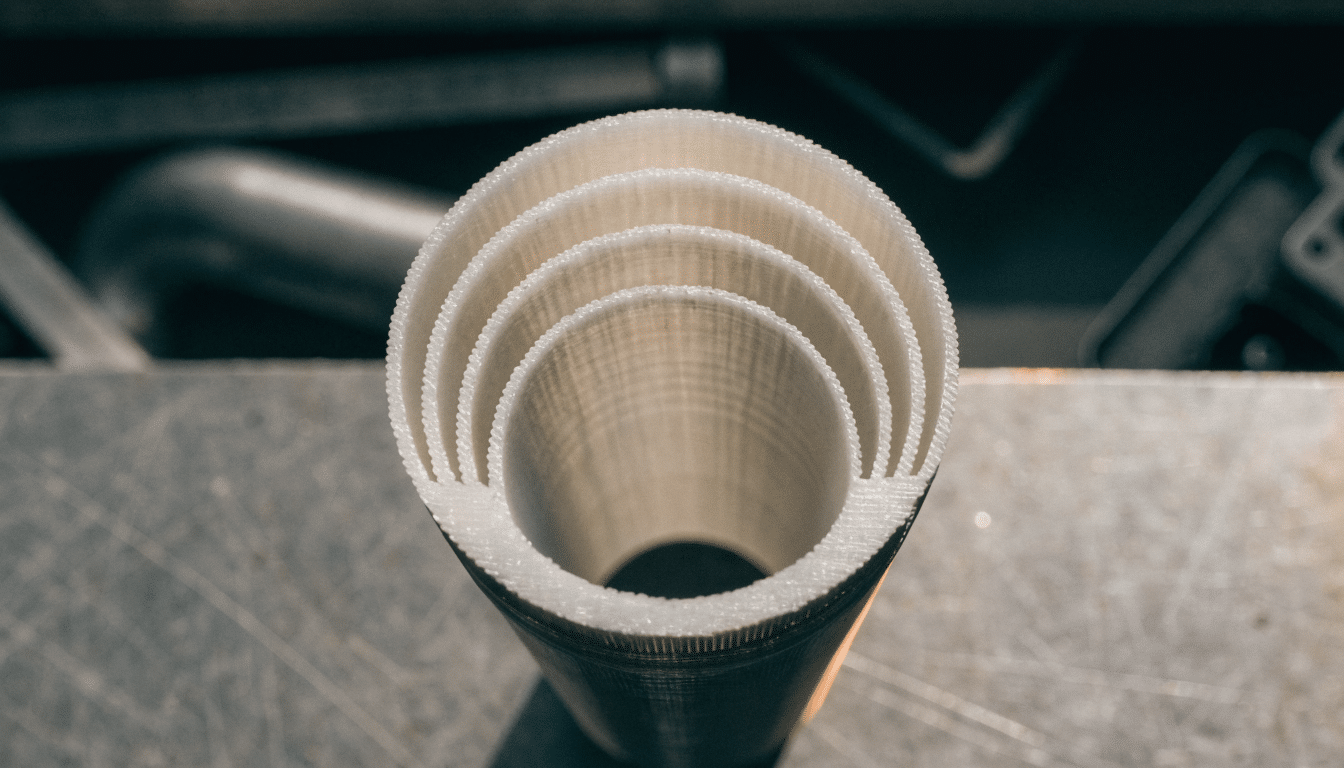
Wall Thickness in 3D Printing: Perimeters, Loops and Watertightness
Wall thickness comes from multiplying wall count by line width rather than a value you type in directly, and it drives strength and watertightness…
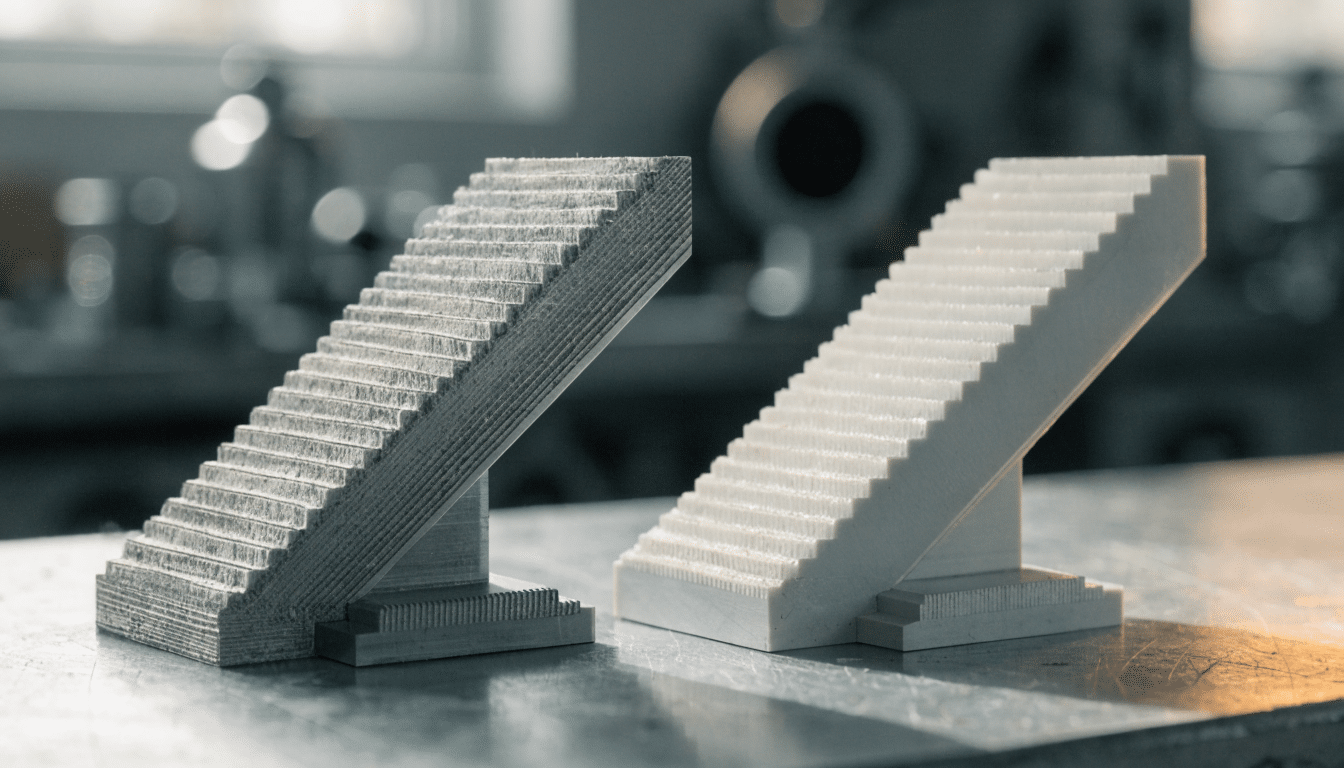
Layer Height in 3D Printing: How It Shapes Resolution, Speed and Strength
Layer height controls vertical resolution, print time and layer bonding strength, and it’s tightly bound to nozzle diameter. Here’s how to pick a height…
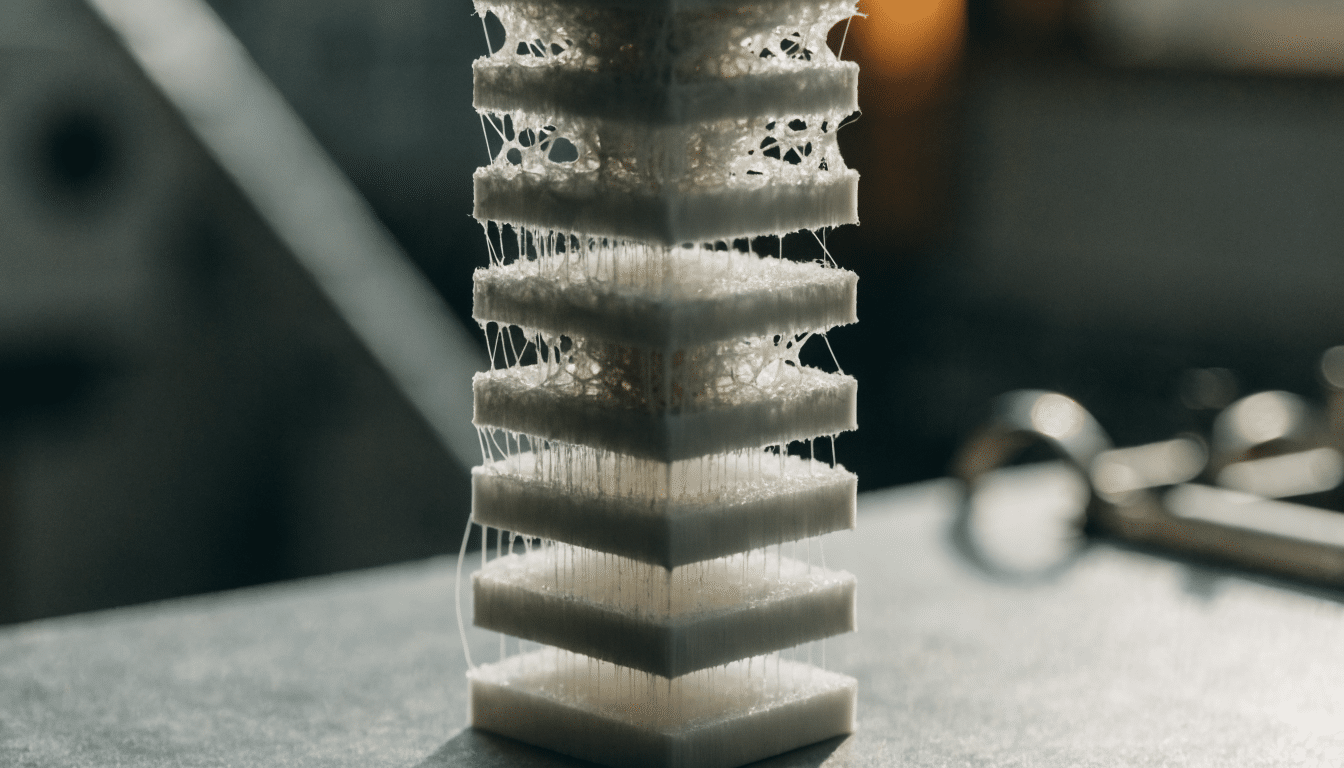
Temperature Tower: How to Find the Right Nozzle Temperature
A temperature tower prints a stack of test blocks at falling temperatures so you can see stringing, bridging and layer bonding change in one…
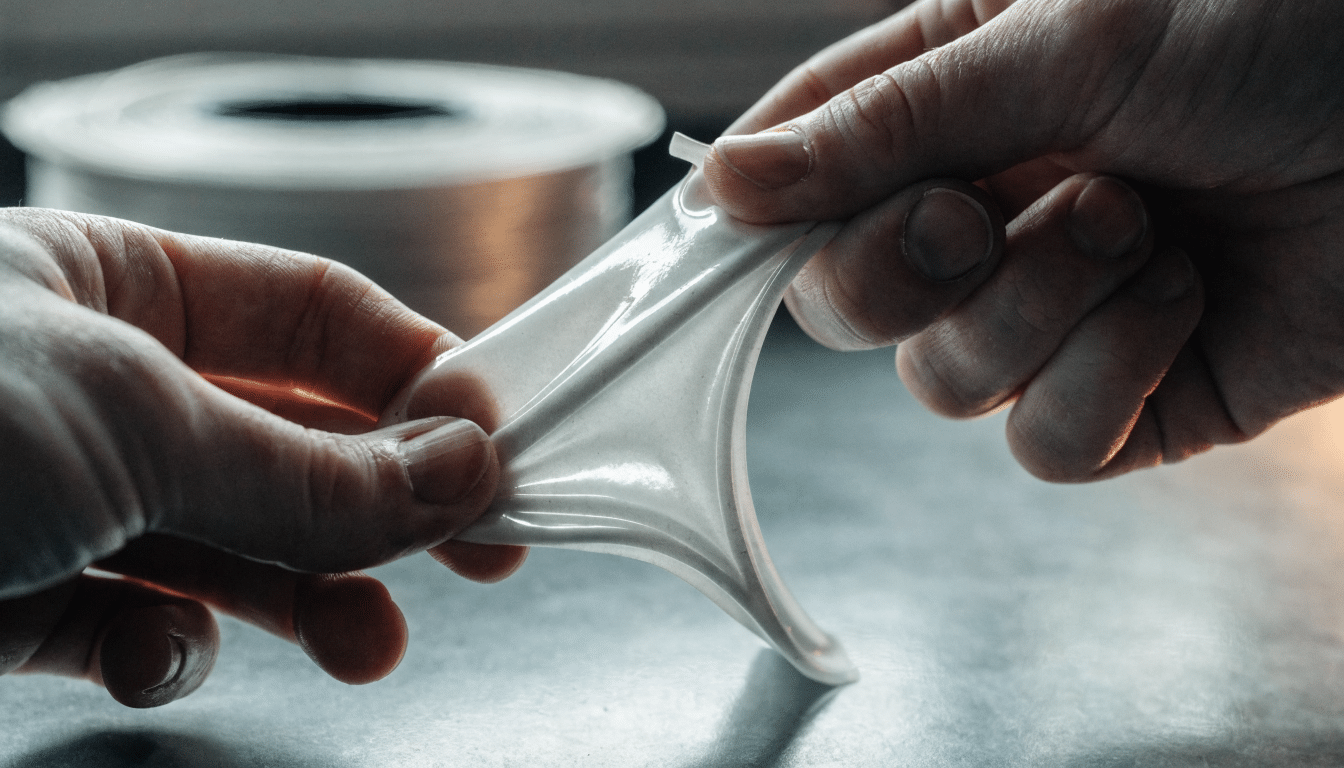
TPU Print Settings: Speed, Retraction and Bed Temp
TPU nozzle, bed, retraction and speed settings for stringing-free flexible prints, and how Shore hardness changes them.
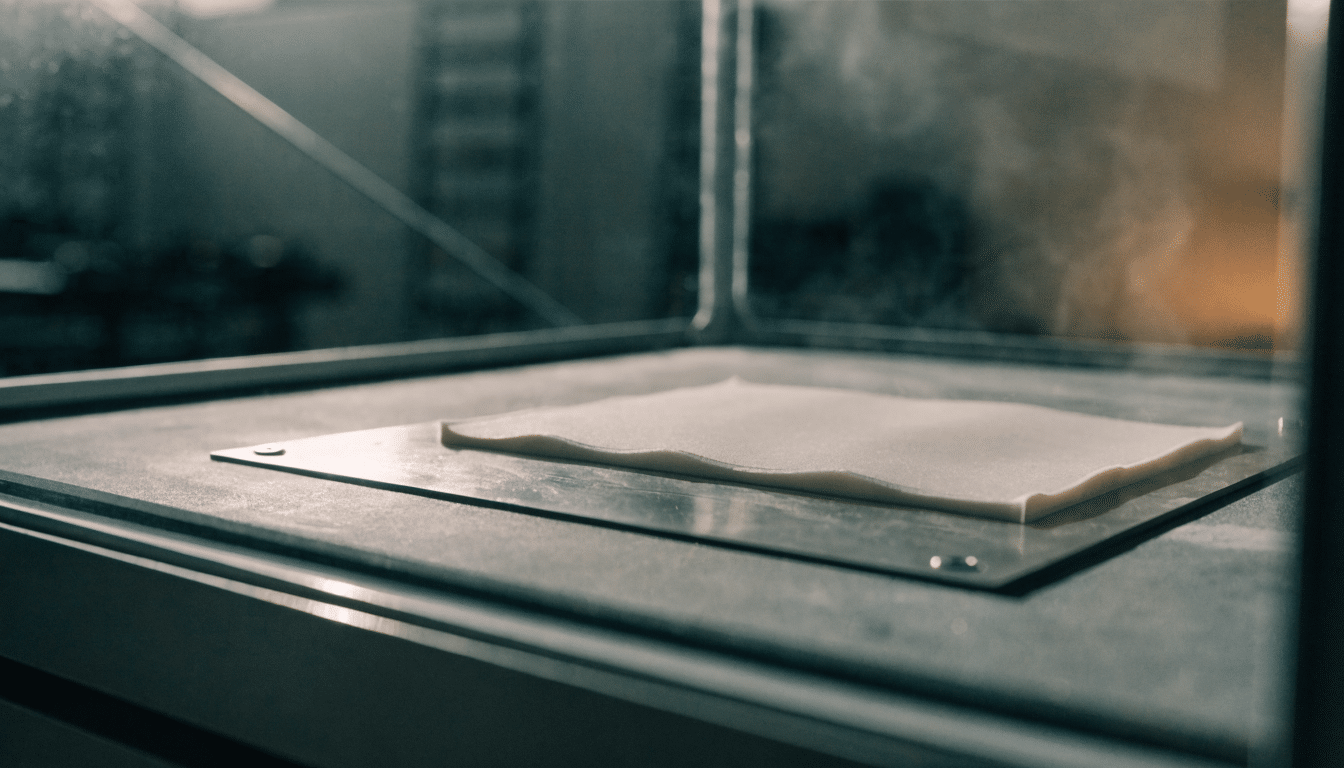
ABS Print Settings: Bed Temp, Nozzle Temp and Enclosure
ABS nozzle, bed, enclosure and fan settings for warp-free prints, including why the cooling fan runs opposite to PLA.
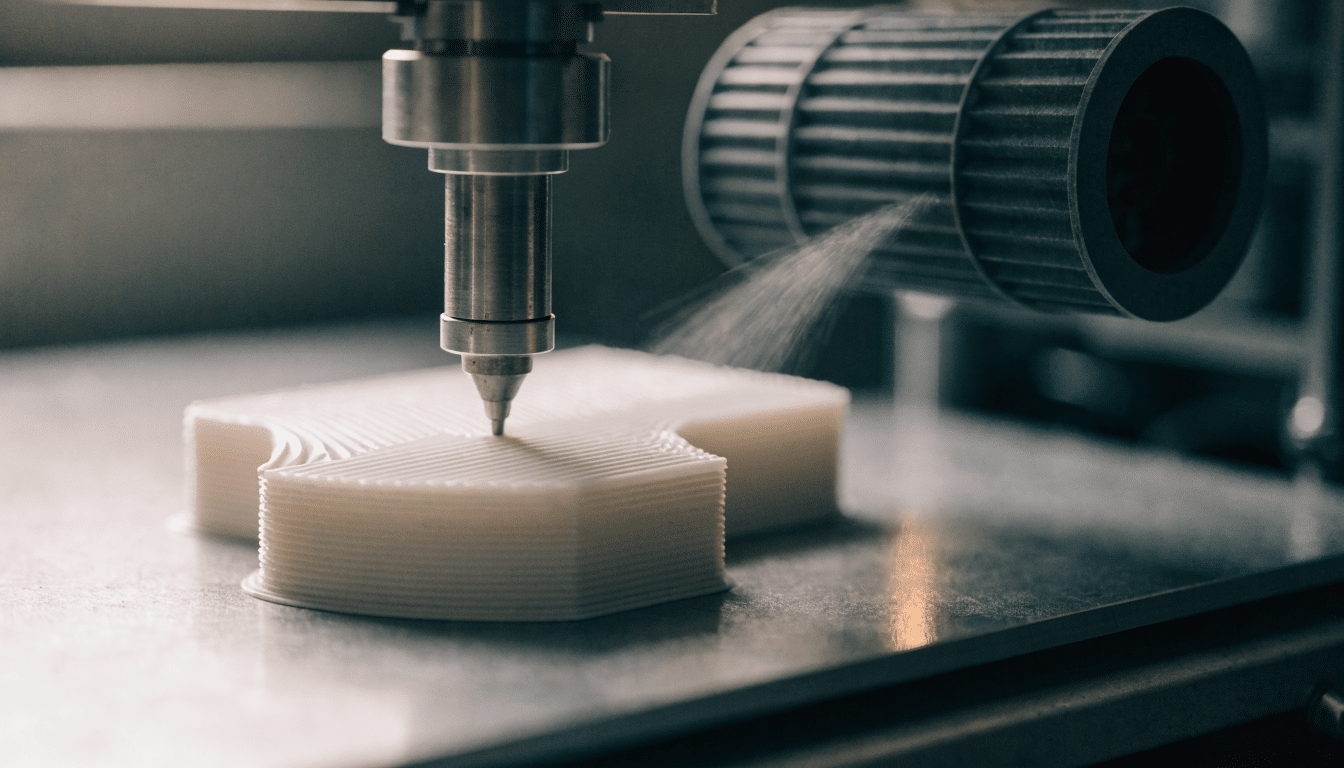
PLA Print Settings: Bed Temp, Nozzle Temp and Speed
PLA is the most forgiving common filament to print, but the settings that make it forgiving are specific to PLA and do not carry…
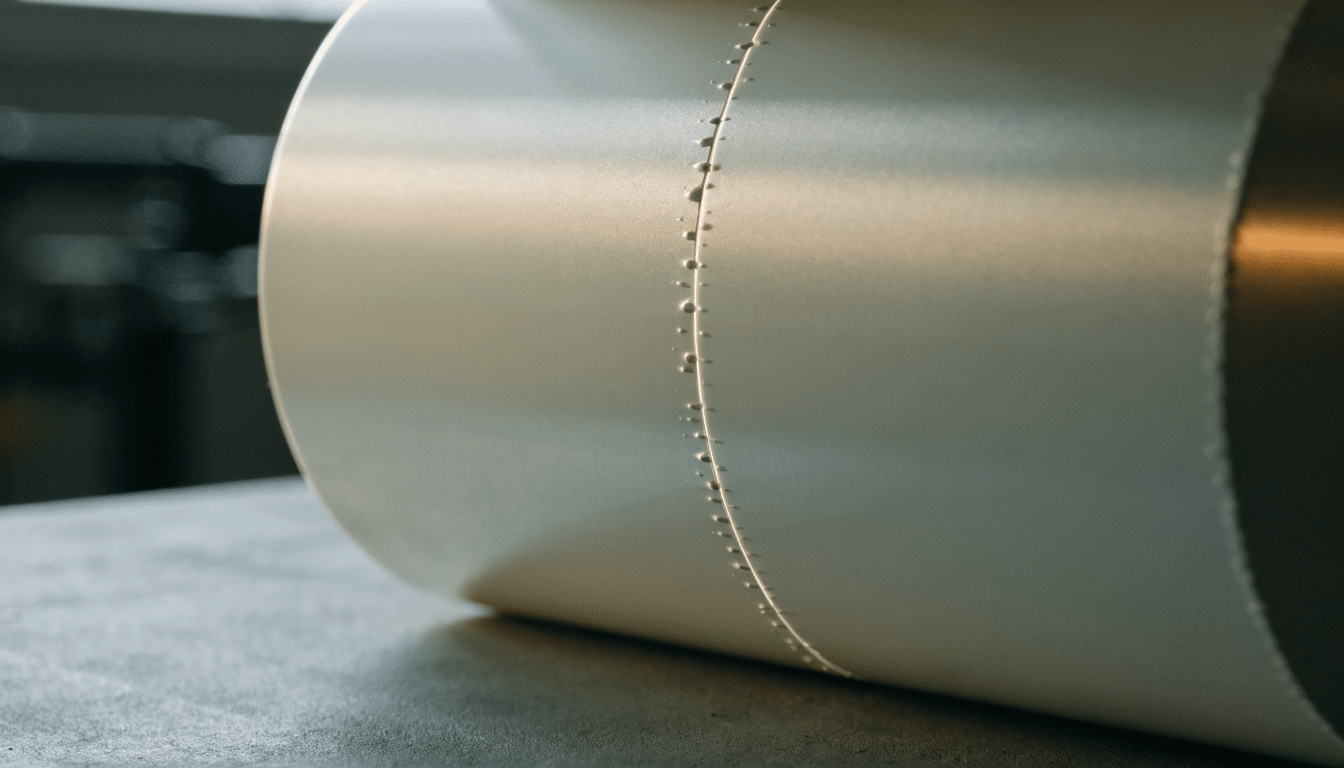
Fix the Z-Seam: Seam Position, Coasting and Painted Seams
Hide the vertical seam line with seam position, coasting and wipe settings, or paint it manually where it matters most.


