Bambu Lab
Guides for Bambu Lab’s A1, A1 mini, P1P, P1S, P2S, X1 Carbon, H2D, H2S and X2D. Most models have the full run: unboxing, first print, calibration, filament loading, maintenance and nozzle swaps. Each one also has an HMS error index, which is usually the fastest place to start when the screen shows a code you don’t recognize. AMS and AMS lite setup pages are here too.
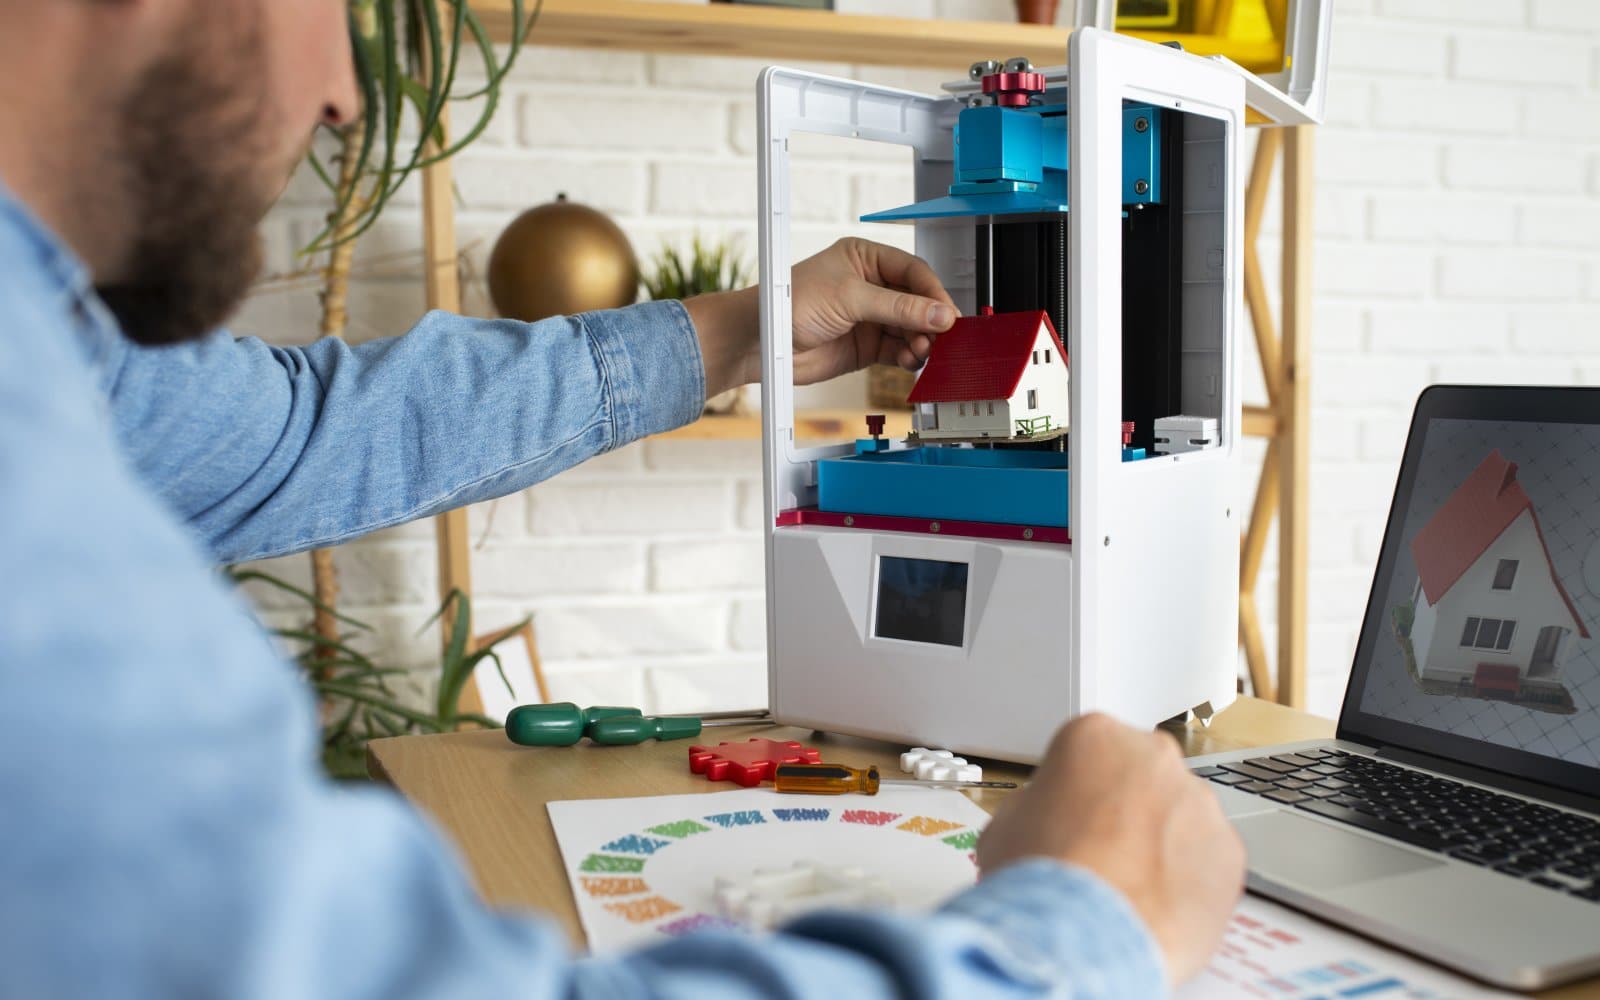
Bambu Lab P1S setup: unpacking without missing a restraint
Set up a Bambu Lab P1S, remove its internal shipping hardware, connect an AMS if fitted and complete the startup calibration safely.
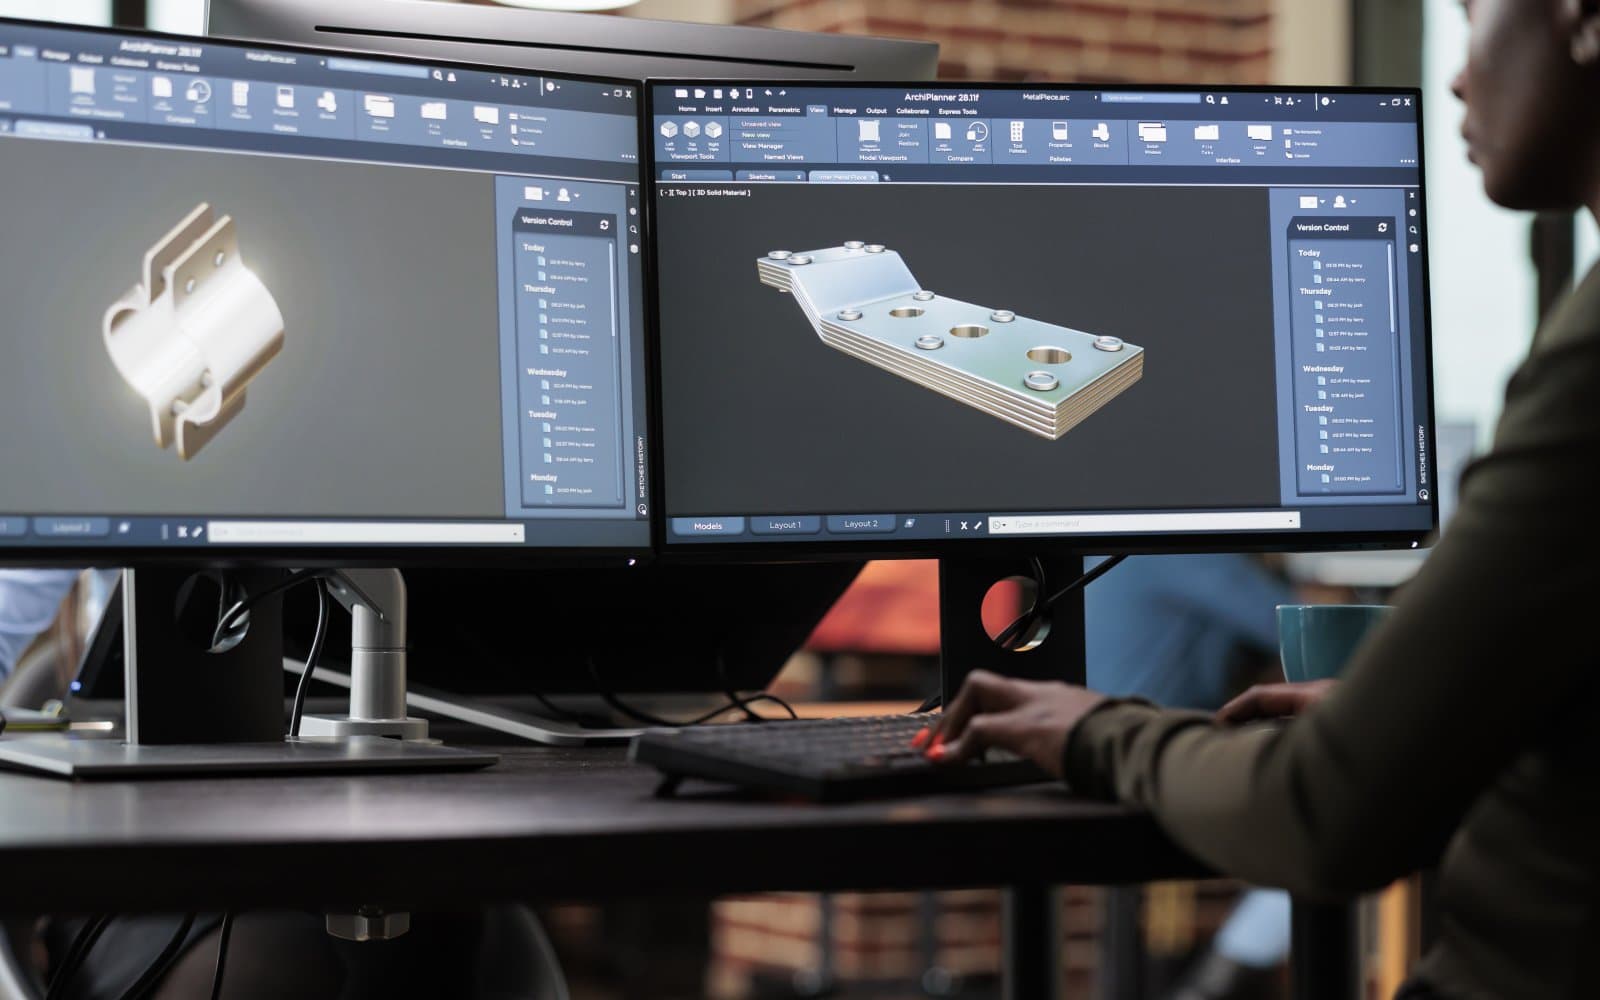
Bambu Studio setup for the Bambu Lab A1
Configure Bambu Studio for the A1, choose the exact nozzle and plate, map filament correctly and verify a sliced file before printing.
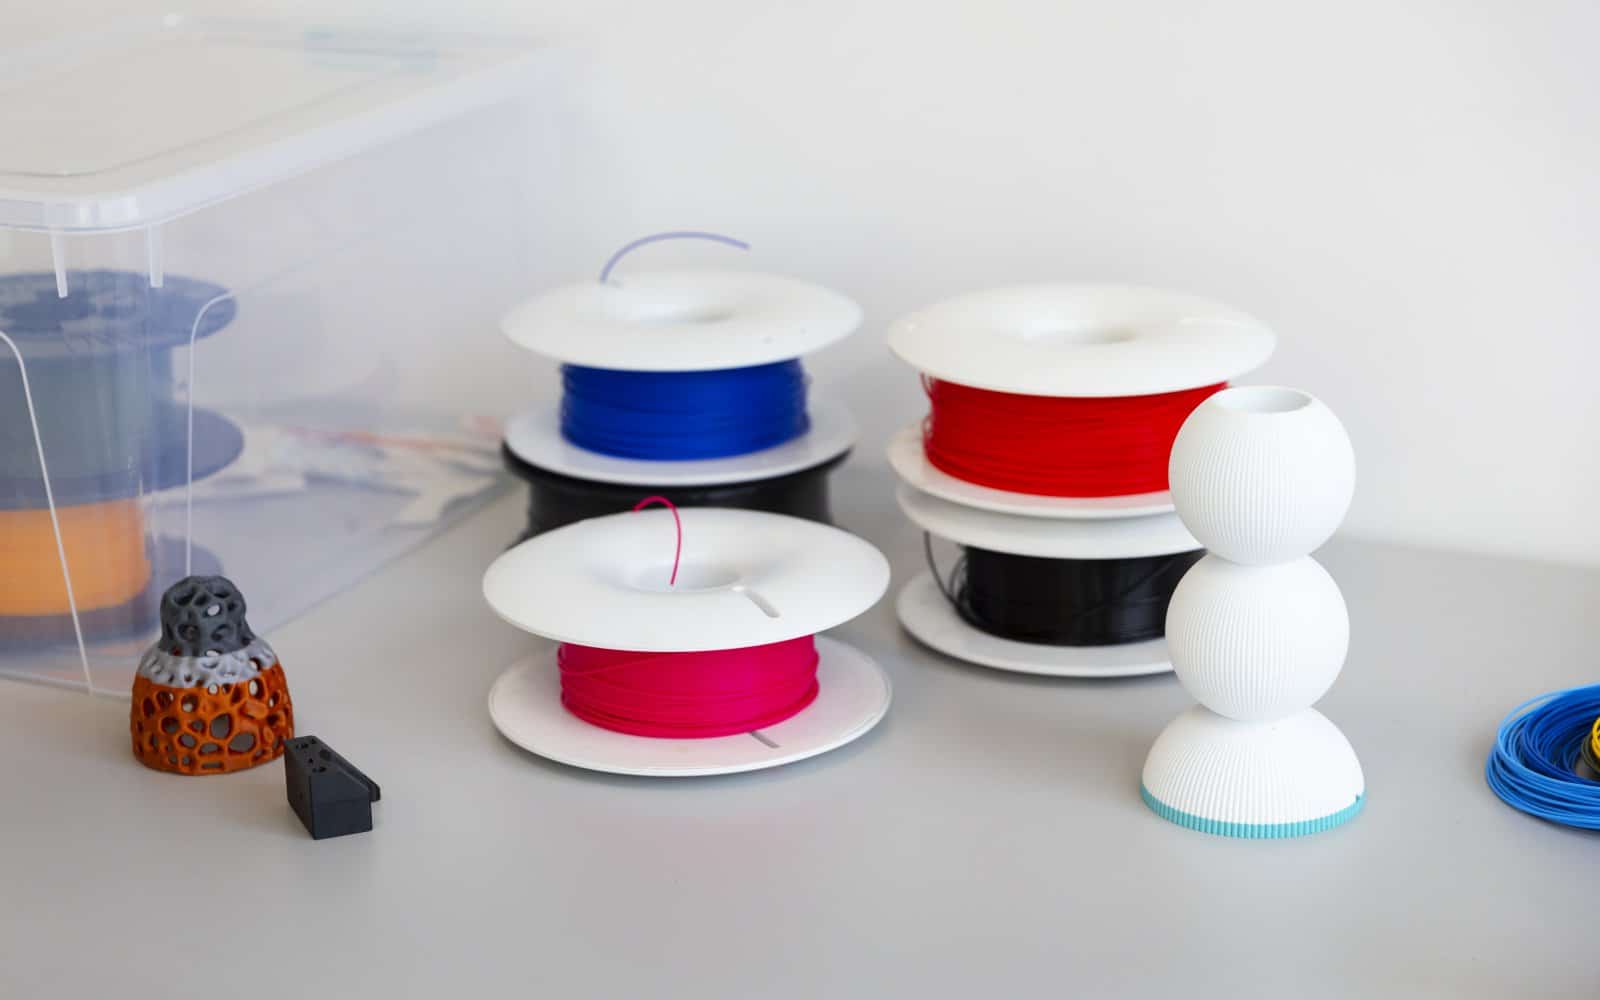
How to load and unload filament on the Bambu Lab A1
Load, unload and change filament on a Bambu Lab A1 or A1 Combo without forcing the extruder or leaving a tangled spool.
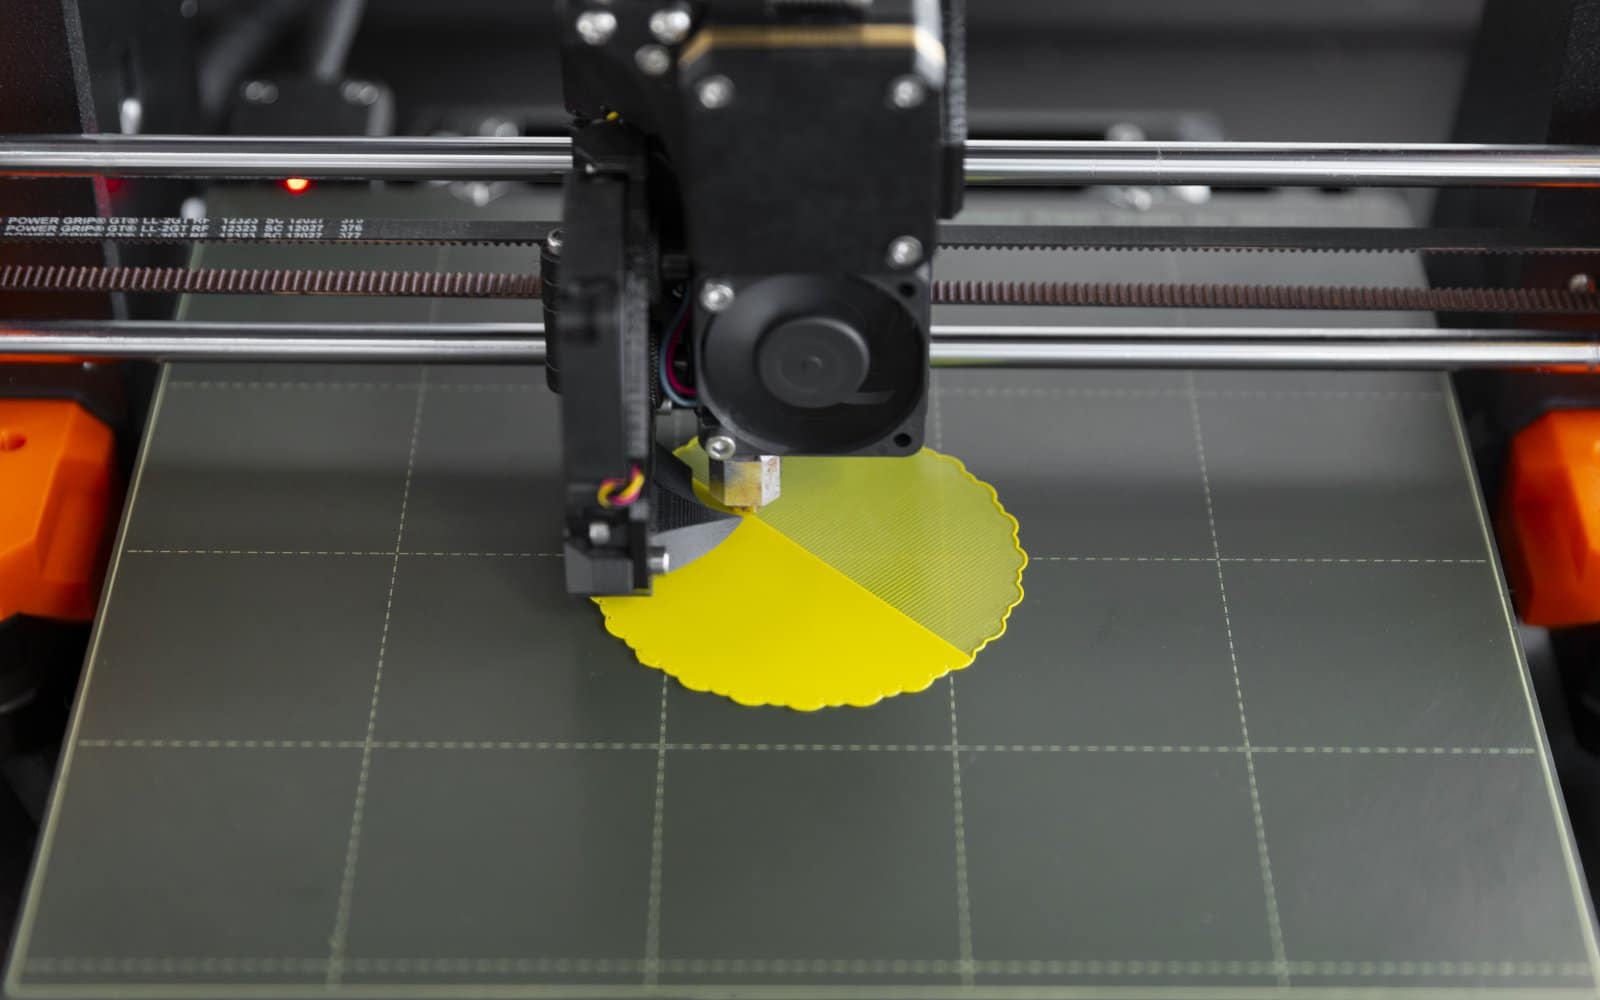
Bambu Lab A1 calibration: what to run and when
Understand Bambu Lab A1 calibration, including bed leveling, vibration compensation and filament flow checks, without rerunning everything blindly.
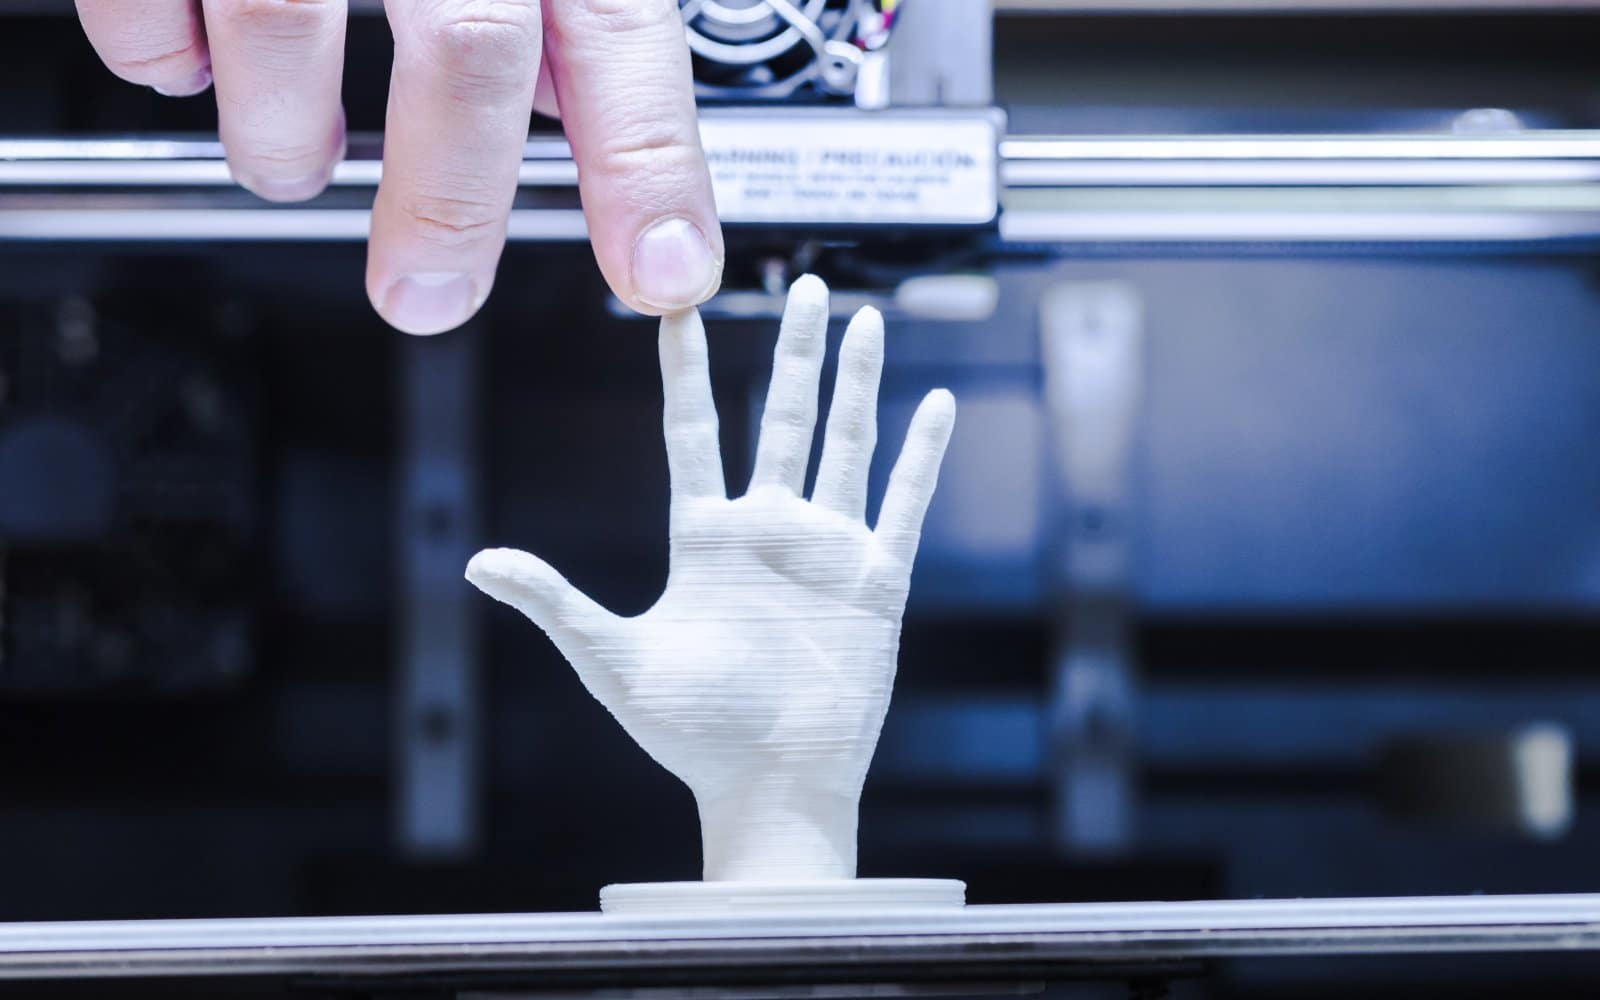
Bambu Lab A1 first print: a controlled first run
Run a Bambu Lab A1 first print with the correct plate, filament and calibration choices, then read the first layer before leaving it alone.
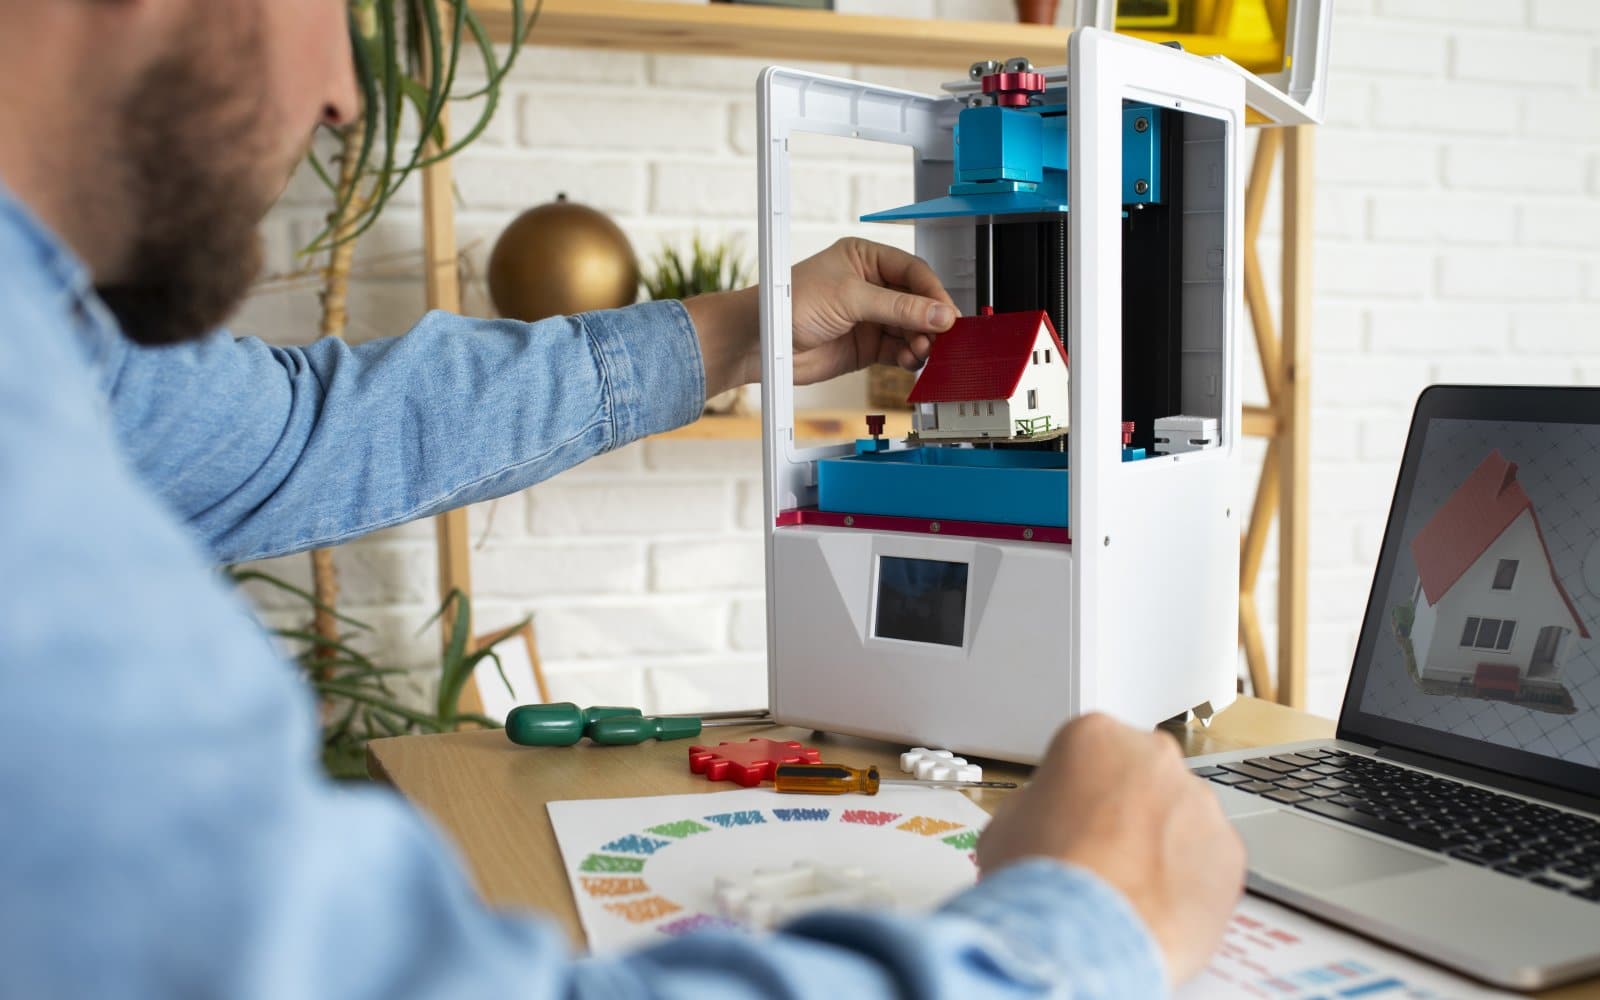
Bambu Lab A1 setup: from the box to a ready printer
Set up a Bambu Lab A1 safely, remove every transport restraint, install the spool holder or AMS lite, and complete the first calibration.


