Printer setup
Model-by-model setup guides for Bambu Lab, Creality, Prusa, QIDI, Flashforge, Sovol, Anycubic and Elegoo printers. For most machines that means unboxing, first print, calibration, filament loading, slicer profile, maintenance schedule and nozzle replacement. If your printer arrived this week, find its setup page and work down the list.
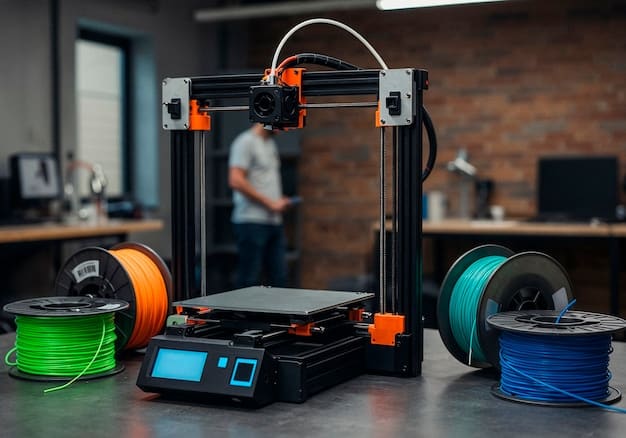
How to load and unload filament on the Prusa CORE One
Load and unload filament through the Prusa CORE One side PTFE path, with both filament sensors and the Nextruder handled correctly.
Prusa CORE One calibration and self-test
Understand Prusa CORE One calibration, including self-test, loadcell, filament sensors and the checks to make before rerunning a failed stage.
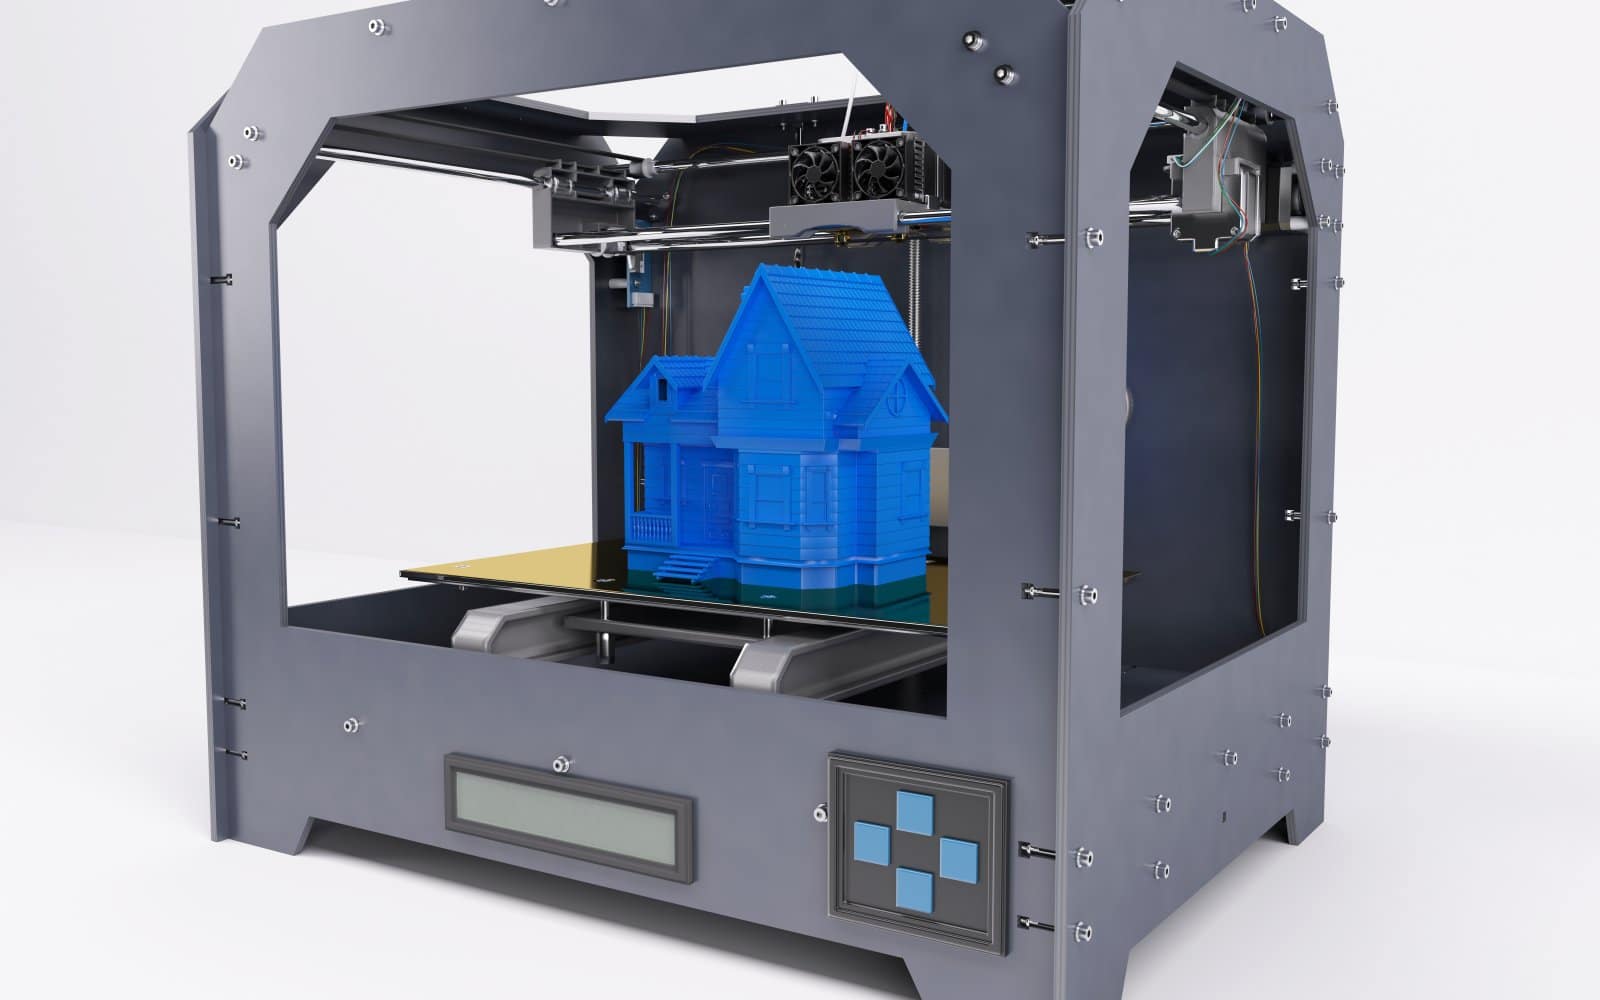
Prusa CORE One first print with PrusaSlicer
Prepare a Prusa CORE One first print in PrusaSlicer, select the exact sheet and filament, and check the first layer safely.
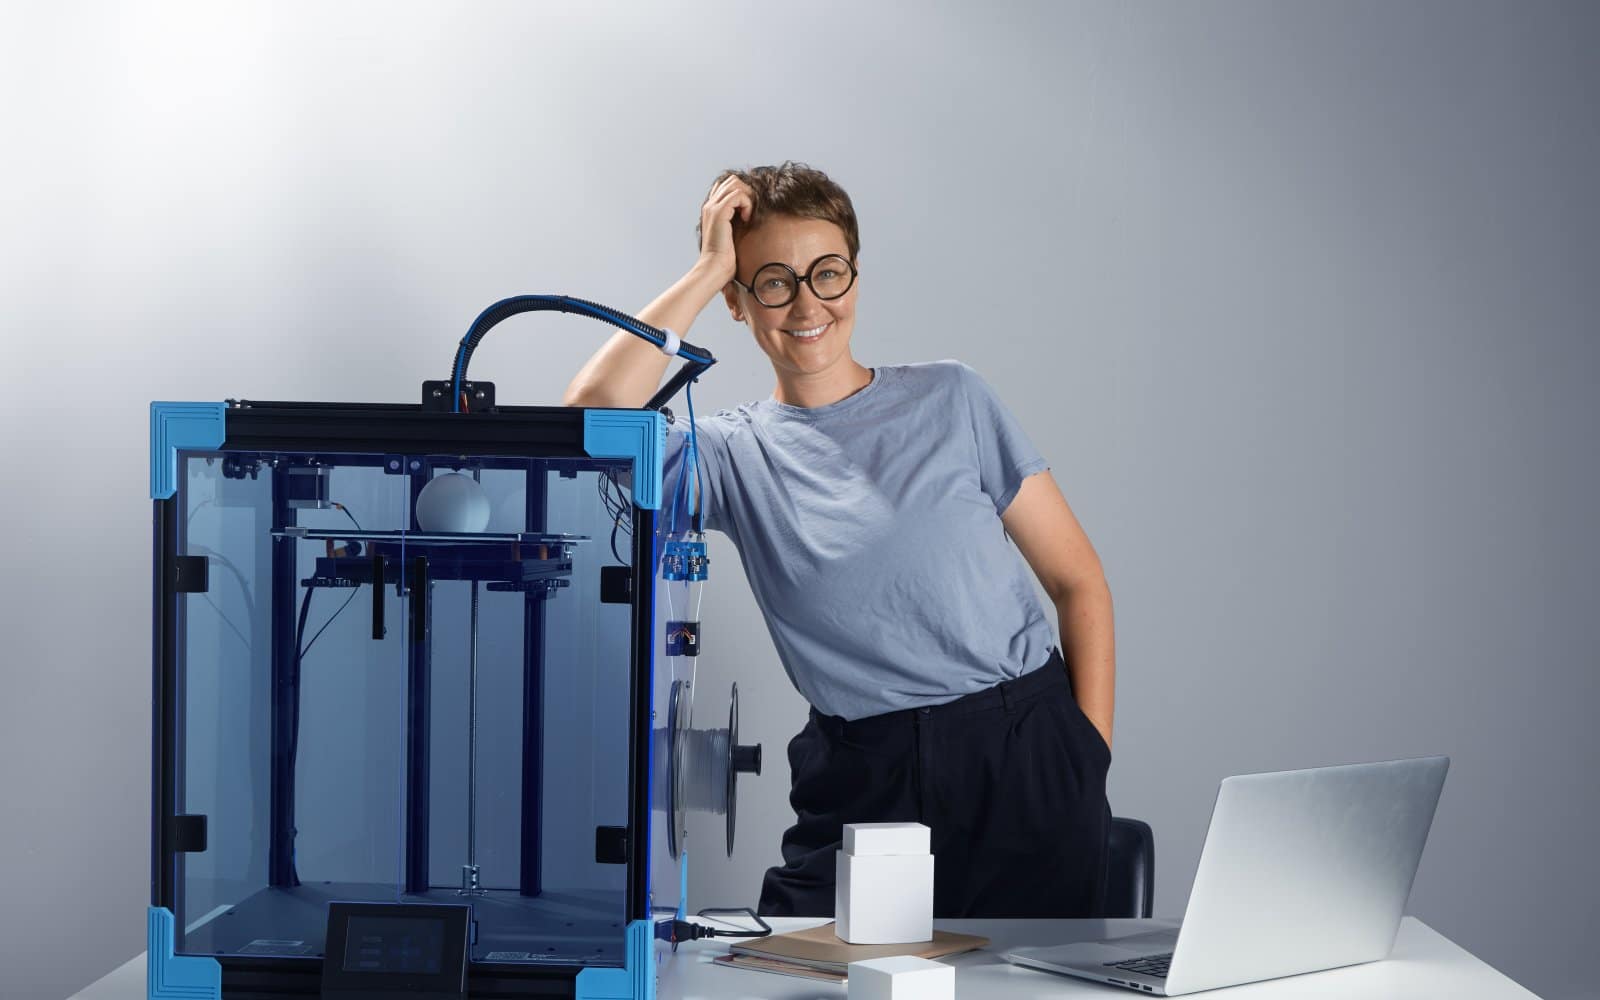
Prusa CORE One setup for the assembled printer
Set up an assembled Prusa CORE One, mount the xLCD, update firmware and complete the calibration wizard in the documented order.
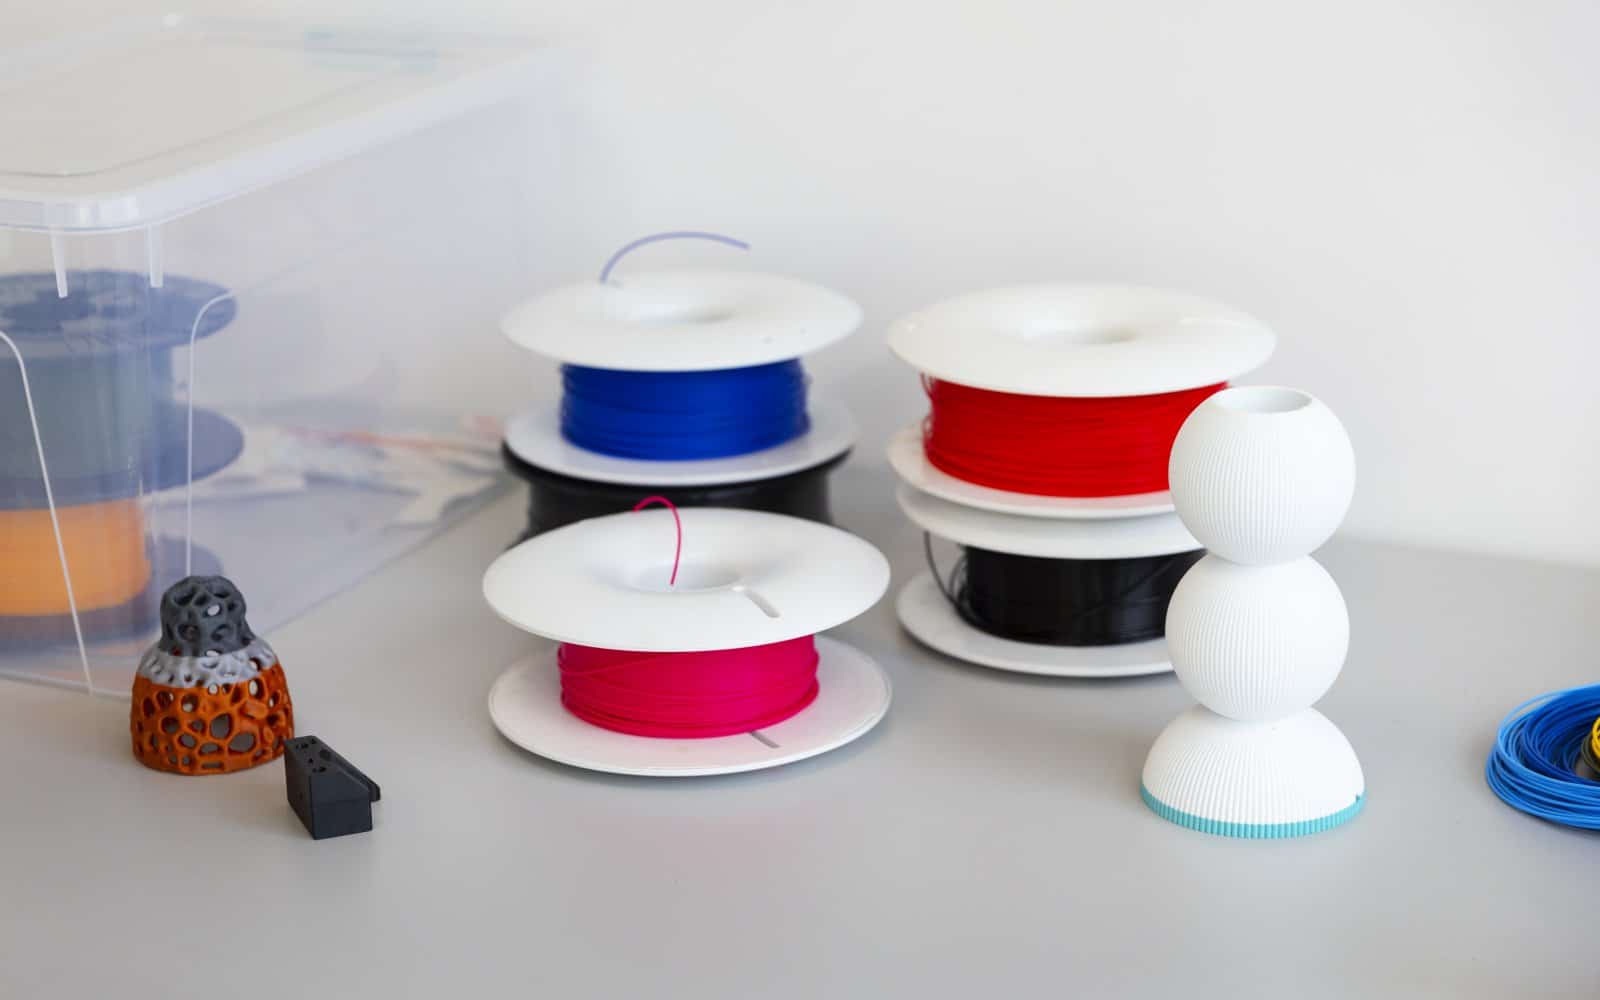
How to load, unload and change filament on a Creality K1C
Load, unload and replace filament on a Creality K1C using the printer controls, with the extruder lock and purge handled correctly.
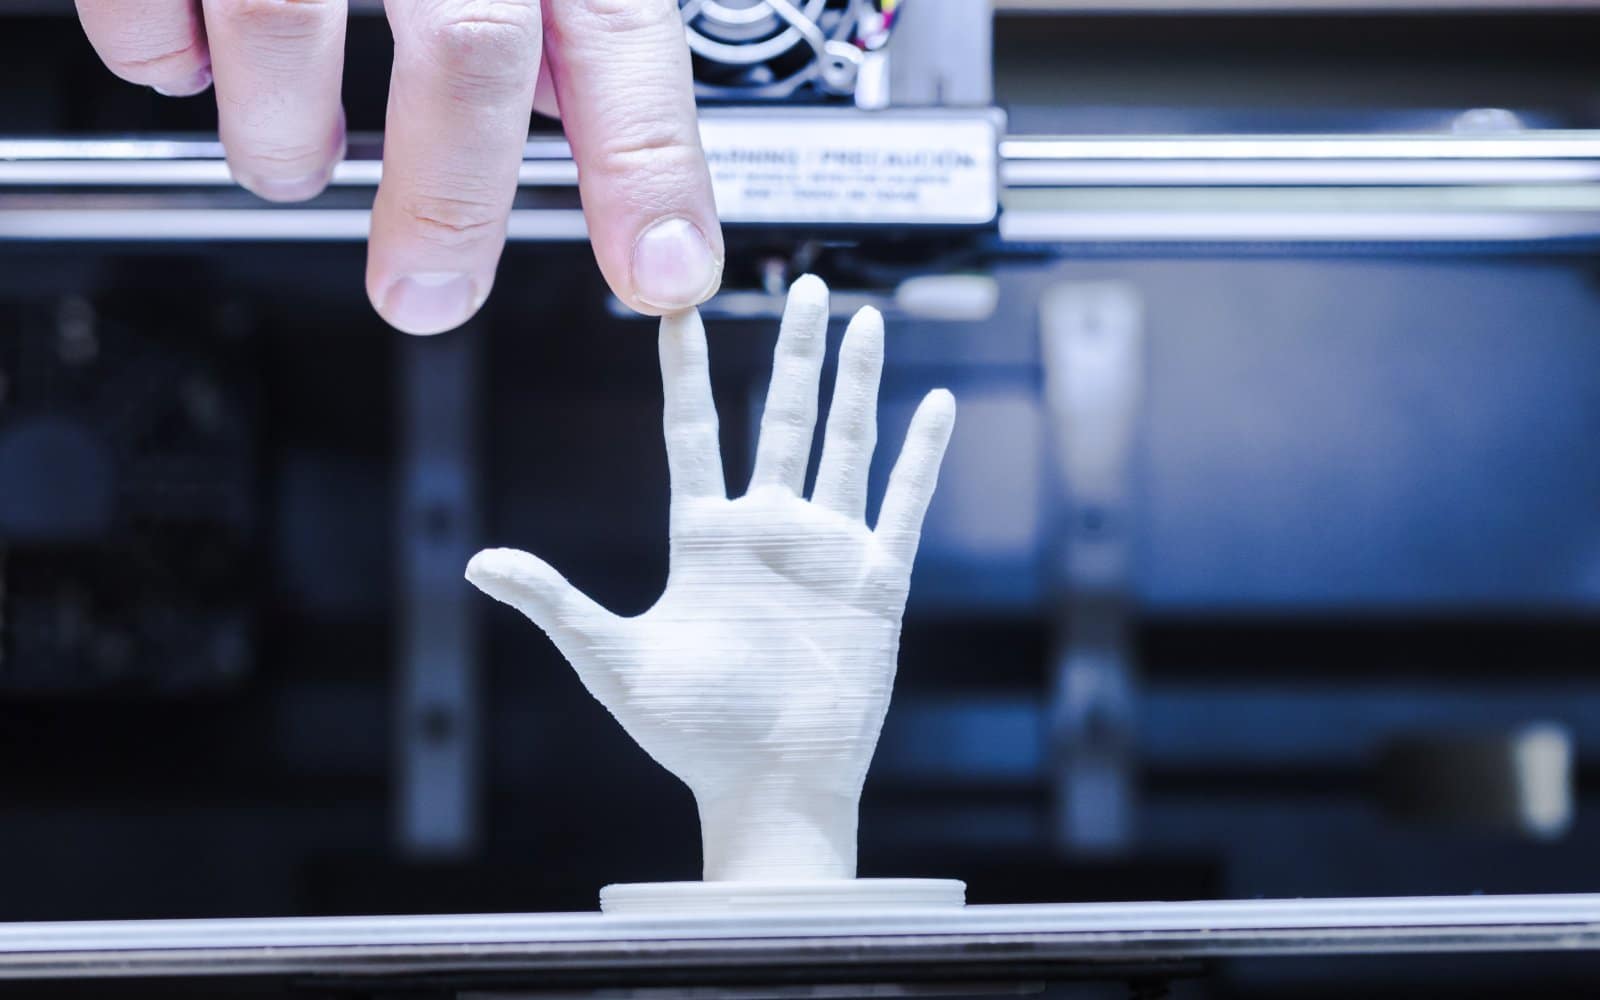
Creality K1C first print: a short, useful test
Run a Creality K1C first print with a known PLA file, verify automatic checks and inspect the first layer through the enclosure.
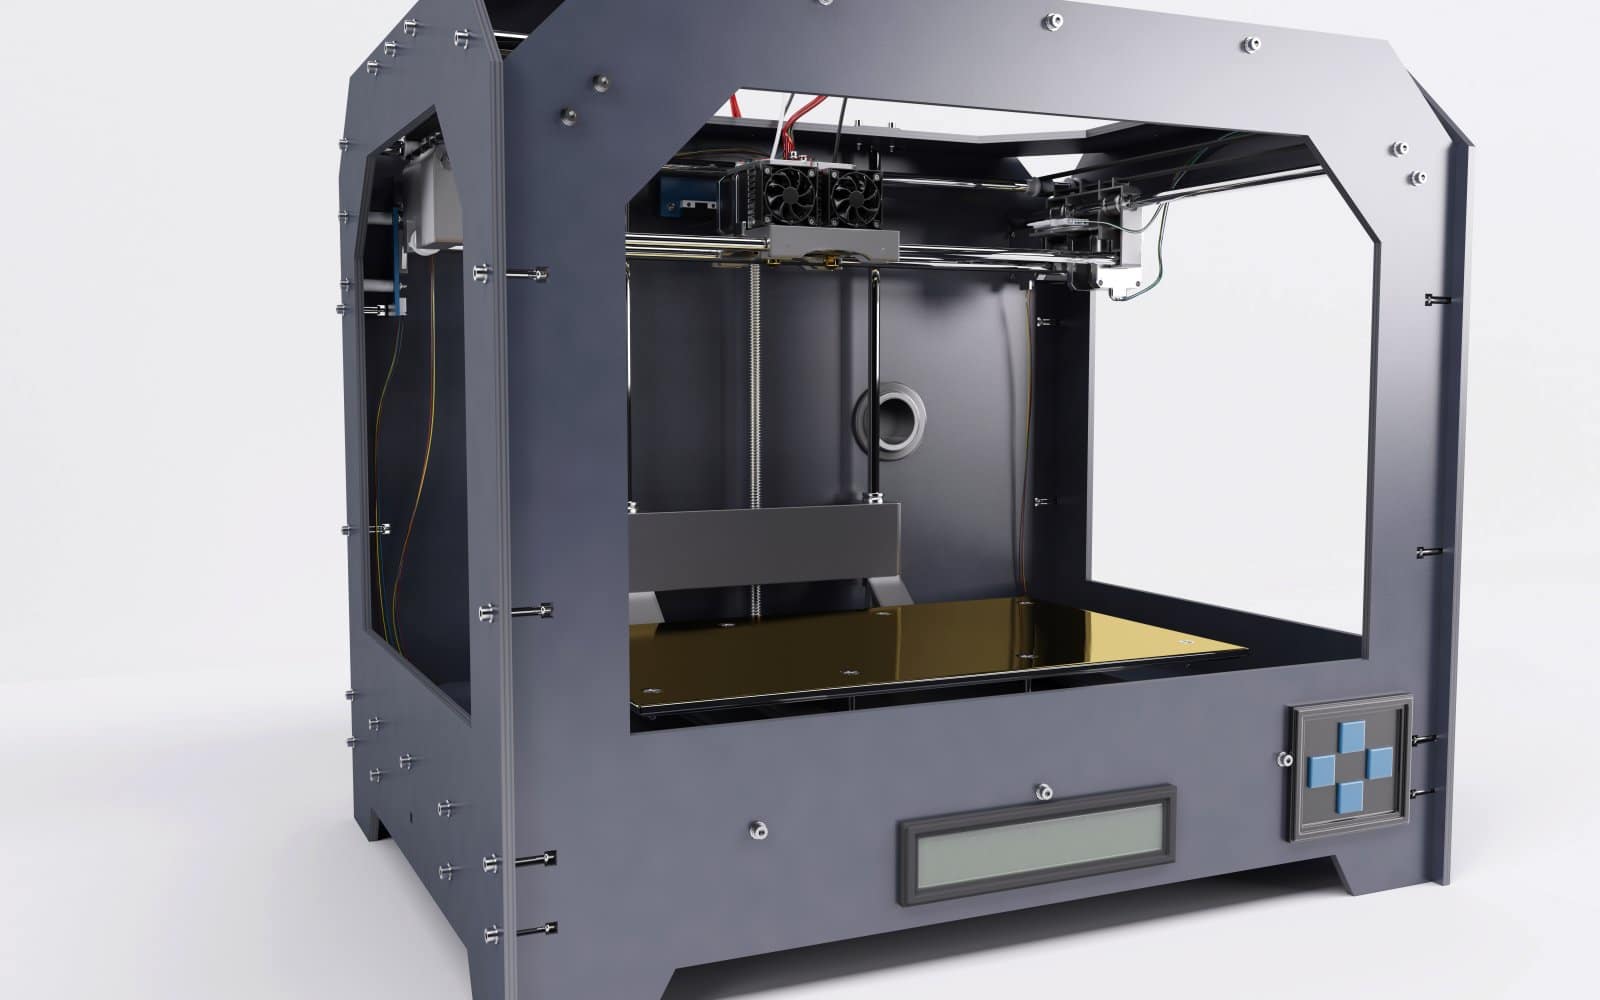
Creality K1C setup: first checks for the enclosed CoreXY
Set up a Creality K1C or K1C 2025, remove the shipping restraints, route filament correctly and complete self-check and leveling.
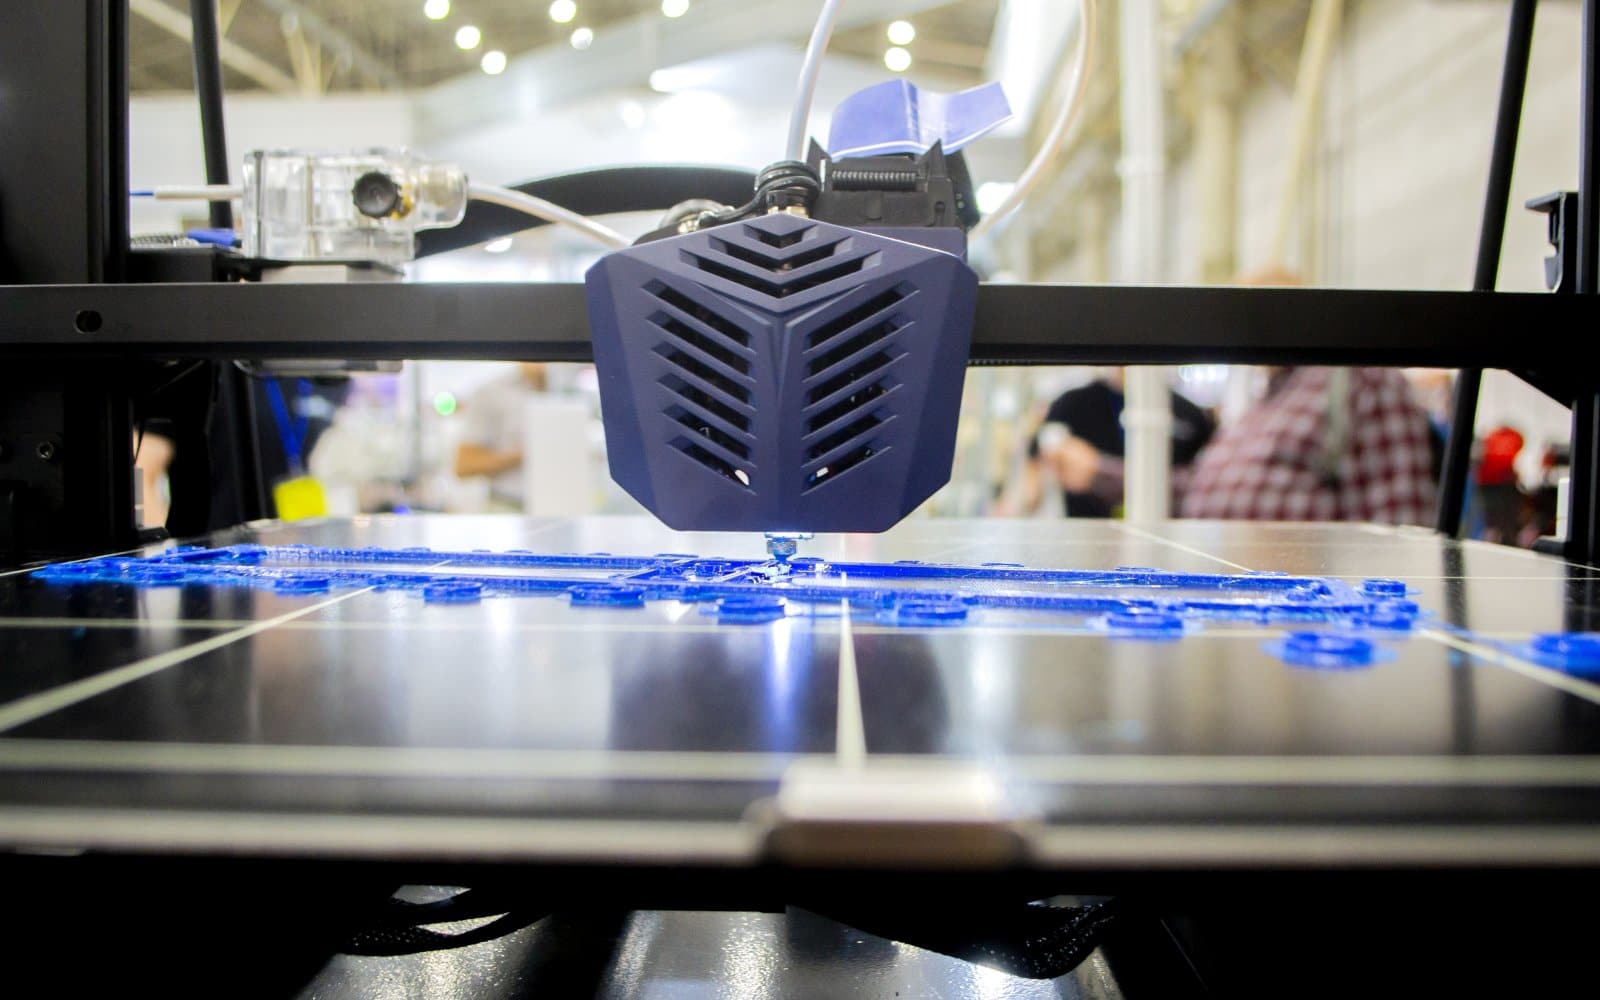
Ender-3 V3 SE bed leveling and Z offset
Level an Ender-3 V3 SE with CR Touch, interpret the mesh and tune Z compensation without randomly changing the bed hardware.
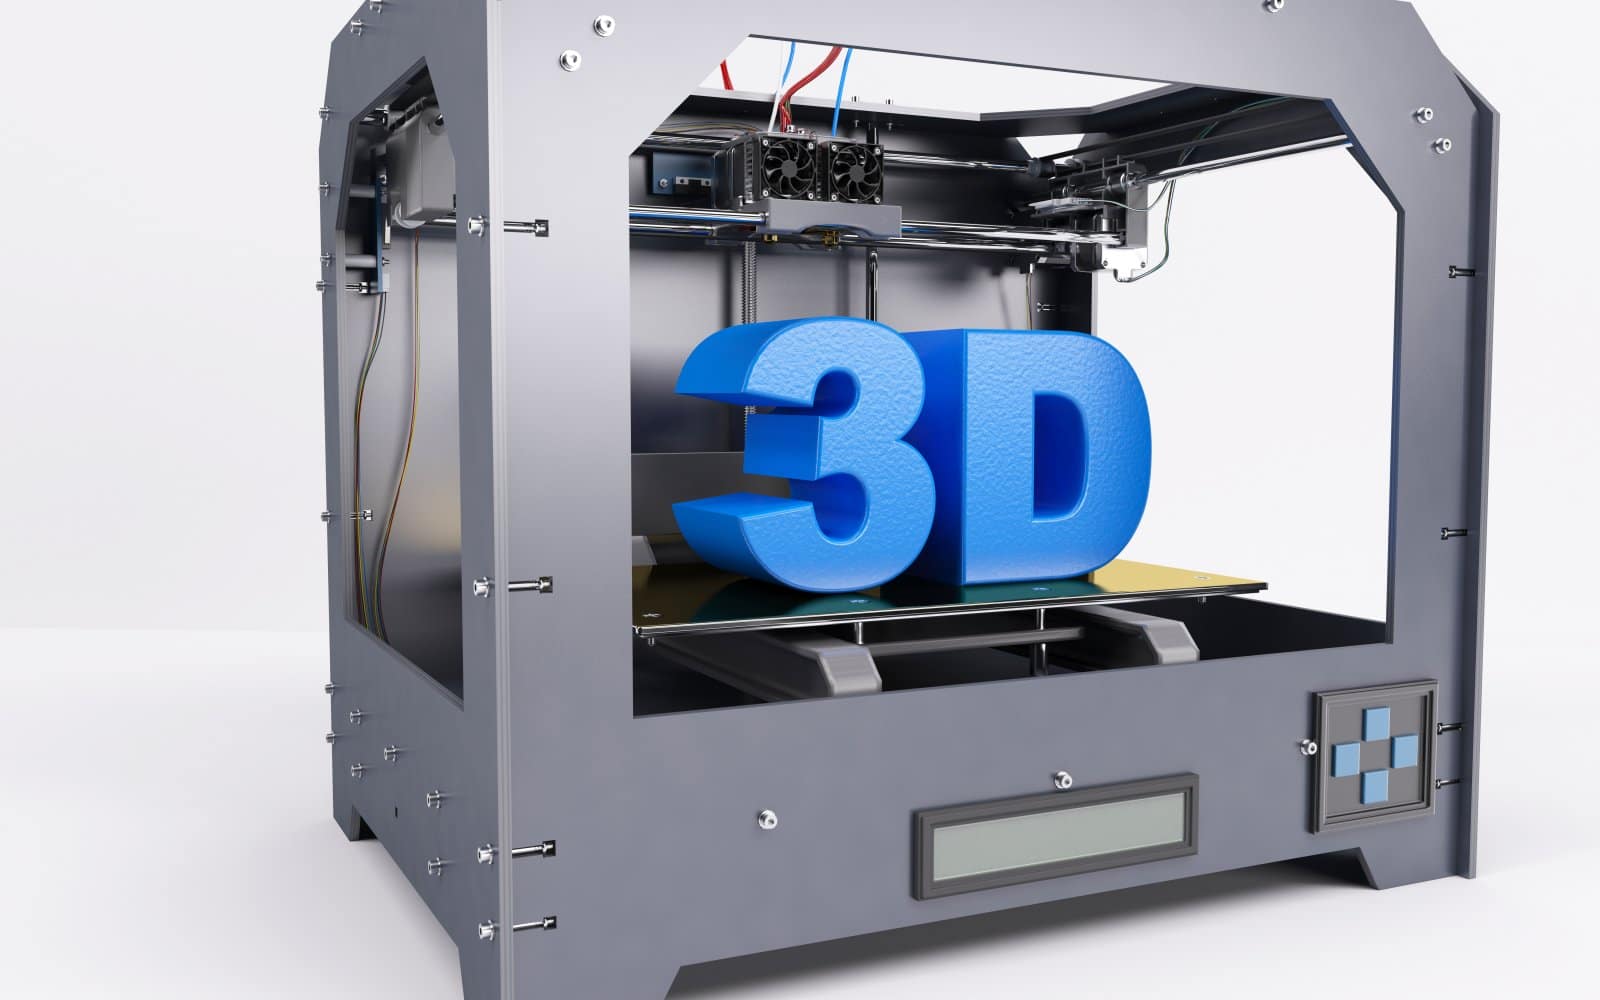
Ender-3 V3 SE first print: from leveling to removal
Run an Ender-3 V3 SE first print, check automatic leveling and Z compensation, and remove the model without damaging the PEI sheet.
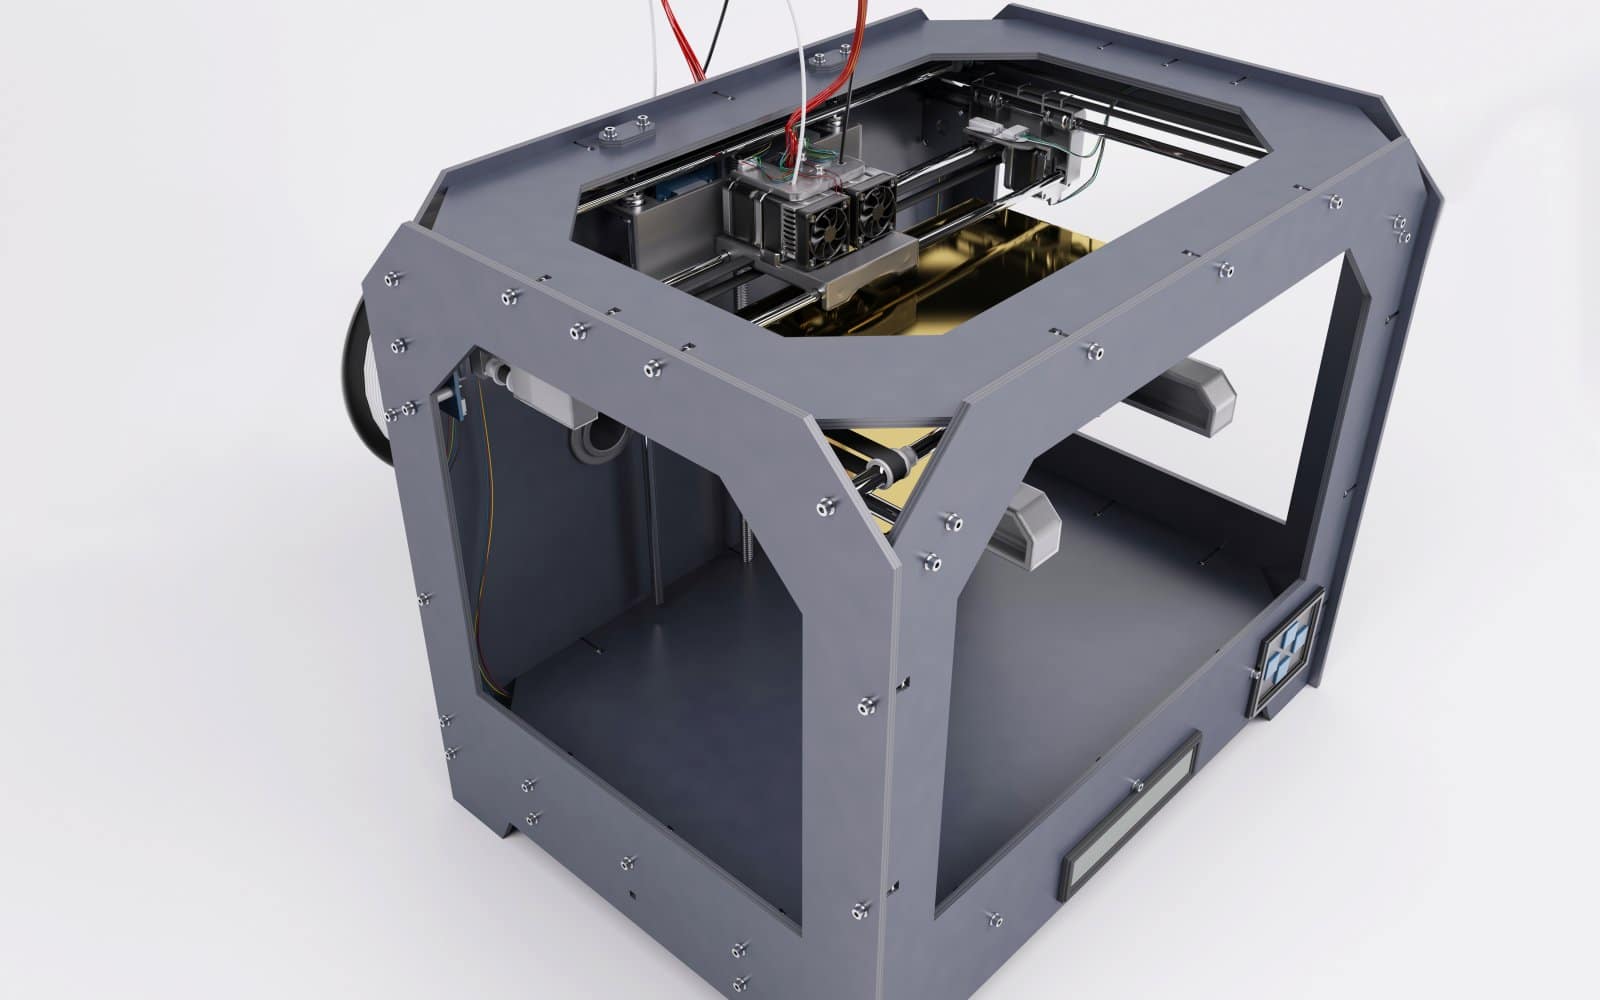
Ender-3 V3 SE setup: assembly in the right order
Assemble and set up the Creality Ender-3 V3 SE, connect the labeled cables, choose the correct voltage and run its first leveling cycle.


