Creality
Creality guides for the K1C, K1 Max, K2 Plus, K2 SE, Ender-3 V3 series, Ender-5, Hi, K3 and SparkX i7. The K1C has the most complete set, from setup and bed leveling to nozzle replacement and a maintenance schedule. Most other models have an error-code index, so you can look a code up before you start taking the printer apart.
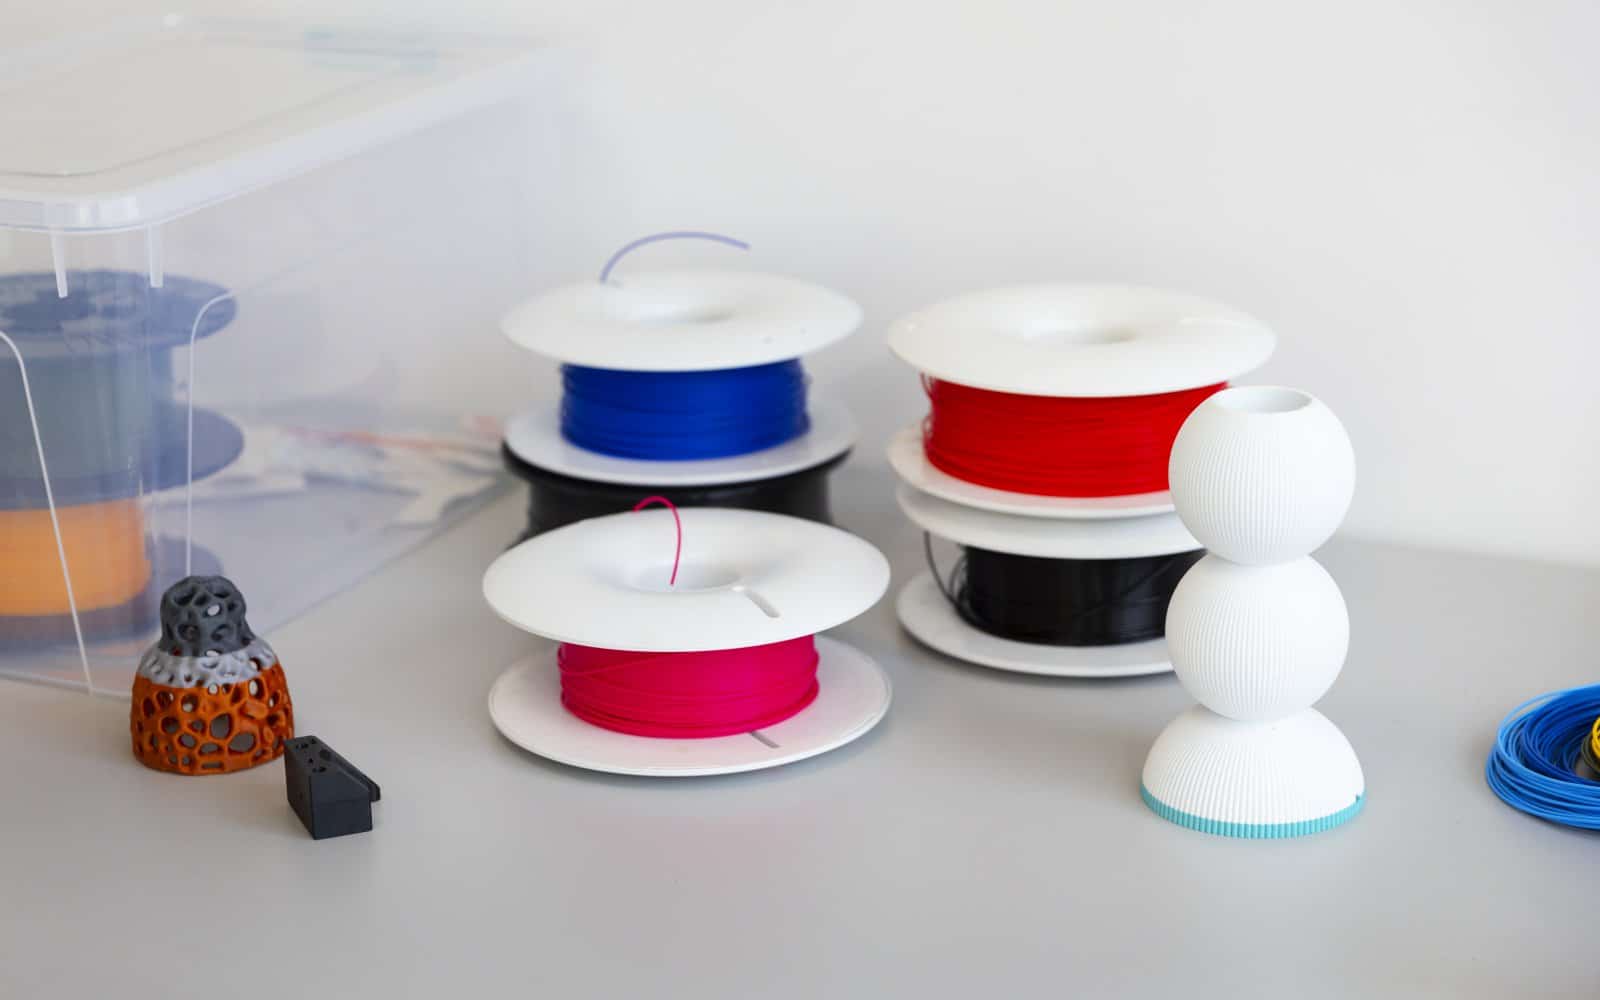
Loading and unloading filament on the Ender-3 V3 SE
Load, unload and change filament on an Ender-3 V3 SE with the correct preheat and extruder controls.
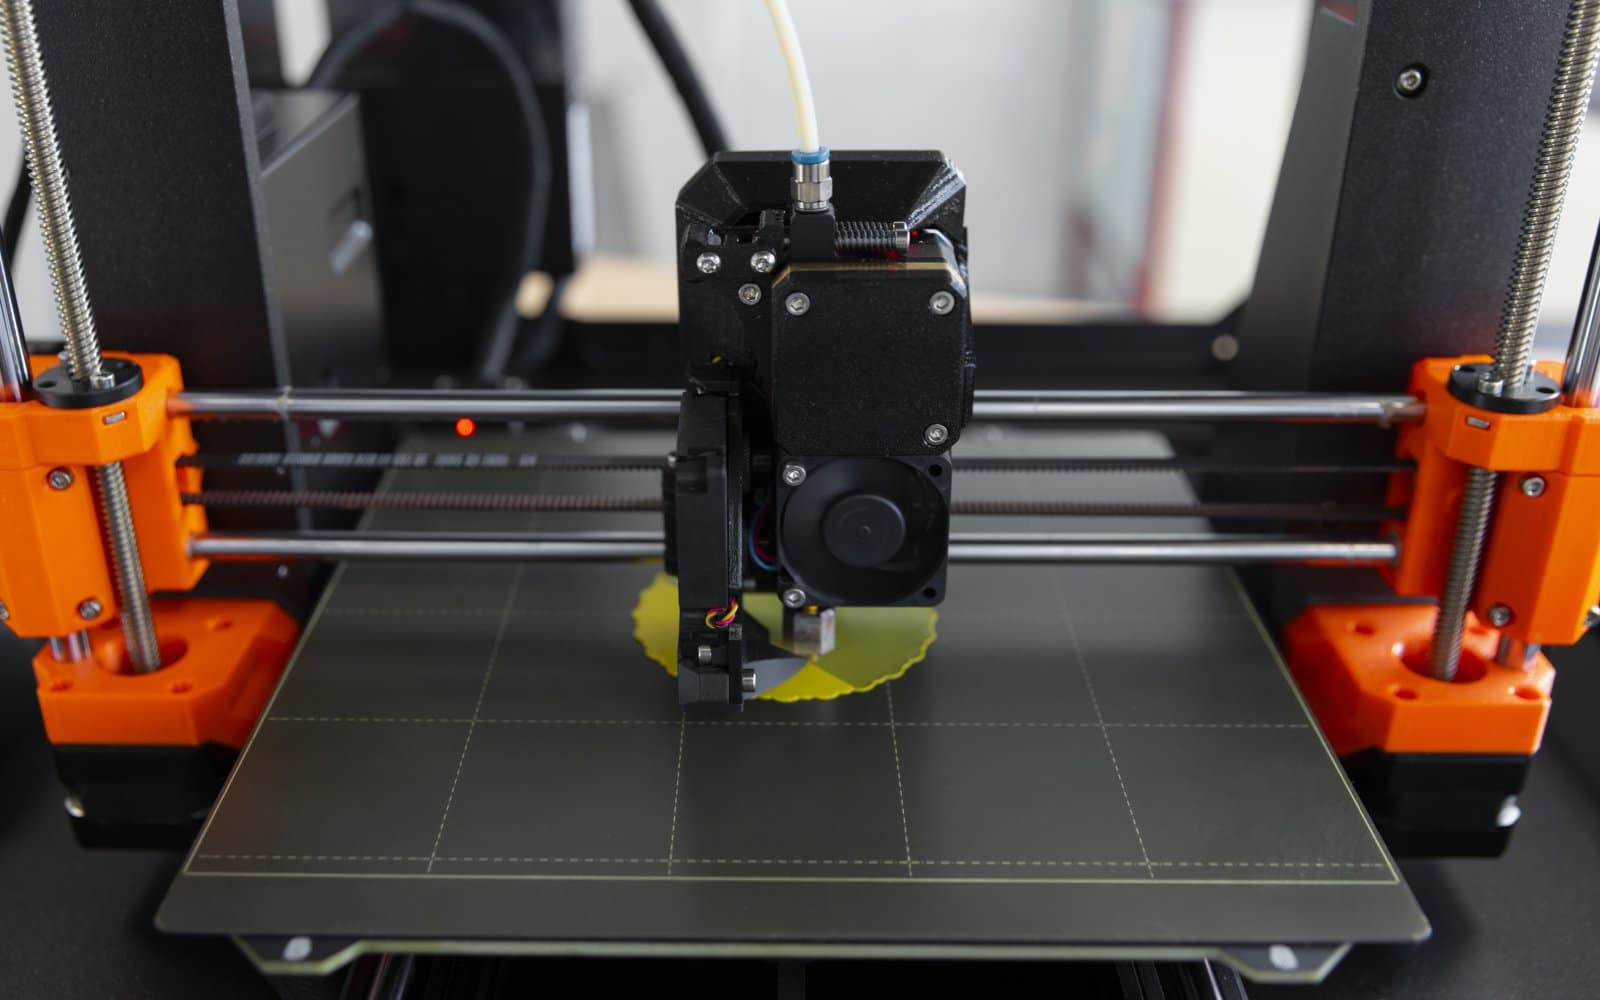
Creality K1C maintenance schedule
Follow a Creality K1C maintenance schedule for chamber cleanup, plate care, nozzle inspection, lubrication and self-tests.
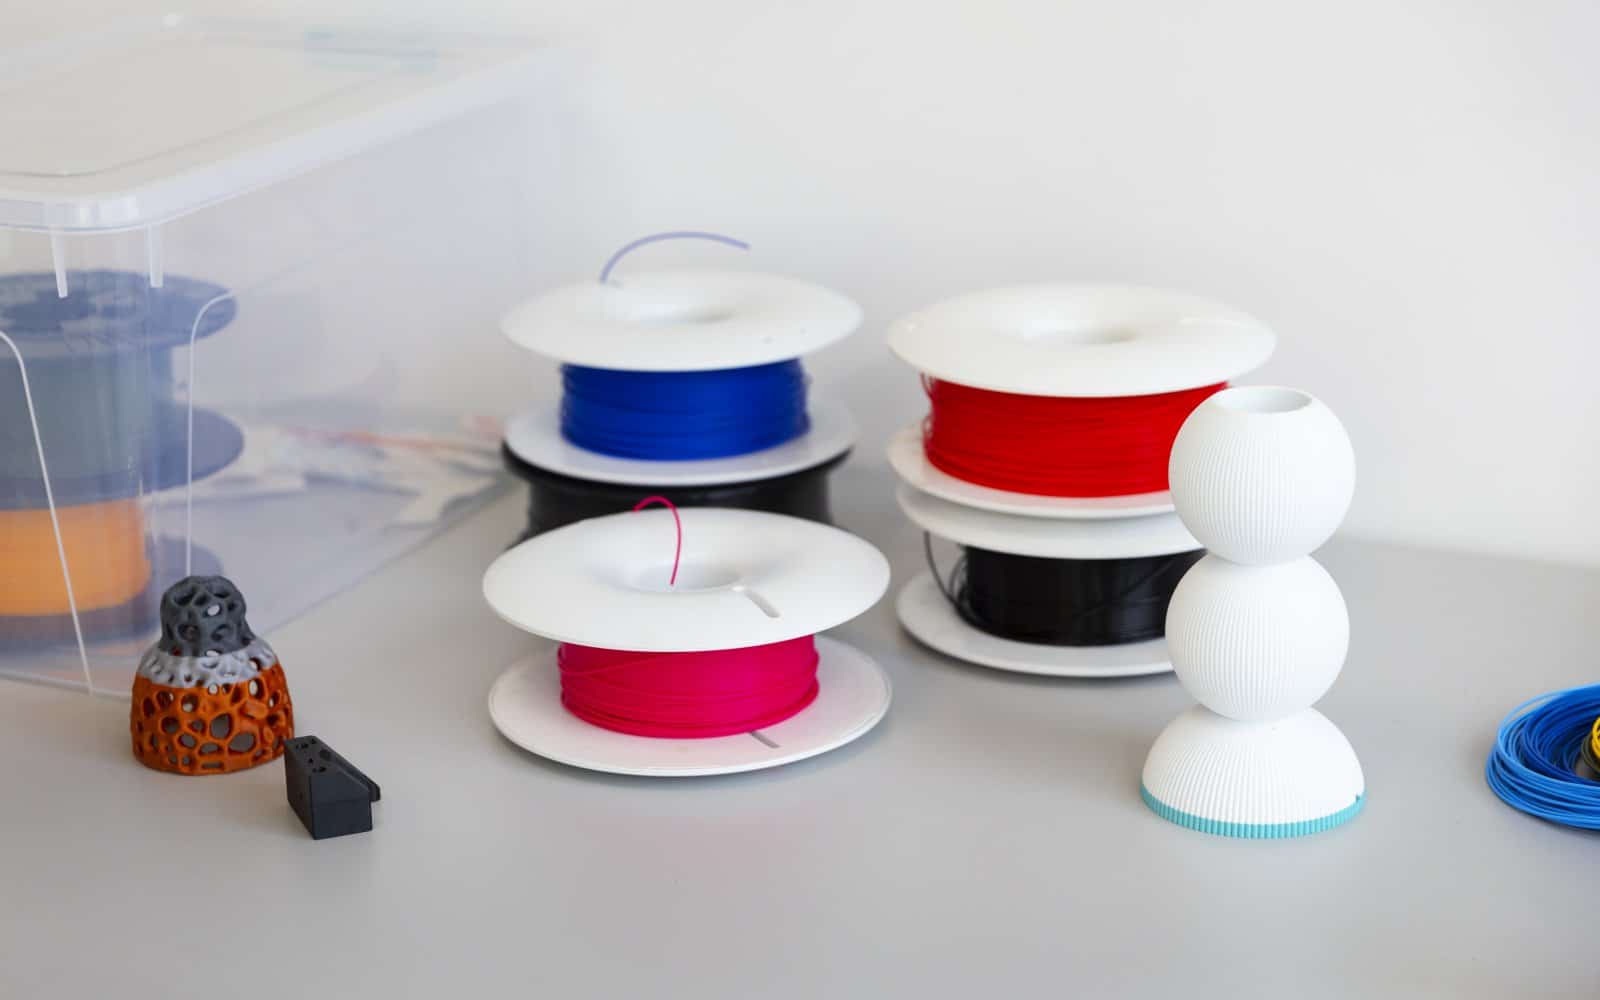
How to load, unload and change filament on a Creality K1C
Load, unload and replace filament on a Creality K1C using the printer controls, with the extruder lock and purge handled correctly.
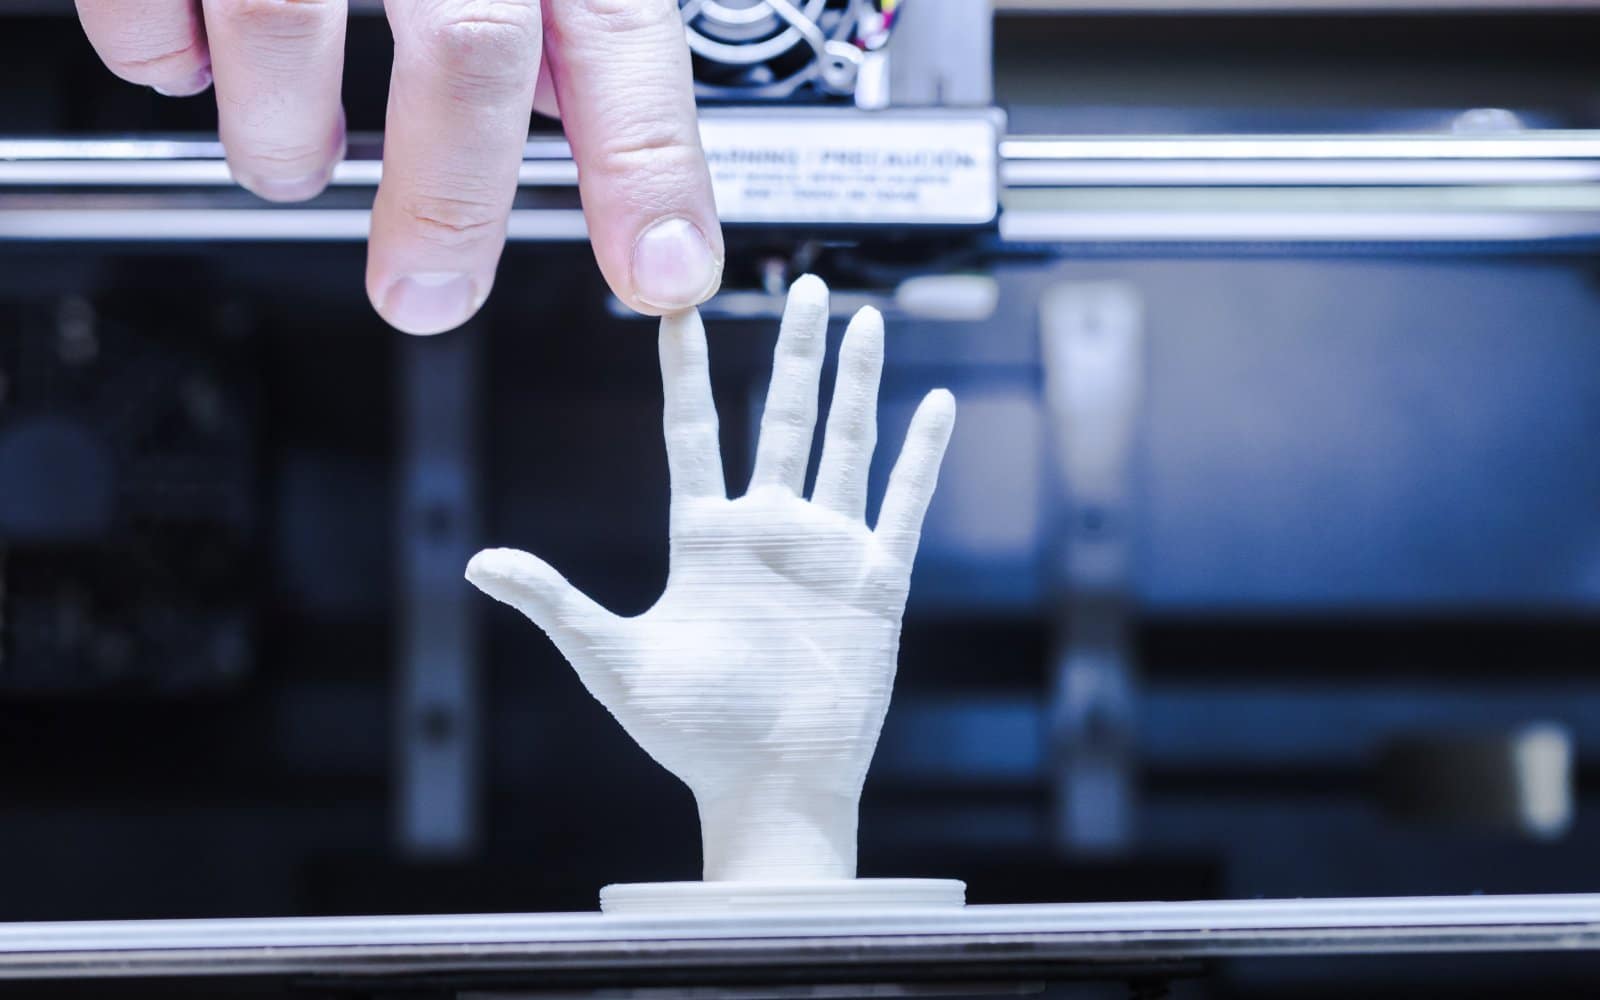
Creality K1C first print: a short, useful test
Run a Creality K1C first print with a known PLA file, verify automatic checks and inspect the first layer through the enclosure.
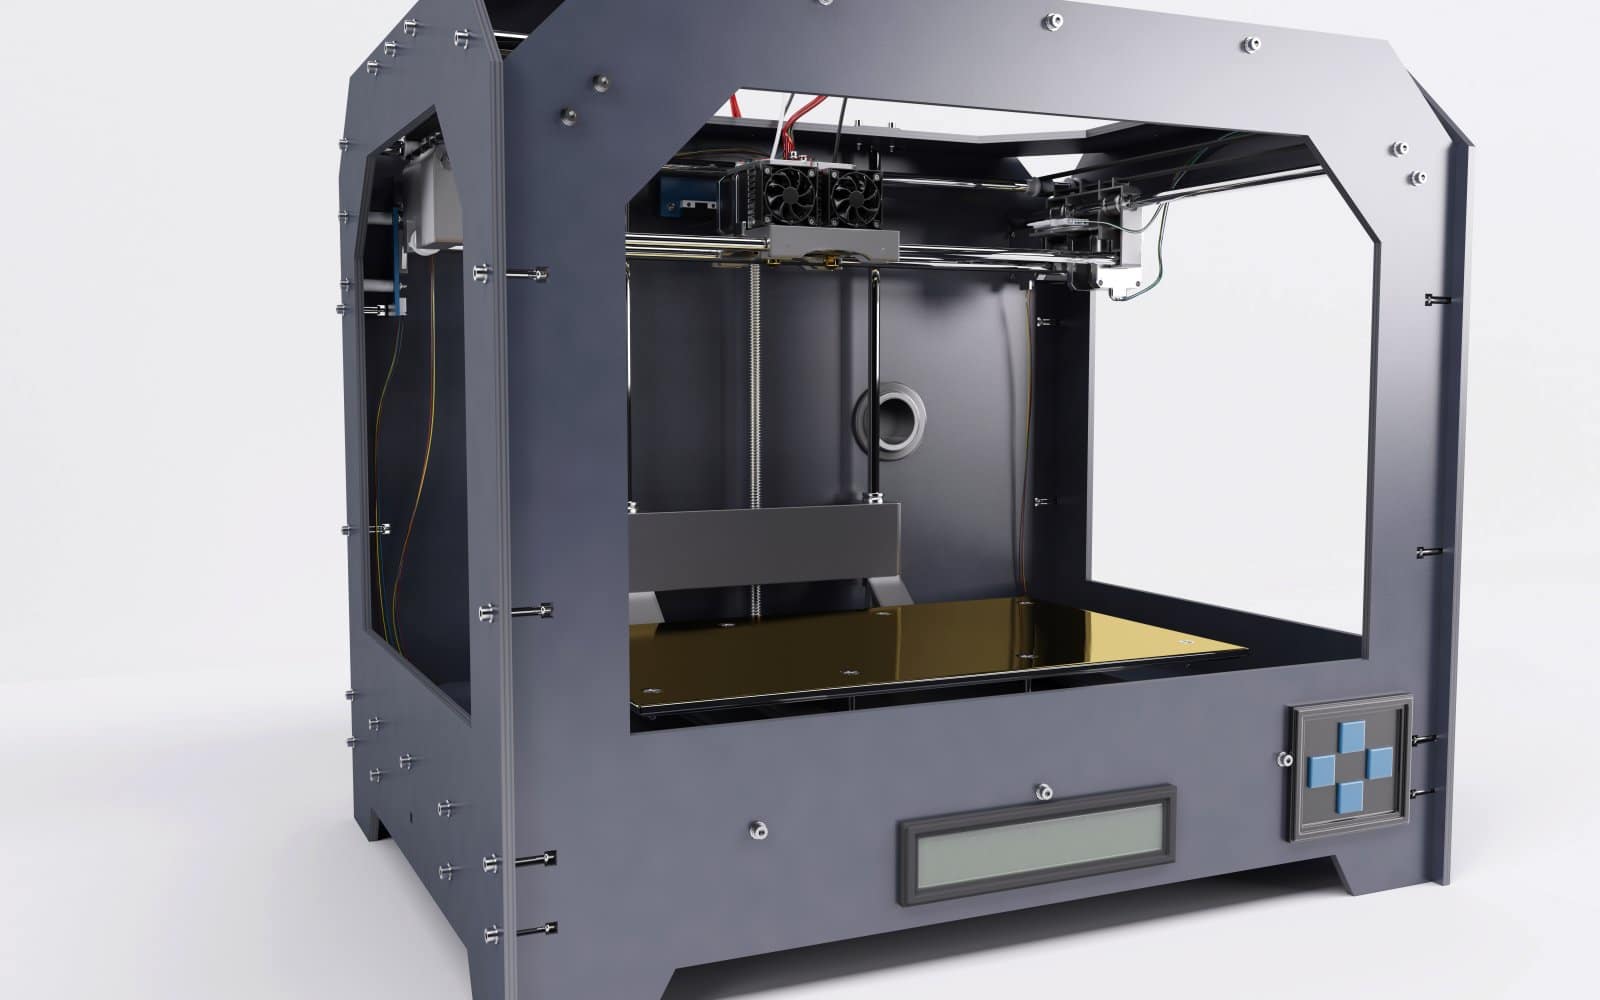
Creality K1C setup: first checks for the enclosed CoreXY
Set up a Creality K1C or K1C 2025, remove the shipping restraints, route filament correctly and complete self-check and leveling.
Cura profile setup for the Ender-3 V3 SE
Set up a Cura profile for the Ender-3 V3 SE using Creality’s supported dimensions, nozzle, temperature limits and safe start code.
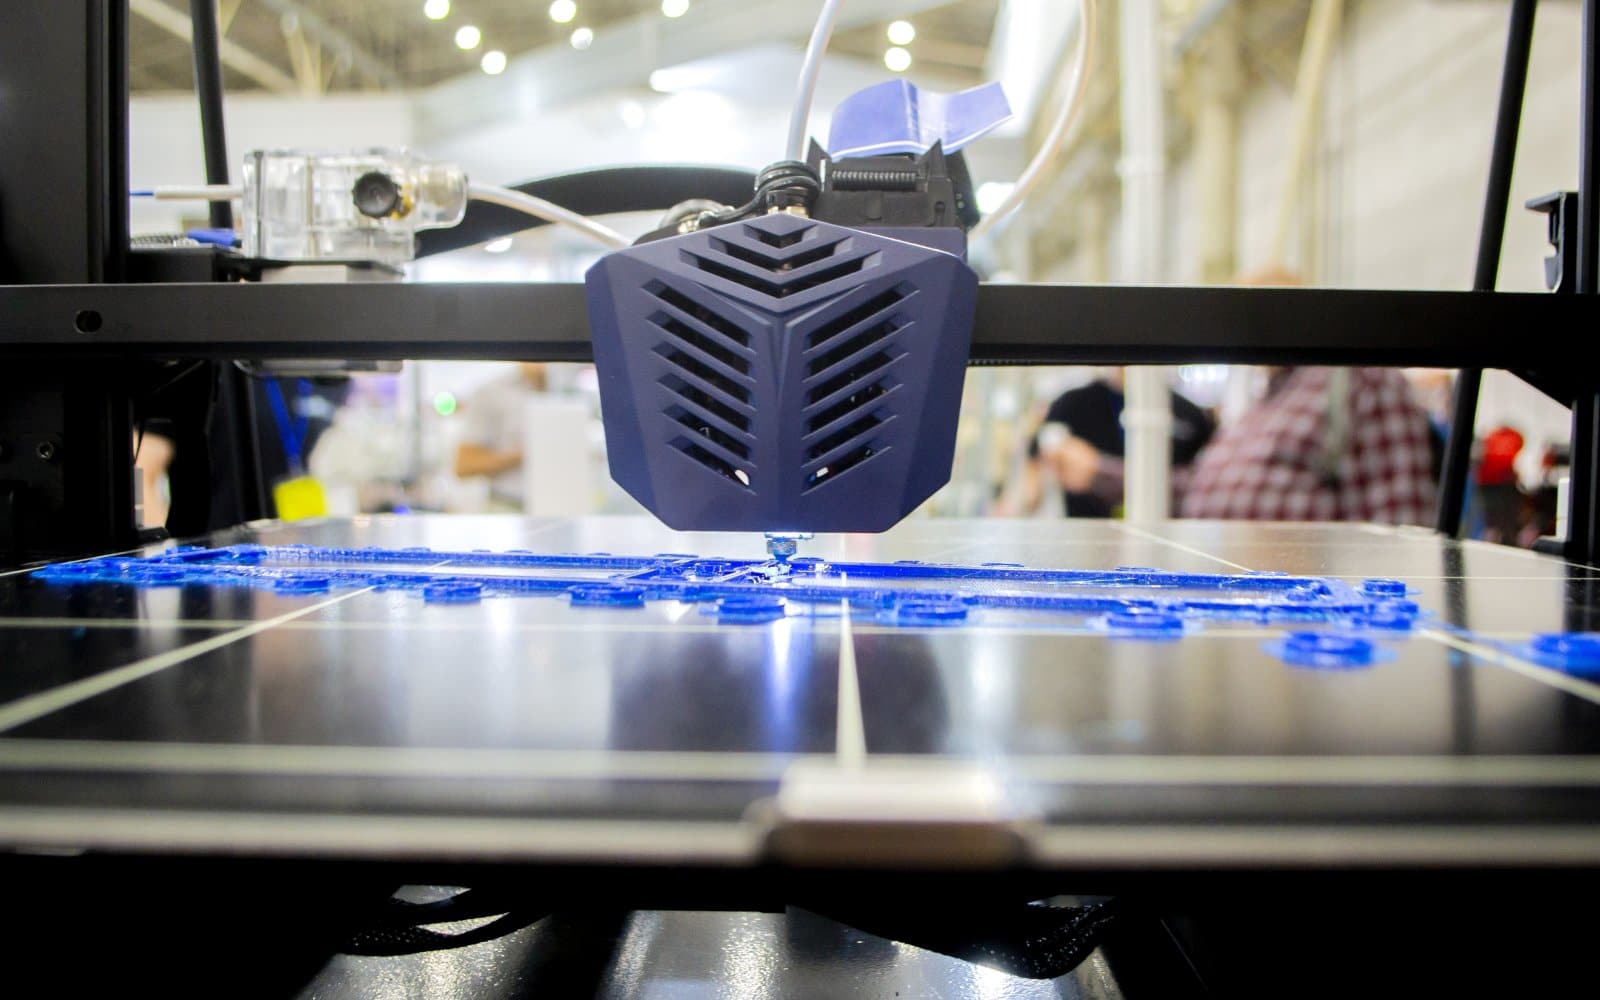
Ender-3 V3 SE bed leveling and Z offset
Level an Ender-3 V3 SE with CR Touch, interpret the mesh and tune Z compensation without randomly changing the bed hardware.
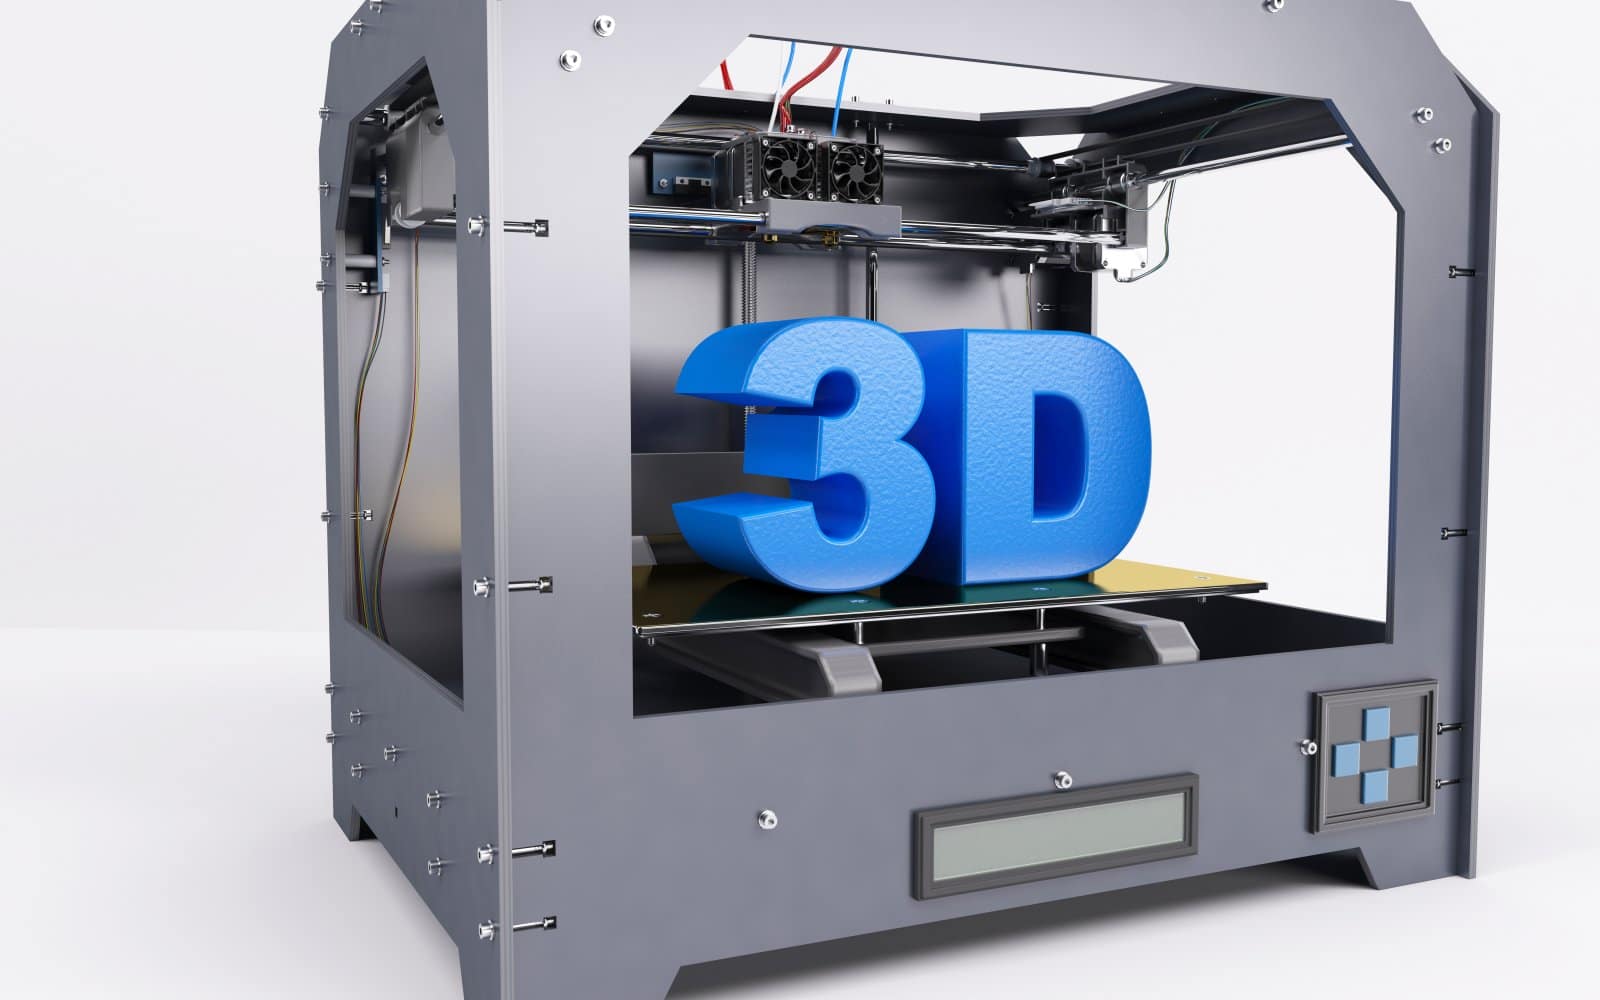
Ender-3 V3 SE first print: from leveling to removal
Run an Ender-3 V3 SE first print, check automatic leveling and Z compensation, and remove the model without damaging the PEI sheet.
Ender-3 V3 SE setup: assembly in the right order
Assemble and set up the Creality Ender-3 V3 SE, connect the labeled cables, choose the correct voltage and run its first leveling cycle.


